
Learn how to make Gluten Free Pie Crust that's light and flaky! This recipe is made with butter, egg, vinegar, and a gluten free flour blend.
This homemade Gluten Free Pie Crust is easy to make and can be used to make all of your favorite sweet and savory pies. It's great to have on hand during the holiday season.
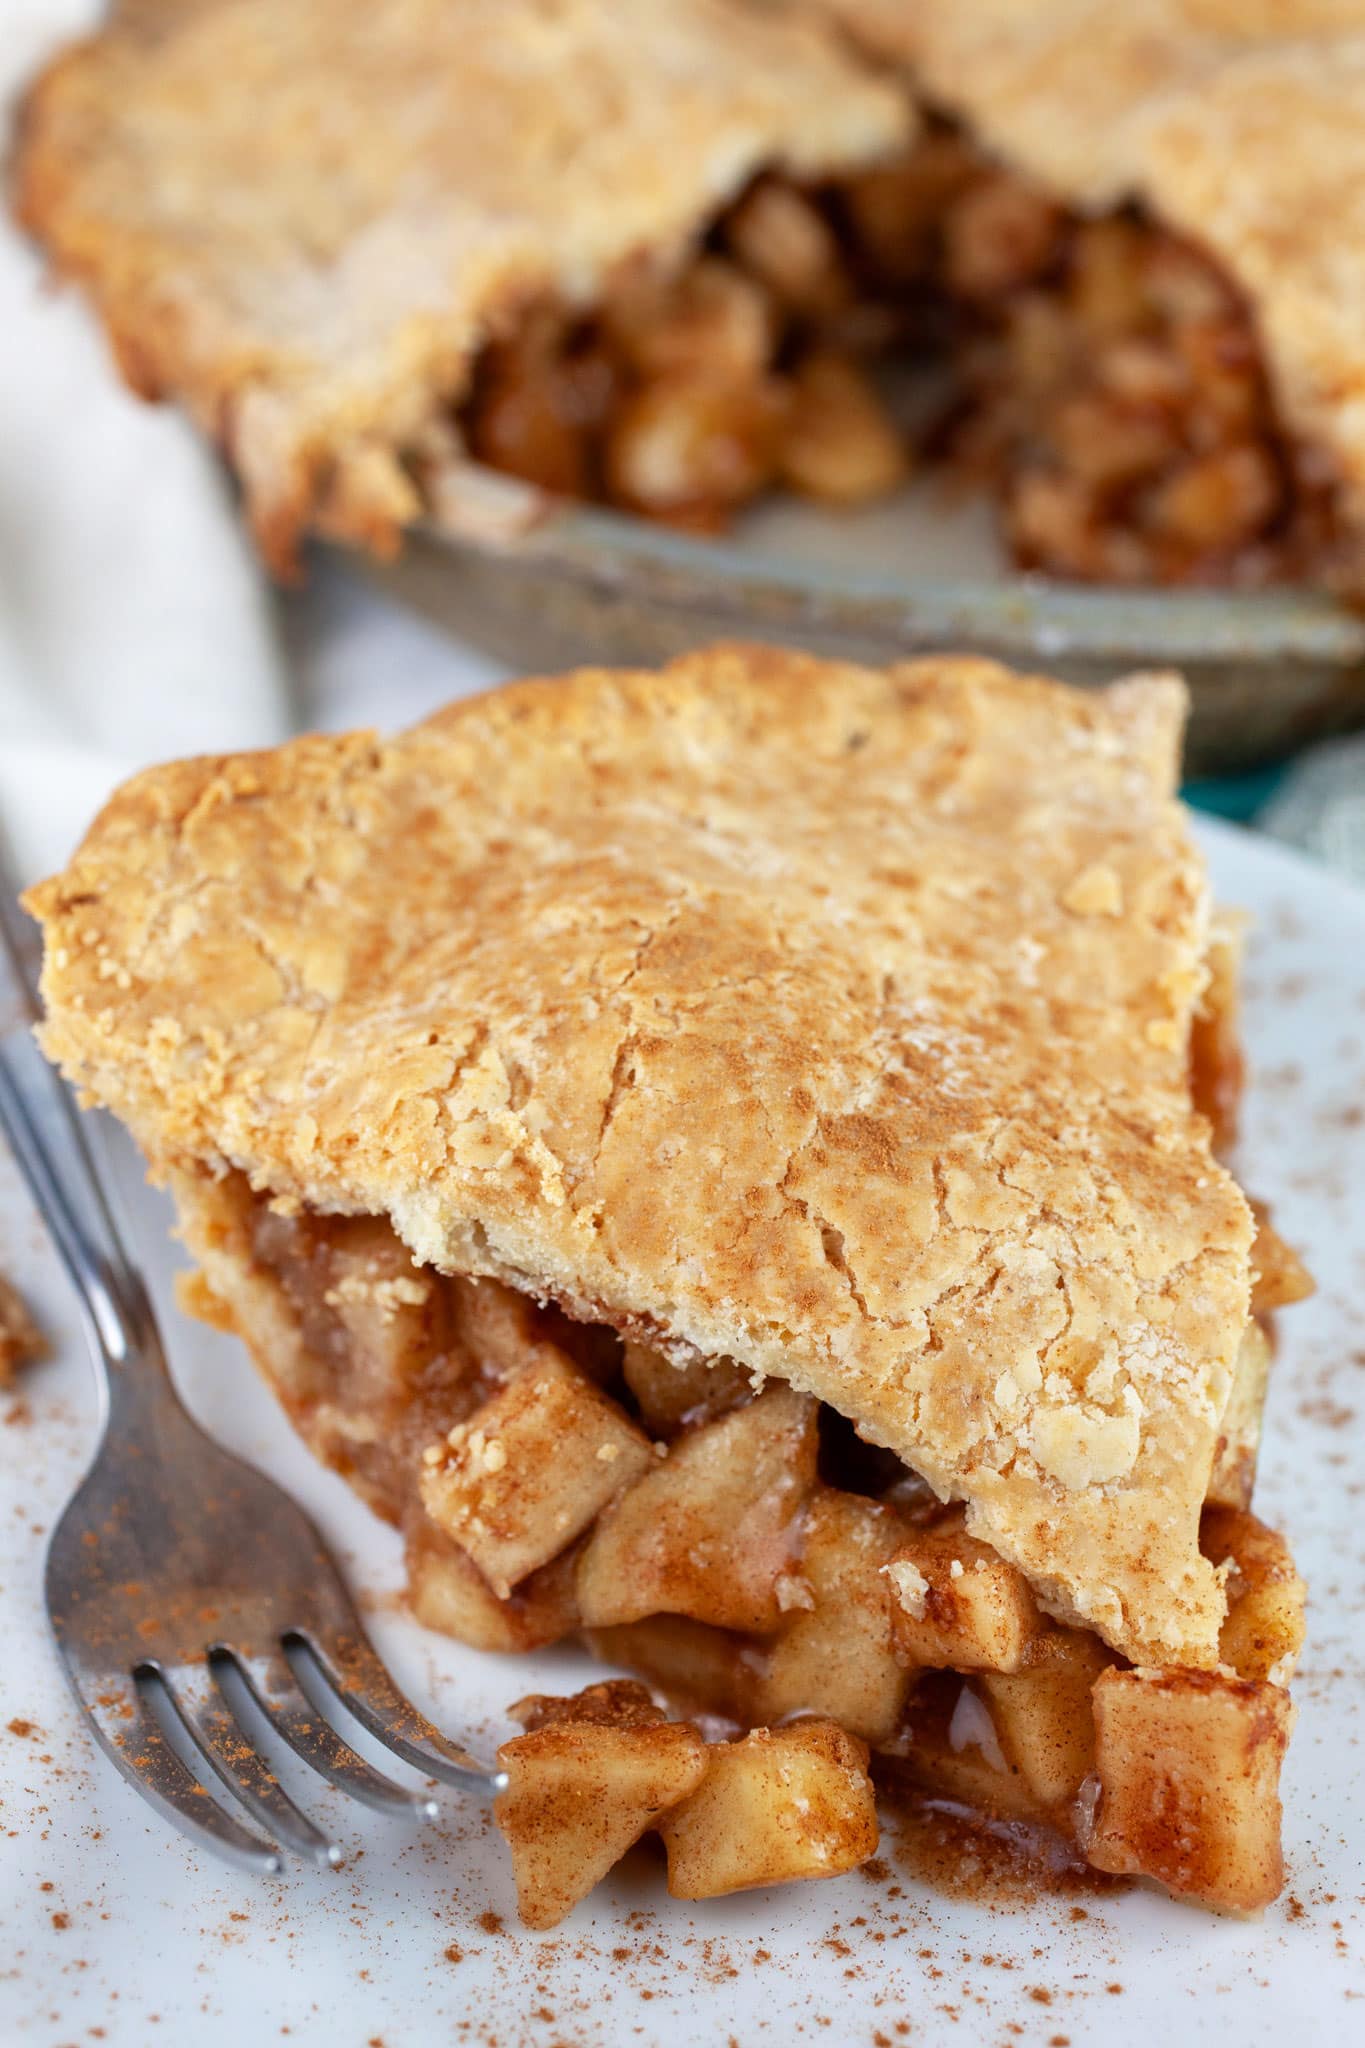
Thanksgiving is quickly approaching and I find myself thinking about pie. The process of baking pies is a bit of an art; choosing the variety to make, rolling out the dough, and crimping the edges. Almost nothing makes it feel more like fall than the smell of a pie baking in the oven.
The process of making a gluten free pie crust is similar to that of any pie crust. This recipe is made with a gluten free flour blend that's combined with cold butter and then mixed with cold water, eggs, and apple cider vinegar to form a dough.
The dough is then rolled into discs, chilled in the refrigerator, and rolled out on a flat surface. The dough is placed into a pie tin, par-baked, and then loaded with your choice of filling.
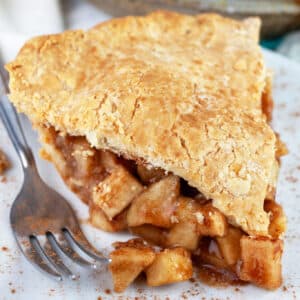
It can be used to make a gluten free version of all your favorite pies. Apple, pumpkin, or pecan may all be prepared using this gluten free pie crust. This recipe includes lots of tips and tricks to help you create pies that your guests won't even know are gluten free!
Jump to:
- What Gluten Free Flour Is Best For Pie Crust?
- Ingredients For Gluten Free Pie Crust
- How To Keep Gluten Free Pie Crust From Falling Apart
- Why Does Gluten Free Pie Crust Need Eggs and Vinegar?
- How To Roll Out Gluten Free Pie Dough
- How To Par Bake The Pie Crust
- Can This Pie Crust Be Made Ahead Of Time?
- Can This Recipe Be Cut In Half?
- Gluten Free Pie Crust (How To Make)
What Gluten Free Flour Is Best For Pie Crust?
When it comes to pie crust, I recommend a gluten free flour blend. A gluten free flour blend is a combination of gluten free flours, starches, and binders that is meant to mimic all-purpose flour.
There are tons of great gluten free flour blends on the market today. You can certainly make your own flour blend, but it's easier to purchase a bag or two from the store and keep it in the pantry.
Feel free to test out a couple of brands to see which one you prefer. I recommend choosing a brand that contains xanthan gum, which is a binder and provides the flour blend with structure.
Each brand of gluten free flour blend is slightly different in terms of taste and texture. Gluten free flour blends vary greatly in terms of price, availability, and performance. Any quality brand should work just fine when making this gluten free pie dough.
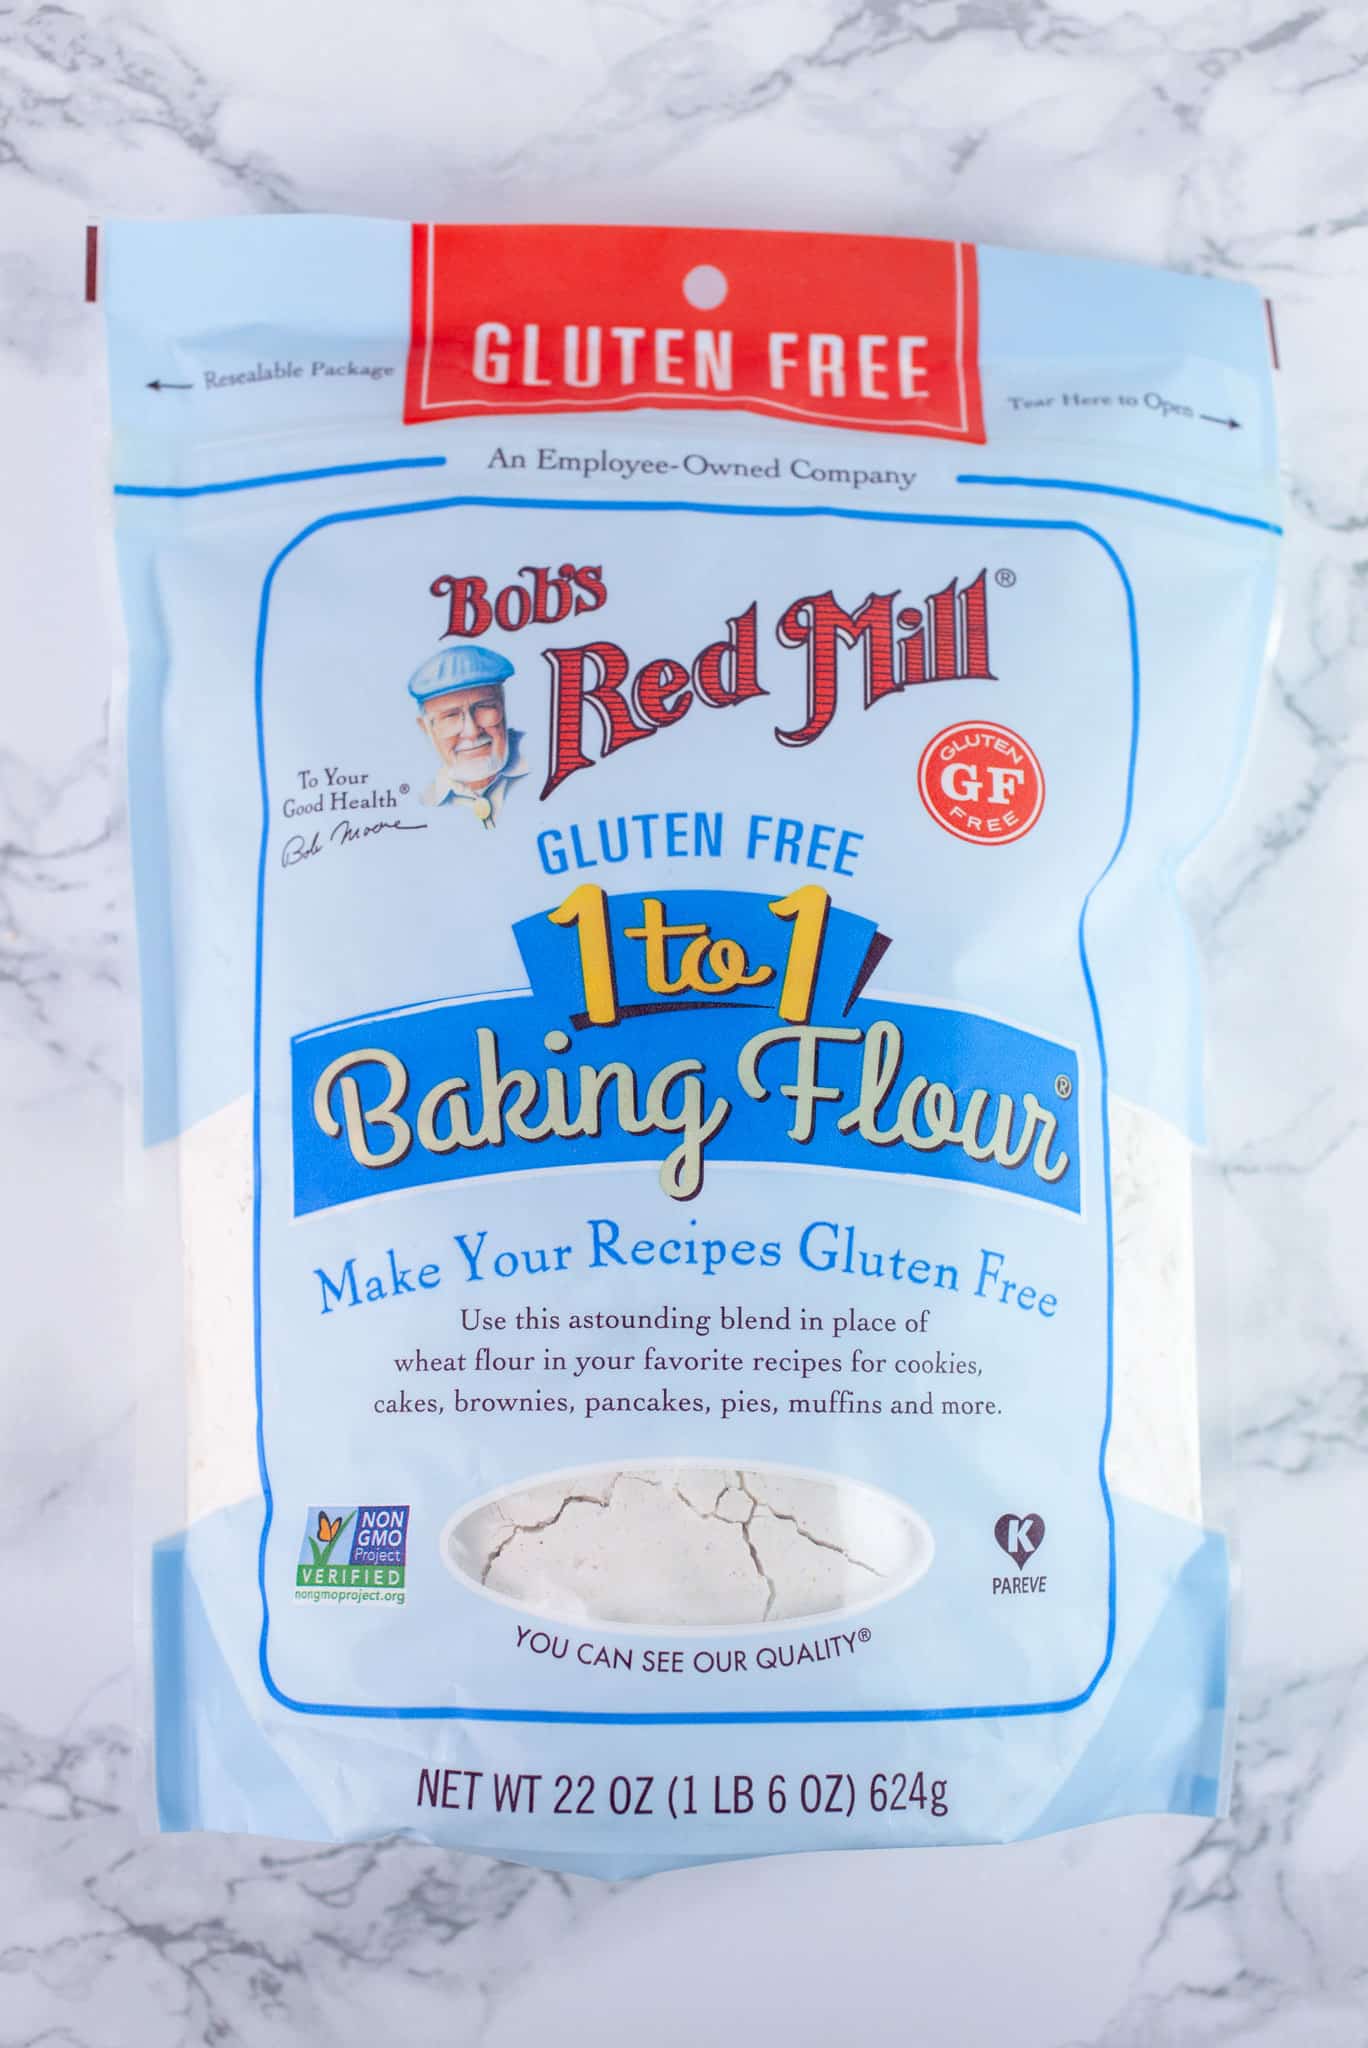
My go-to flour blend is Bob's Red Mill 1 to 1 Flour. I use it to make everything from pancakes to waffles to muffins. It works just the same as all-purpose flour and there is no need for any substitutions or special ingredients and it's easily found in the baking aisle of most grocery stores.
Other quality gluten free flour blends include Cup4Cup Gluten Free Multipurpose Flour, King Arthur Measure For Measure Flour, and Namaste Gluten Free Flour Blend.
Ingredients For Gluten Free Pie Crust
Here's what you'll need to make it.
- 3 cups Gluten Free Flour Blend
- 1 cup cold Unsalted Butter (equals 2 sticks)
- ½ tsp. Kosher Salt
- 2 large Eggs
- ⅔ cup cold Water
- 2 tsp. Apple Cider Vinegar
How To Keep Gluten Free Pie Crust From Falling Apart
There are a few tips and tricks to keep in mind when making gluten free pie crust. Gluten free flour is different than all-purpose or wheat flour in that it contains no gluten, which works as a binder.
The challenge of working with gluten free flour is that the lack of gluten can result in pie crust that's crumbly and doesn't hold together properly.
- To make up for the lack of gluten, the pie crust requires a binder, such as eggs, to help hold it together. It's also made with water, which provides moisture and keeps it from turning into a dry, crumbly mess.
- The other major difference is that gluten free pie crust must be par-baked before adding the filling. Par-baking the crust helps to provide the pie with structure, keeps the crust from becoming soggy, and creates a more flaky texture.
- Just like any pie crust, this gluten free version is made with cold, unsalted butter. It's essential that the butter is cold so that it creates steam pockets as it melts, which makes for a flakier crust.
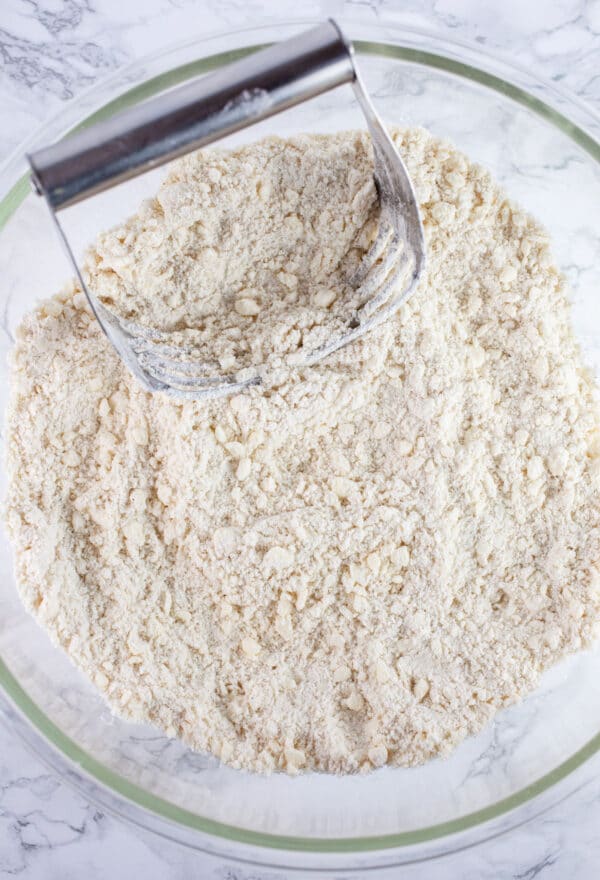
- Make sure that the butter and flour are completely incorporated before adding the rest of the ingredients. The mixture can be combined using a pastry cutter and should resemble coarse crumbs after combined.
- Chill the dough for 15 minutes before rolling it out. This will make it easier to handle and help to cool down the butter if it has warmed up at all.
- Start by placing 3 cups of gluten free flour blend into a large mixing bowl. Add ½ tsp. of kosher salt to the flour and stir until combined.
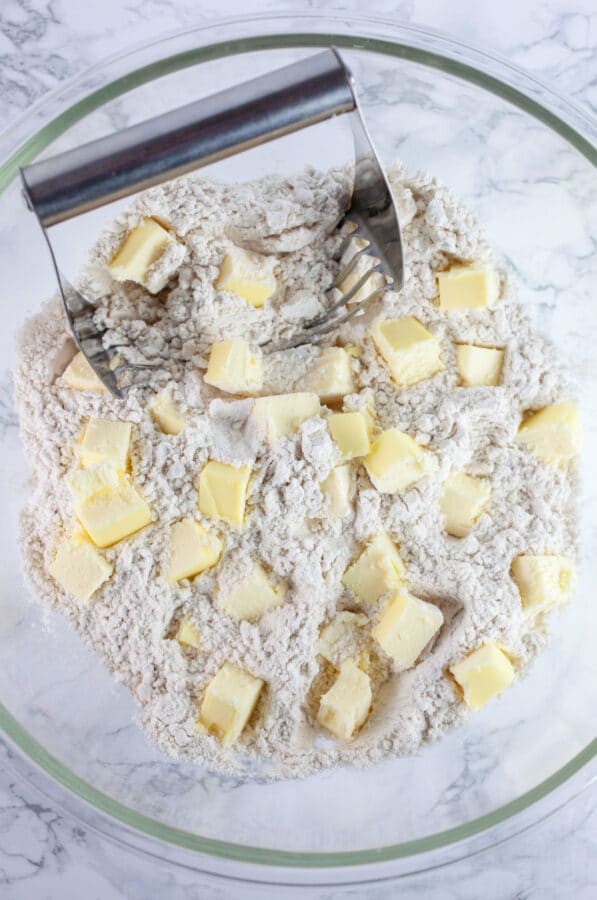
- Cut 1 cup (equals 2 sticks) of cold butter into small chunks and place the butter into the mixing bowl.
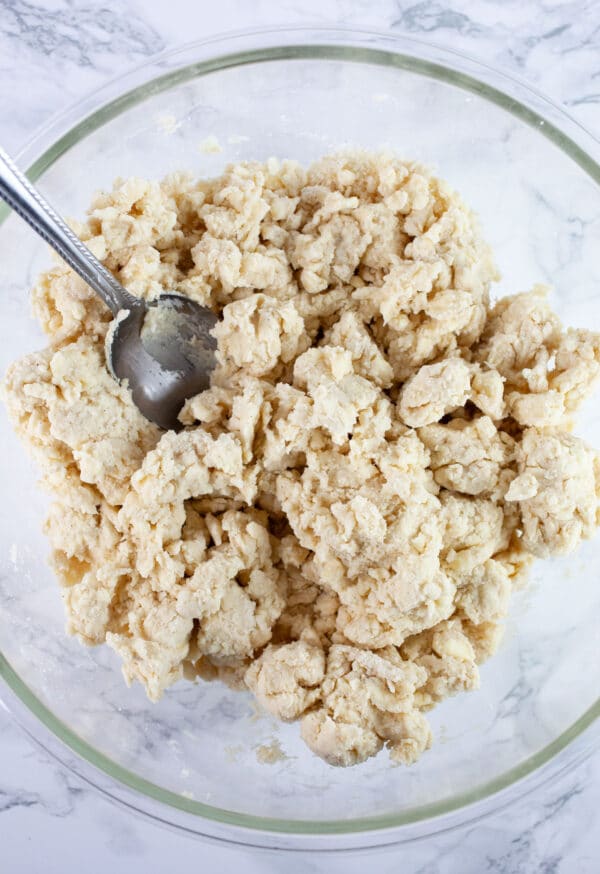
- Using a pastry cutter, combine the flour and butter until the mixture resembles coarse crumbs, or sand. This process may take 5-6 minutes and requires a bit of patience.
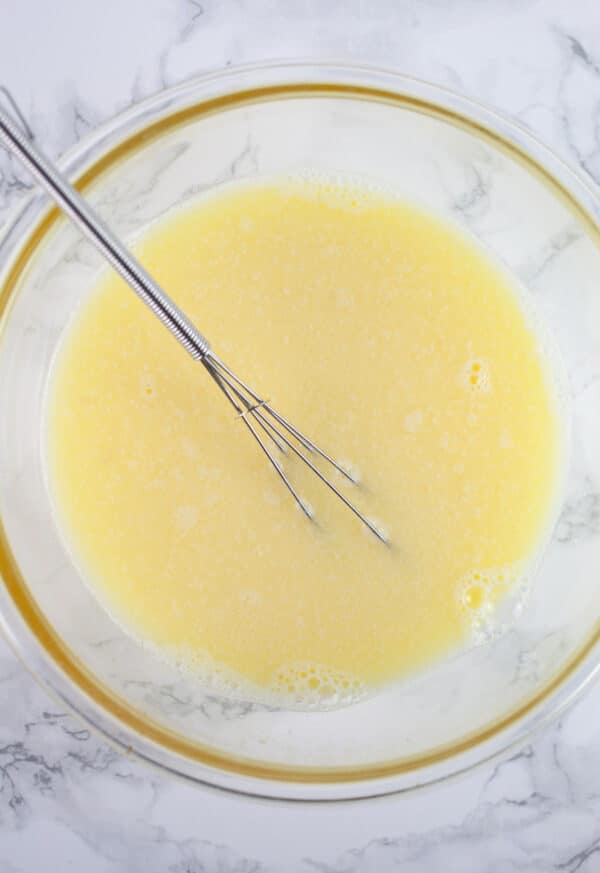
- In a separate bowl, crack 2 large eggs and whisk until combined.
- Add ⅔ cup of cold water and 2 tsp. of apple cider vinegar to the eggs. Whisk until combined.
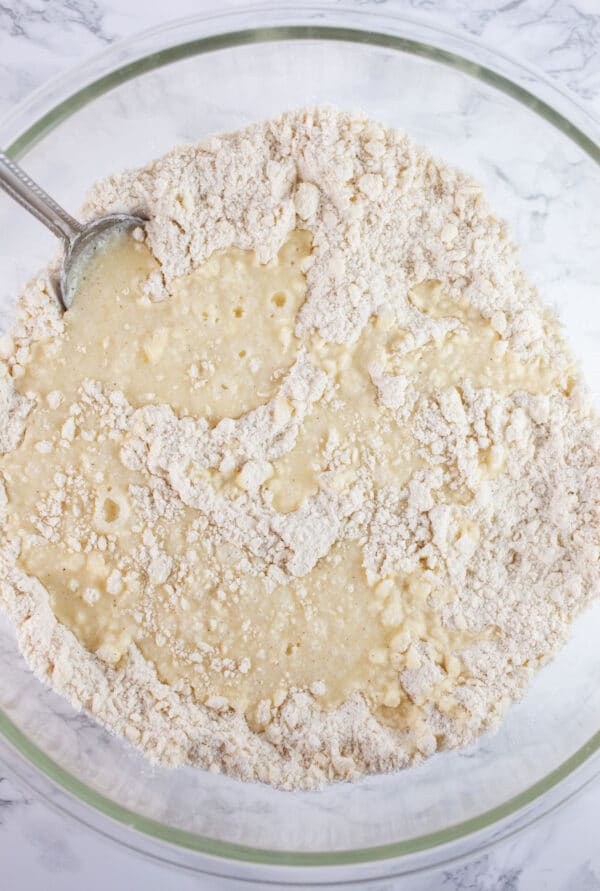
- Slowly pour the liquid into the flour and butter mixture. Stir until combined. Repeat with the remainder of the liquid, stirring carefully until a thick and sticky dough has formed.
Why Does Gluten Free Pie Crust Need Eggs and Vinegar?
As mentioned, gluten free flour contains no gluten, so there is nothing to help it stick together. The eggs act as a binder to help hold it together during the process of making this pie crust.
As far as the vinegar, it's been said that it helps to tenderize the gluten and makes a pie crust more tender and flaky. This recipe contains no gluten, so technically it probably doesn't need vinegar, but I always added it to my regular pie crust and was happy with the results.
I think that the vinegar does help to bump up the flavor of the pie crust and helps it to taste more like the regular version, so I continue to add it when I switched to a gluten free diet.
How To Roll Out Gluten Free Pie Dough
This recipe yields 2 gluten free pie crusts.
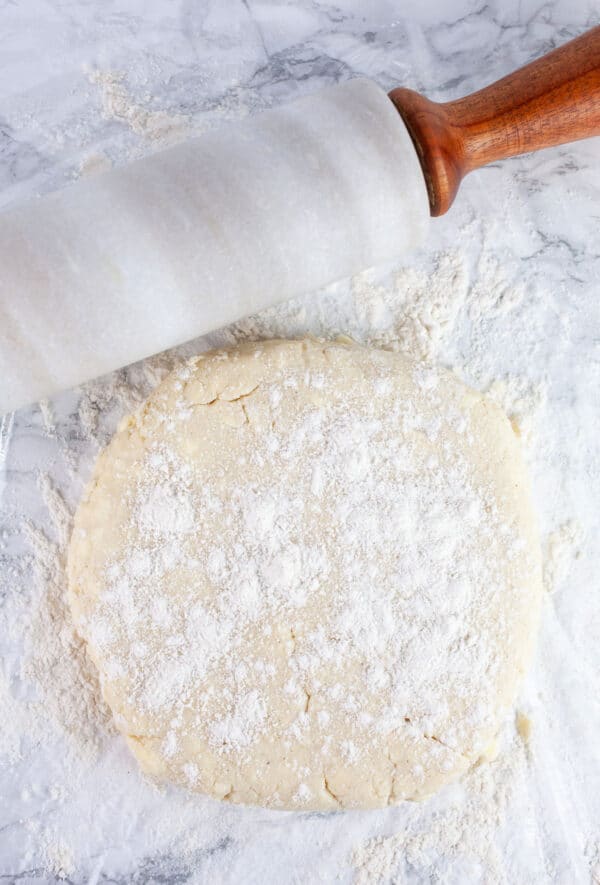
Once the dough is ready, it's split into two portions, each formed into a disc, wrapped in plastic wrap, and chilled for 15 minutes in the fridge.
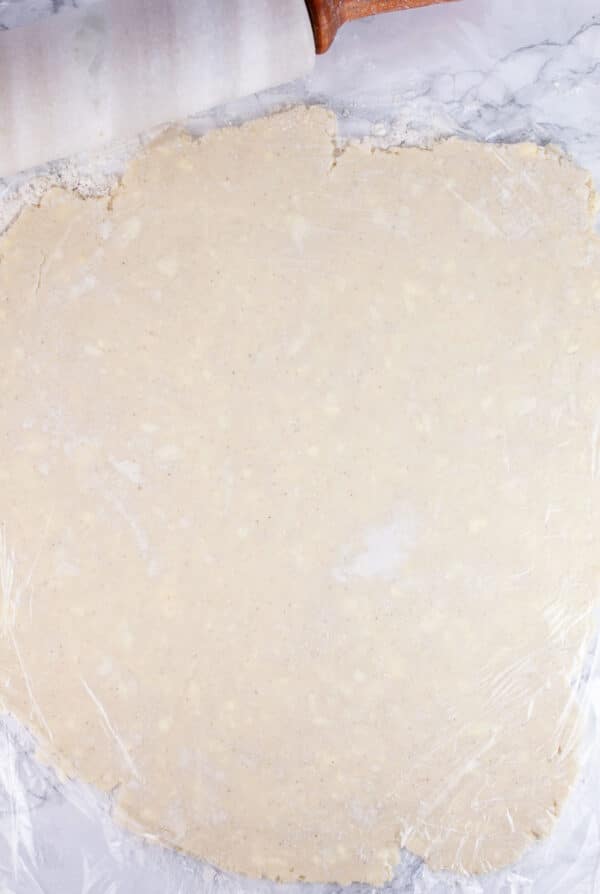
After chilling, the dough is sprinkled with flour to prevent sticking, placed between two pieces of plastic wrap or wax paper, and rolled out with a rolling pin.
Rolling it between two sheets of plastic wrap prevents it from sticking to the rolling pin and from sticking to the surface. It also makes the pie crust easier to transfer to the pie plate once it's rolled out.
It's important to keep in mind that the process of rolling out gluten free pie dough can be messy and may require a couple of tries. Pie dough does not need to be perfectly formed and it's perfectly fine to try again if it doesn't turn out the first time.
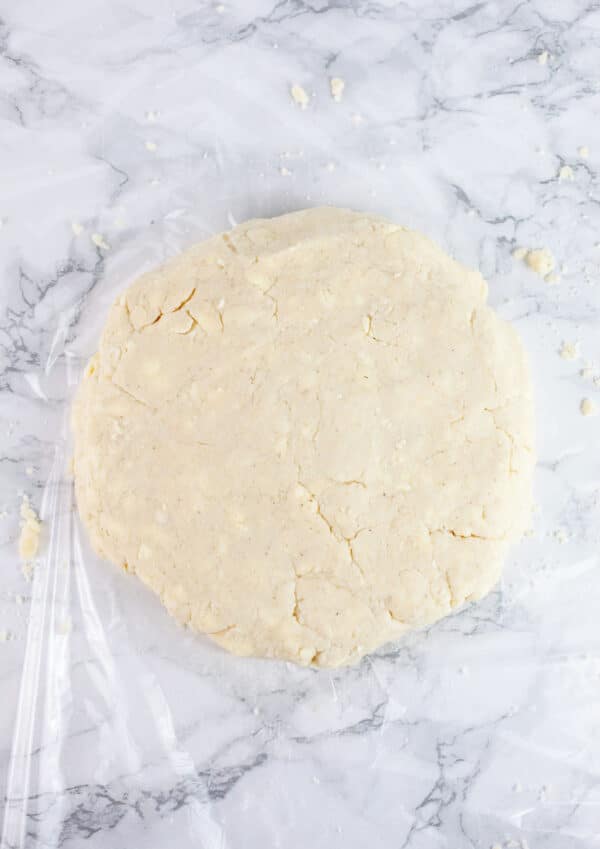
- Divide the gluten free pie dough in half and form each half into a disc.
- Wrap each of the discs tightly with plastic wrap and place them in the refrigerator to chill for 15 minutes.
- After 15 minutes, remove them from the fridge. Place a piece of plastic wrap or wax paper onto a clean, flat surface. Sprinkle both the top and bottom of the dough generously with gluten free flour blend to prevent it from sticking.
- Place another piece of plastic wrap or wax paper over the top and roll the dough out flat using a rolling pin (this may require a few tries). If the dough falls apart, simply form another disc and try again until the dough is rolled out flat and may be transferred to a pie plate.
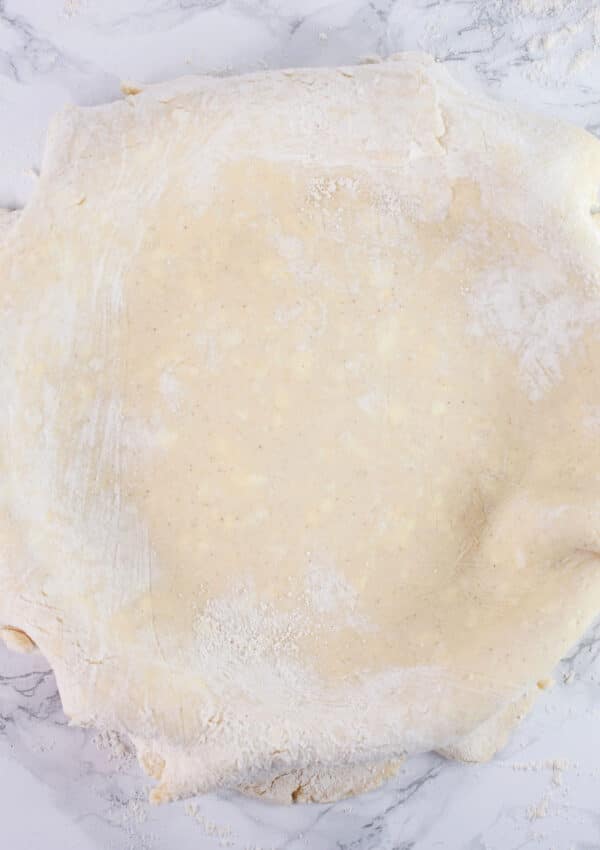
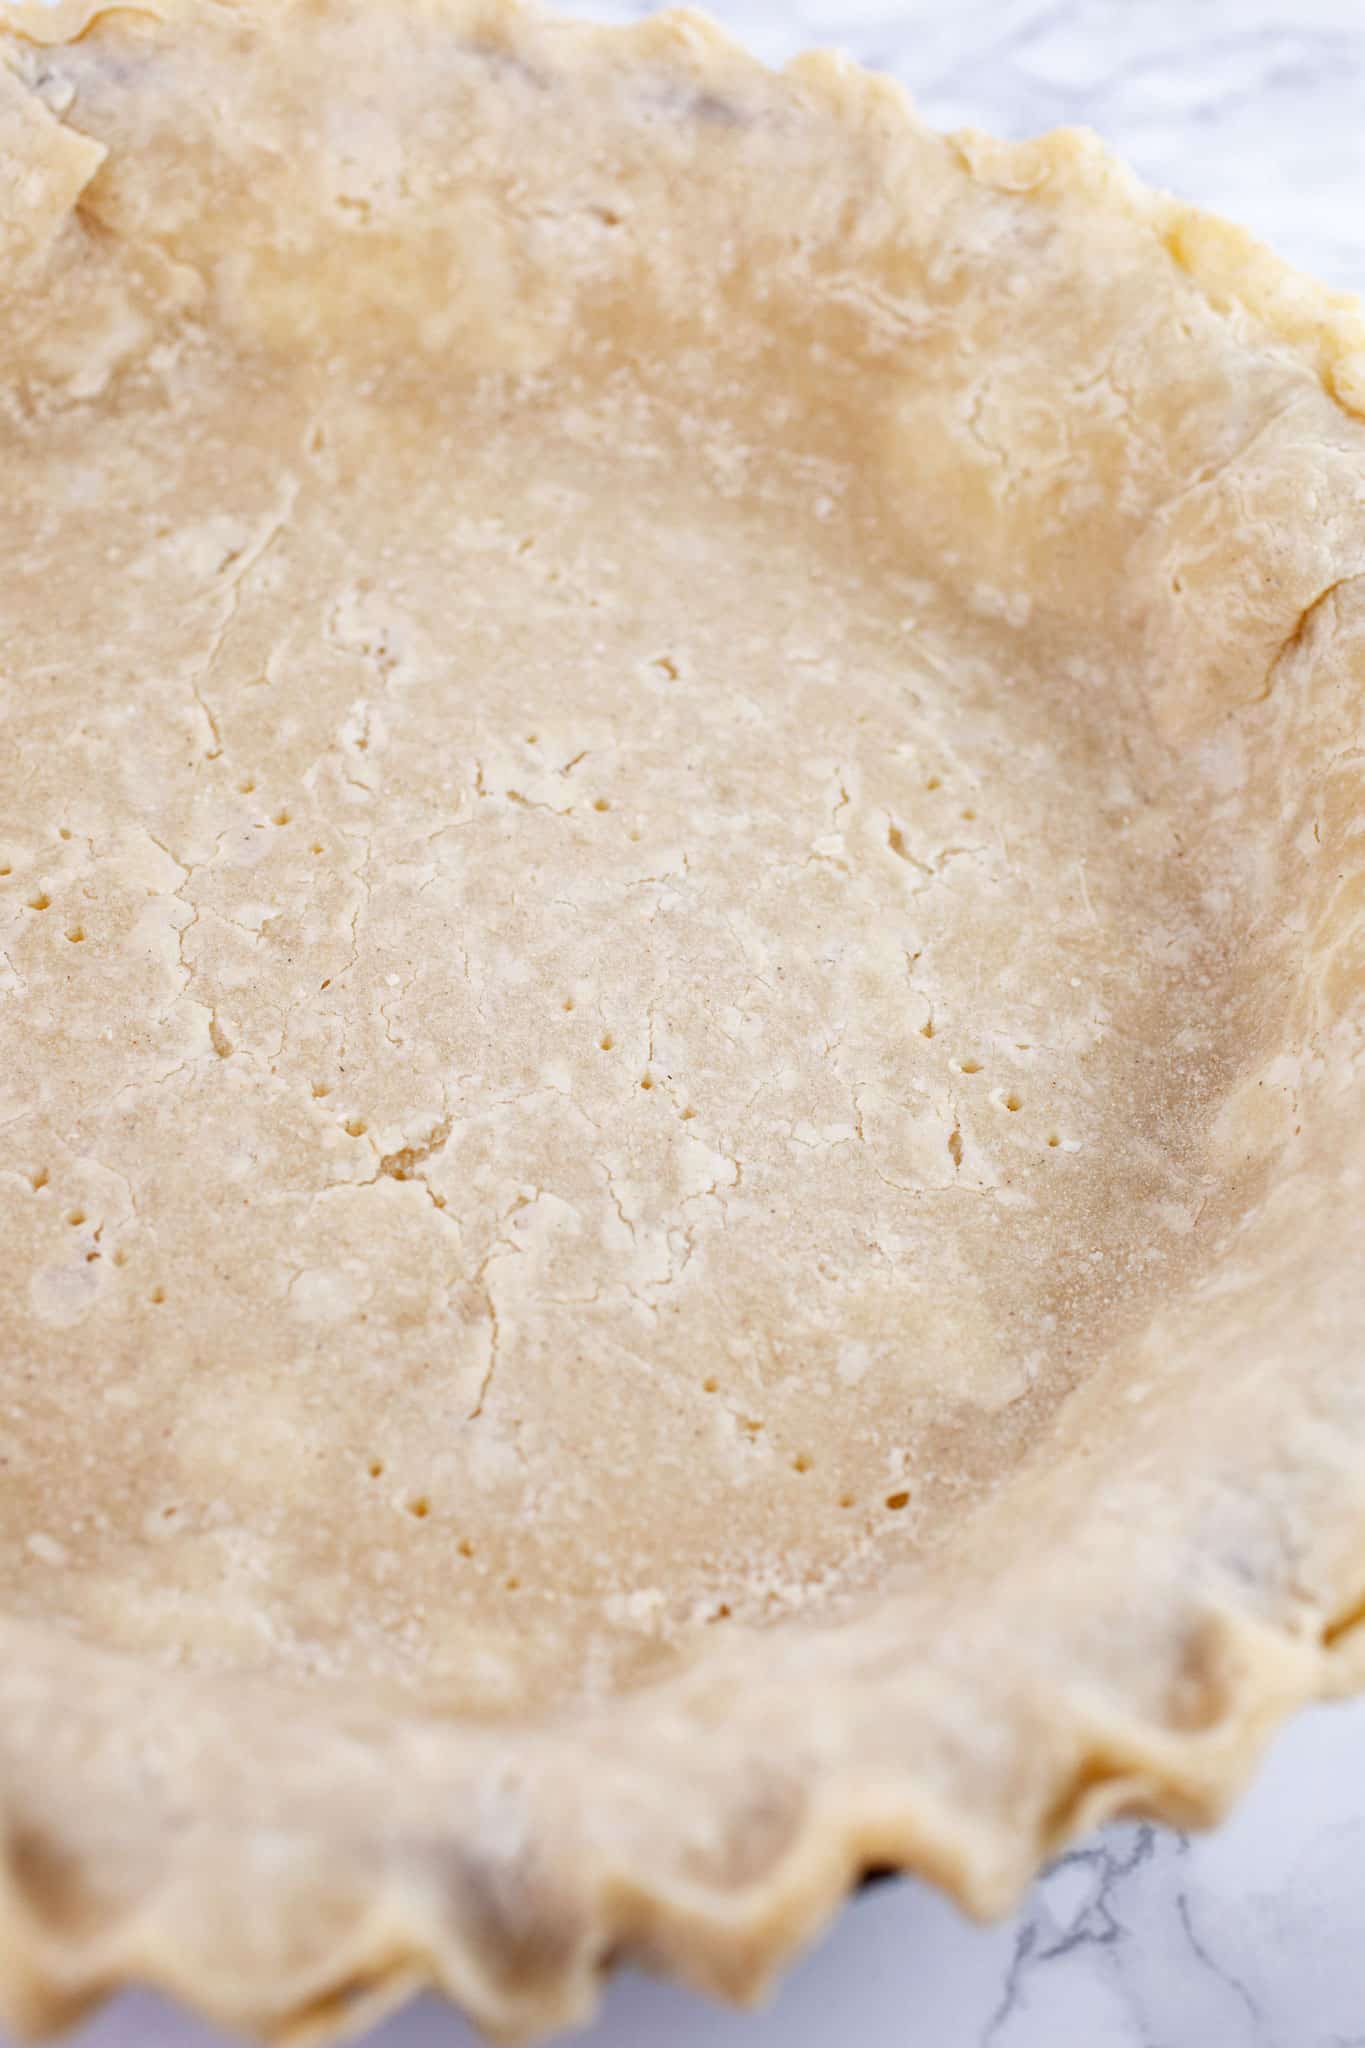
- Carefully transfer the dough to a 9-inch pie plate. Arrange it in the pie plate with your fingers.
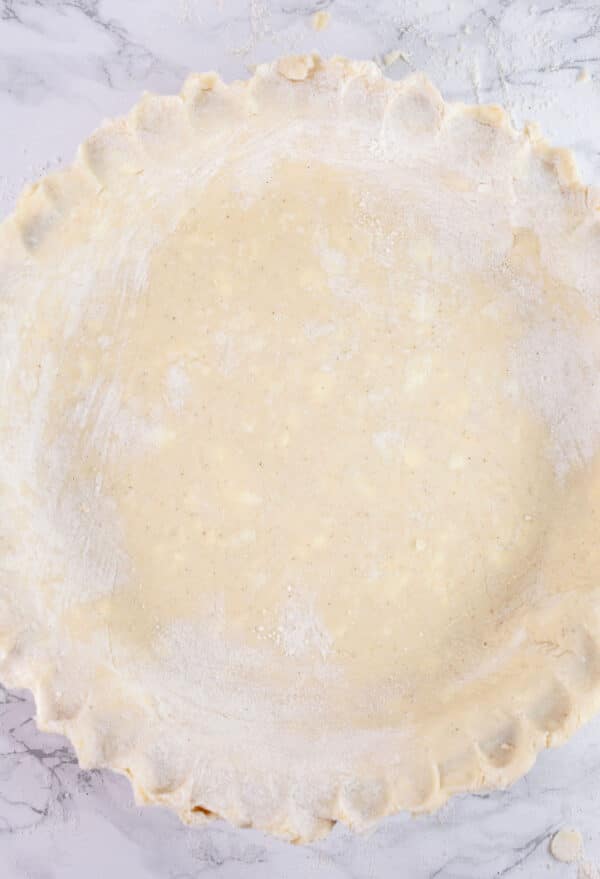
- Cut any excess pie dough from the edge of the pie, mend any tears, and use your fingers to crimp the edges.
How To Par Bake The Pie Crust
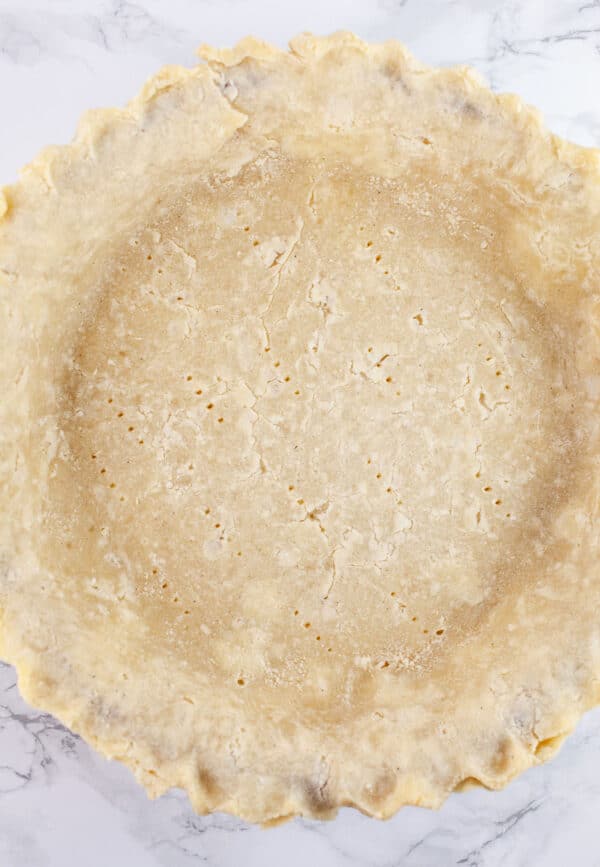
The other difference between a gluten free pie crust and a regular one is that the gluten free crust must be par-baked before adding the filling. This is an easy process and only takes about 15 minutes.
Par-baking the crust helps to firm it up, which is important because the flour contains no gluten. Gluten helps to hold pies together and skipping the par-baking process may cause the pie to become soggy.
It should be noted that only the bottom crust must be par-baked. If making a double-crust pie, it is not required to par-bake the top crust.
- Heat the oven to 350 degrees Fahrenheit.
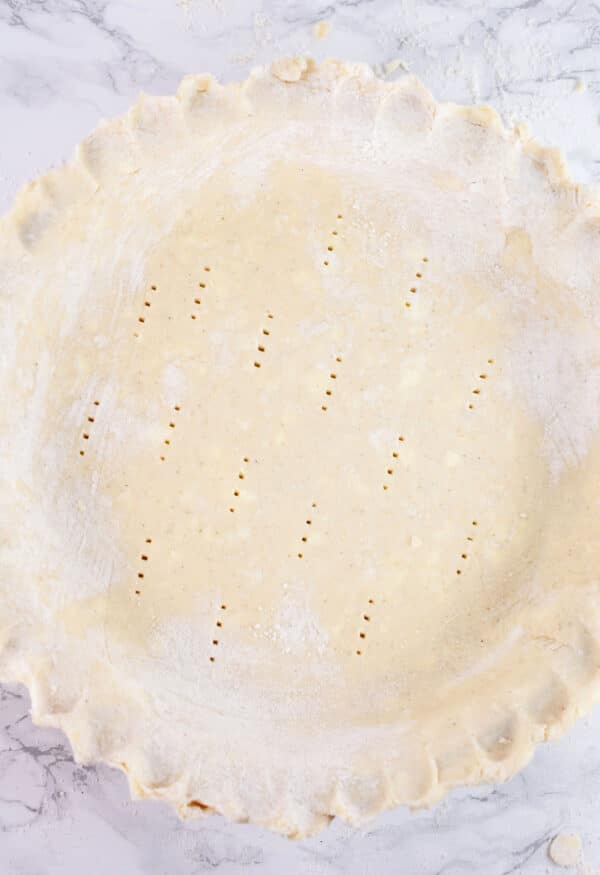
- Pierce the bottom of the crust with a fork 15-16 times (this will prevent it from bubbling up as it bakes).
- Place the pie crust into the oven and par-bake for 15 minutes.
- Remove the pie crust from the oven and allow to cool before adding the filling.
If you love baking, don't miss these Cheddar Chive Scones, Gluten Free Biscuits, Baked Lemon Doughnuts, and Blueberry Buckle!
Can This Pie Crust Be Made Ahead Of Time?
Yes, this pie crust can be made the day ahead.
- To make ahead, simply follow the instructions and form the pie dough into 2 discs.
- Wrap the discs of dough tightly in plastic wrap, place them into the refrigerator, remove the the fridge when needed, and allow to come to room temperature before rolling out.
Can This Recipe Be Cut In Half?
Yes, feel free to cut this recipe in half if you only need 1 pie crust.
The great thing about this pie crust is that it can be used to make your favorite sweet or savory pies, galettes, or tarts. It's great for single or double-crust pies.
This Gluten Free Pie Crust may be used to make this Maple Bourbon Pecan Pie, Maple Walnut Pie, Gluten Free Apple Pie, and Apple Galette!
Looking for more desserts? Check out these recipes!
- Gluten Free Apple Crisp
- Pumpkin Bread Pudding
- Pumpkin Coffee Cake
- Gluten Free Apple Cake
- Cast Iron Apple Crisp
Looking For Gluten Free Pie Recipes? Don't Miss These!
Gluten Free Mixed Berry Pie
Gluten Free Key Lime Pie
Mini Apple Pies with Caramel
Gluten Free Pie Crust (How To Make)
Ingredients
- 3 cups gluten free flour blend such as Cup4Cup or Bob's Red Mill 1 to 1 Flour
- 1 cup unsalted butter cold, equals 2 sticks
- ½ tsp. kosher salt
- 2 large eggs
- ⅔ cup water cold
- 2 tsp. apple cider vinegar
Instructions
- Heat the oven to 350 degrees Fahrenheit.
- Place 3 cups of gluten free flour blend into a large mixing bowl. Add ½ tsp. of kosher salt to the flour and stir until combined.
- Cut 1 cup (equals 2 sticks) of cold butter into small chunks and place the butter into the mixing bowl.
- Using a pastry cutter, combine the flour and butter until the mixture resembles coarse crumbs, or sand. This process may take 5-6 minutes and requires a bit of patience.
- In a separate bowl, crack 2 large eggs and whisk until combined.Add ⅔ cup of cold water and 2 tsp. of apple cider vinegar to the eggs. Whisk until combined.
- Slowly pour the liquid into the flour and butter mixture. Stir until combined. Repeat with the remainder of the liquid, stirring carefully until a thick and sticky dough has formed.
- Divide the gluten free pie dough in half and form each half into a disc.Wrap each of the discs tightly with plastic wrap and place them in the refrigerator to chill for 15 minutes.
- After 15 minutes, remove them from the fridge. Place a piece of plastic wrap or wax paper onto a clean, flat surface. Sprinkle both the top and bottom of the dough generously with gluten free flour blend to prevent it from sticking.
- Place another piece of plastic wrap or wax paper over the top and roll the dough out flat using a rolling pin (this may require a few tries). If the dough falls apart, simply form another disc and try again until the dough is rolled out flat and may be transferred to a pie plate.
- Carefully transfer the dough to a 9-inch pie plate. Arrange it in the pie plate with your fingers.Cut any excess pie dough from the edge of the pie, mend any tears, and use your fingers to crimp the edges.
- Pierce the bottom of the crust with a fork 15-16 times (this will prevent it from bubbling up as it bakes).
- Place the pie crust into the oven and par-bake for 15 minutes.Remove the pie crust from the oven and allow to cool before adding the filling.
- Continue to prepare your pie recipe as directed.
Daniella
Amazing crust!! Thank you for sharing your recipe & advice ! Turn out so well .
Thanks again
Daniella
Christine
Awesome - So glad to hear it turned out well! Thank you for the feedback! 🙂
PieFk
Can butter be replaced with something?
Christine
I've only used butter to make this pie crust recipe but you could definitely try a non-dairy or vegan butter such as Earth Balance. I know coconut oil is also a great alternative to butter - Let me know how it goes! 🙂
Sarah Maisto
Can this recipe be made ahead 7-10 days and frozen or refrigerated?
Christine
Hi Sarah - You could make this pie dough 7-10 days in advance and freeze it. It would only keep 1-2 days in the refrigerator. To Freeze: Tightly wrap the discs of pie dough in plastic wrap and then in a freezer-friendly Ziploc bag. Place them in the fridge the day before you would like to use them. Once thawed, roll out and continue as directed. Hope that helps!
Ahuva Passow-Whitman
I don't live in the us and have no idea what two sticks of butter are in Weight. Could you please give me a METRIC equivalent?
Thanks.
Christine
Hi Ahuva - If you click on the 'Metric' tab in the recipe card each recipe converts all the ingredients to metric measurements. For some reason the butter does not convert so it looks like 1 stick of butter is 113 grams - This recipe calls for 2 sticks which would be 226 grams. Hope that helps!