This homemade Gluten Free Biscuits recipe is flaky and made with buttermilk. Learn how to make old fashioned biscuits from scratch!
I live in Minnesota where biscuits aren’t really a thing. You generally don’t find biscuits on restaurant menus and most families don’t have a coveted biscuit recipe that was passed down to them by their mothers and grandmothers (Lefse, yes. Biscuits, no).
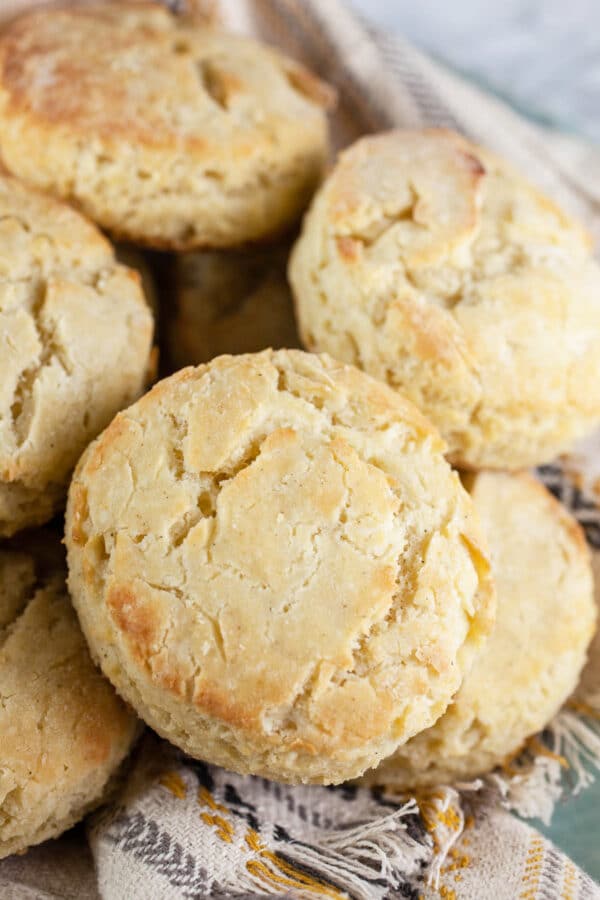
This is unfortunate because Biscuits. Are. Amazing. There is nothing like a freshly baked buttery and flaky biscuit. I first discovered their awesomeness as my husband and I were driving through West Virginia once when I saw a sign advertising a restaurant named Biscuit World.
I literally begged him for 30 minutes to stop even though we were on nearly 24 hours of no sleep. So we stopped. I grabbed a breakfast biscuit and ate it on a park bench in the 95 degree heat. It was sweaty and glorious.
Since that moment in West Virginia I no longer eat gluten. The change has not stopped me from eating biscuits or from singing their praises. It simply means that I had to get a little more creative and learned how to make Gluten Free Biscuits.
After making these I don’t even mind the switch!
Jump to:
- How Are Gluten Free Biscuits Different Than Regular Biscuits?
- Ingredients For Gluten Free Biscuits
- How To Make Gluten Free Biscuits
- What Does Buttermilk Do For Biscuits?
- What If I Don't Have Buttermilk?
- How To Cut The Dough Into Biscuits
- What If I Don't Have A Biscuit Cutter?
- How Long Do Biscuits Take To Bake?
- What To Serve With Gluten Free Biscuits
- How Long Do Homemade Biscuits Last?
- Can These Biscuits Be Frozen?
- Gluten Free Biscuits with Buttermilk
How Are Gluten Free Biscuits Different Than Regular Biscuits?
The process of making gluten free biscuits does not differ much from that of regular biscuits.
The only real difference is that regular biscuits are made with All Purpose Flour and the gluten free version is made with a gluten free flour blend.
This recipe is made with Bob's Red Mill 1 to 1 Flour, but you can use Cup 4 Cup, Measure For Measure, or your favorite brand of gluten free flour blend.
The advantage of a gluten free flour blend is that it is used just like you would All Purpose Flour; there is no need to combine multiple types of flour and no complicated substitutions.
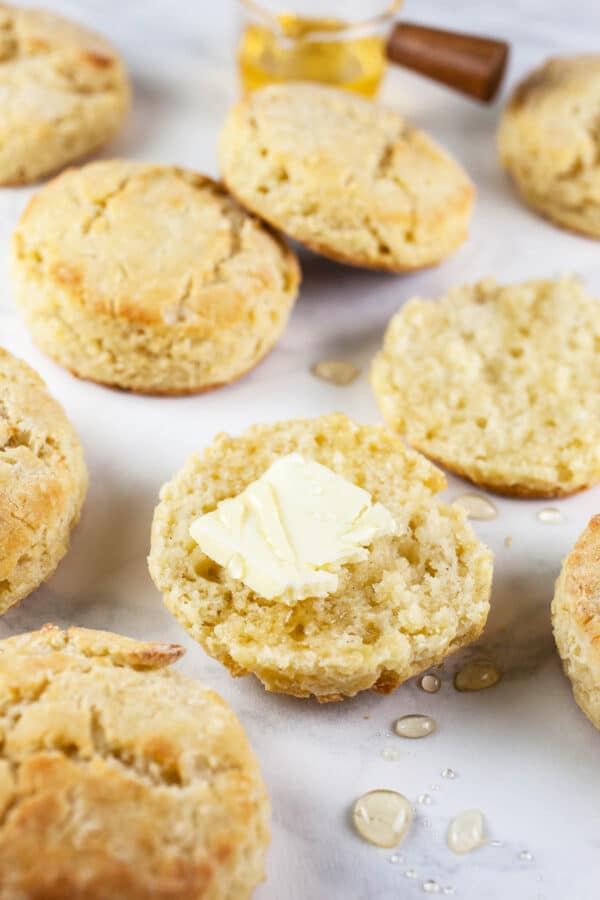
There are some slight textural differences when it comes to gluten free baking, and biscuits are no exception. Gluten free flour does not rise quite as much as AP flour, so the biscuits themselves do not rise as much as those made with AP flour.
The texture of gluten free biscuits is slightly more dense and may not be quite as flaky as a regular biscuit.
I find the differences to be minimal and the flavor of homemade gluten free biscuits is every bit as satisfying as those made with AP flour.
Ingredients For Gluten Free Biscuits
Here's what you'll need to make them.
- 6 Tbsp. Unsalted Butter (frozen)
- 2 ¼ cups Gluten Free Flour Blend
- 1 Tbsp. Baking Powder
- 2 Tbsp. Sugar
- 1 tsp. Kosher Salt
- 1 large Egg
- 1 cup plus 1 Tbsp. Buttermilk
How To Make Gluten Free Biscuits
Biscuits may seem like a complicated endeavor, but they are super easy to make. This is one of those unfussy recipes that results in some good, old fashioned biscuits.
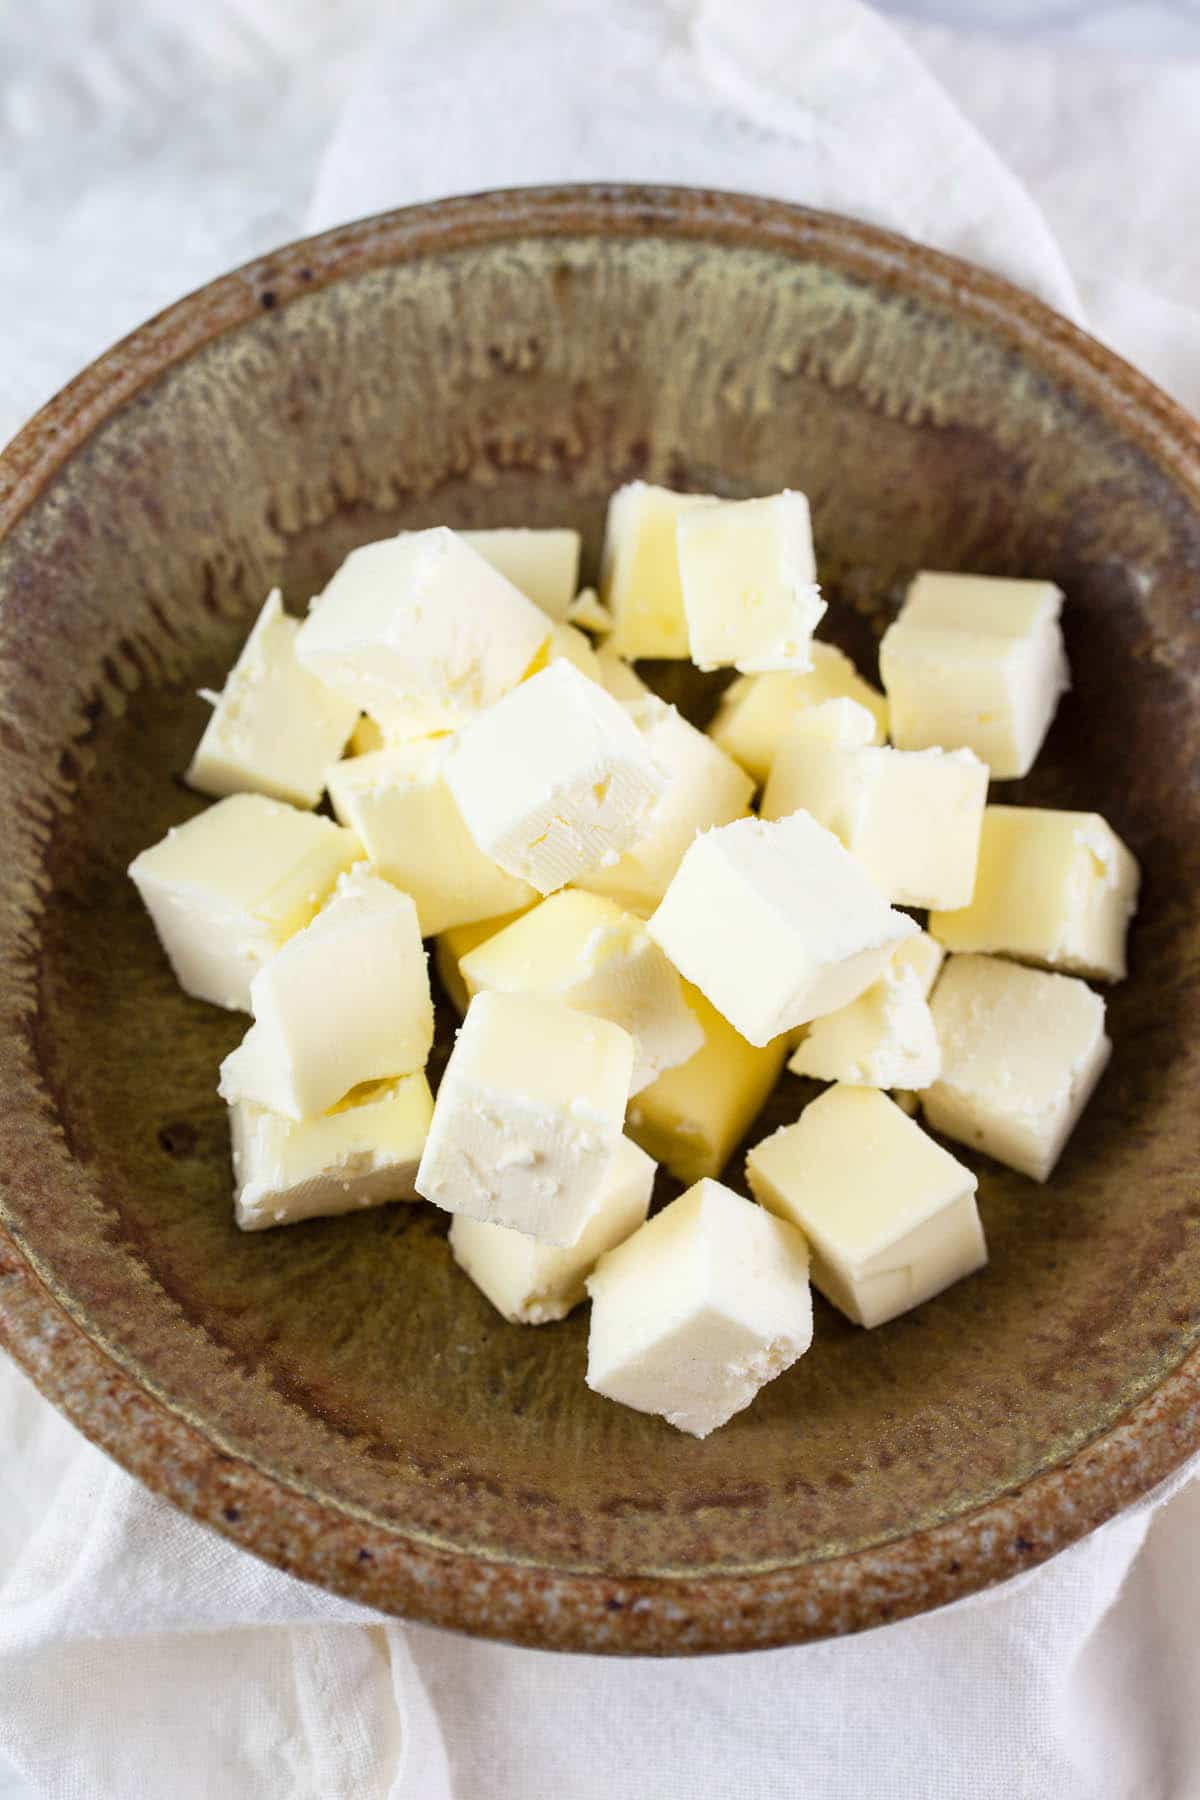
The first step is to place 6 Tbsp. of unsalted butter in the freezer for 15 minutes. Freezing the butter helps to ensure that it remains cold when added to the dry ingredients.
It's important that the butter is cold, because this helps to create flaky layers within the biscuits. Butter that is too warm will cause the biscuits to spread, instead of rise, as they bake. The same is true when making pie crust or scones from scratch.
- Cut 6 Tbsp. of unsalted butter into cubes. Put the butter cubes into a small bowl and place the bowl in the freezer for 15 minutes.
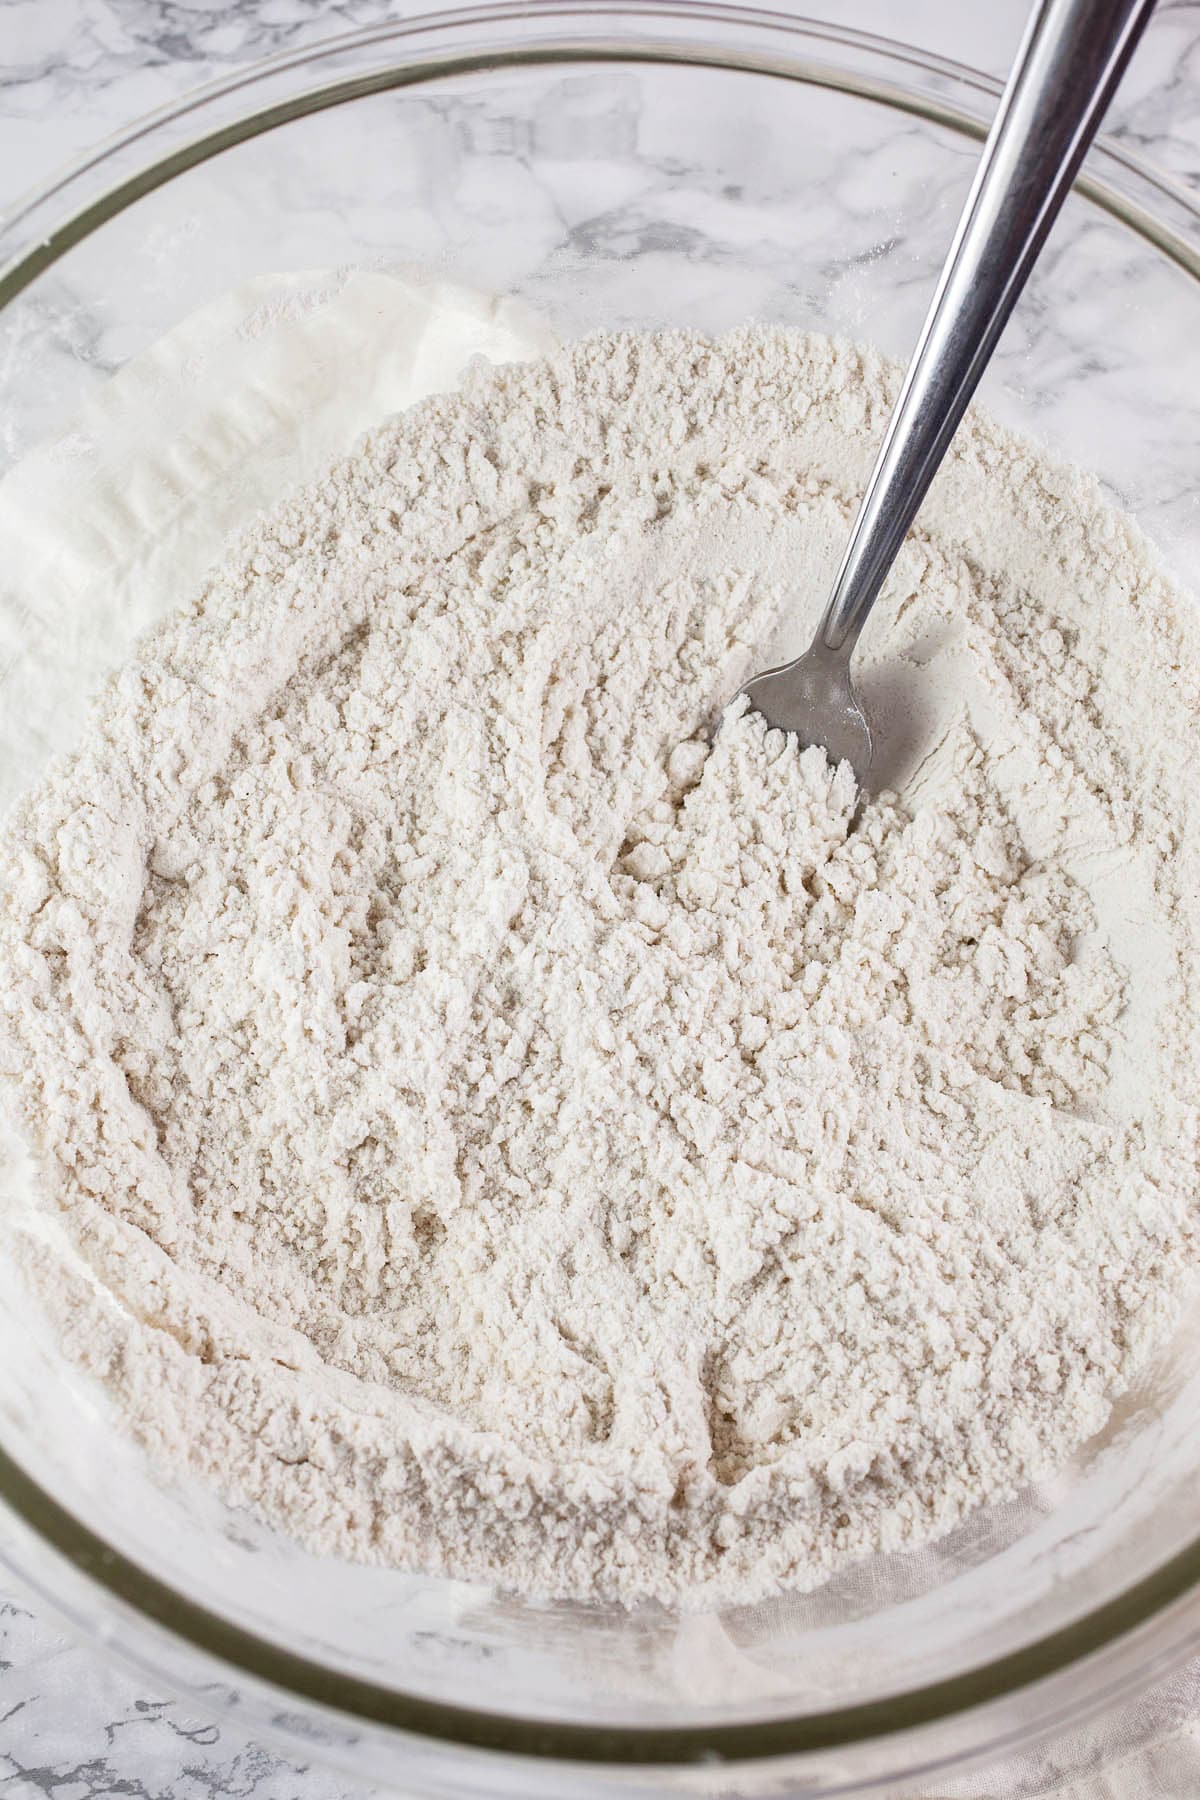
- While the butter is chilling in the freezer, prepare the dry ingredients. Add 2 ¼ cups gluten free flour blend, 1 Tbsp. baking powder, 2 Tbsp. sugar, and 1 tsp. kosher salt in a large mixing bowl. Stir until completely combined.
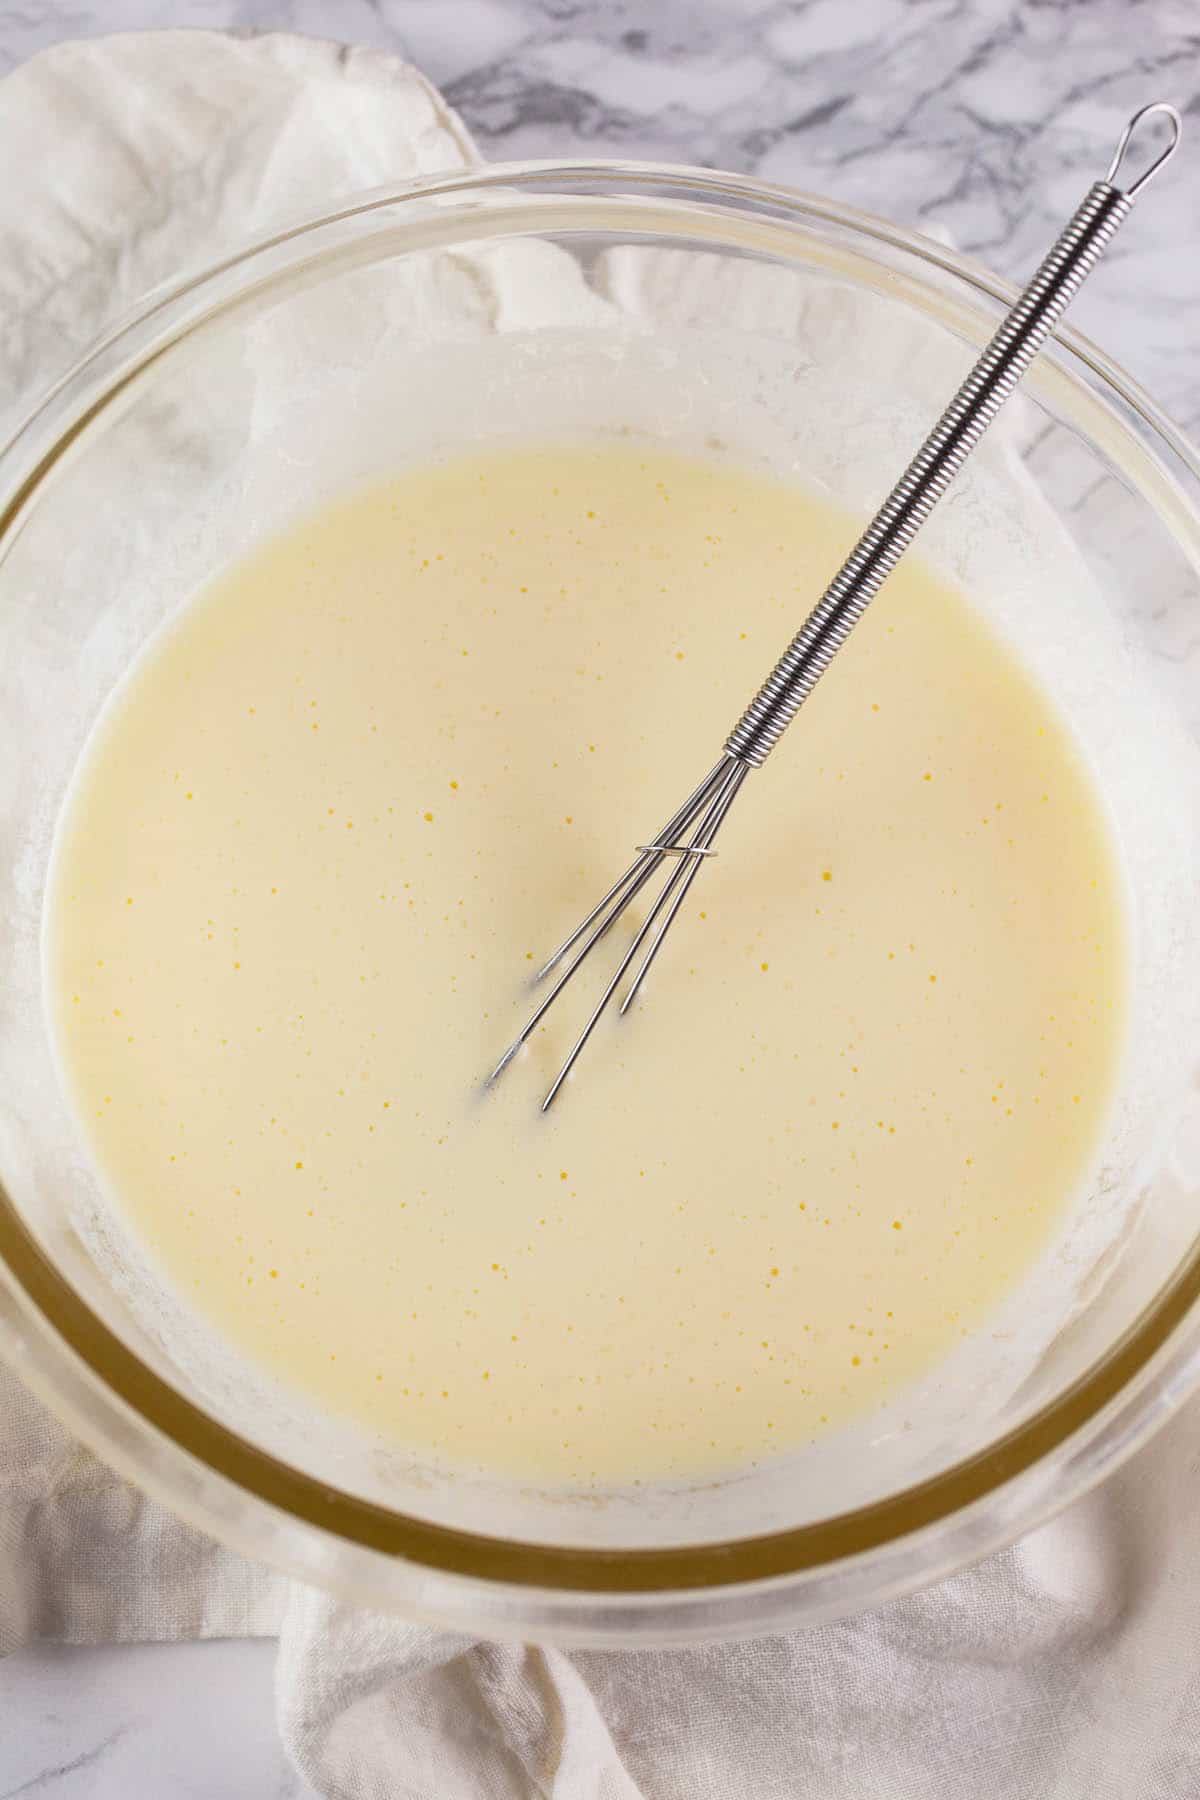
- In a second bowl, combine 1 large egg and 1 cup plus 1 Tbsp. buttermilk. Whisk until combined.
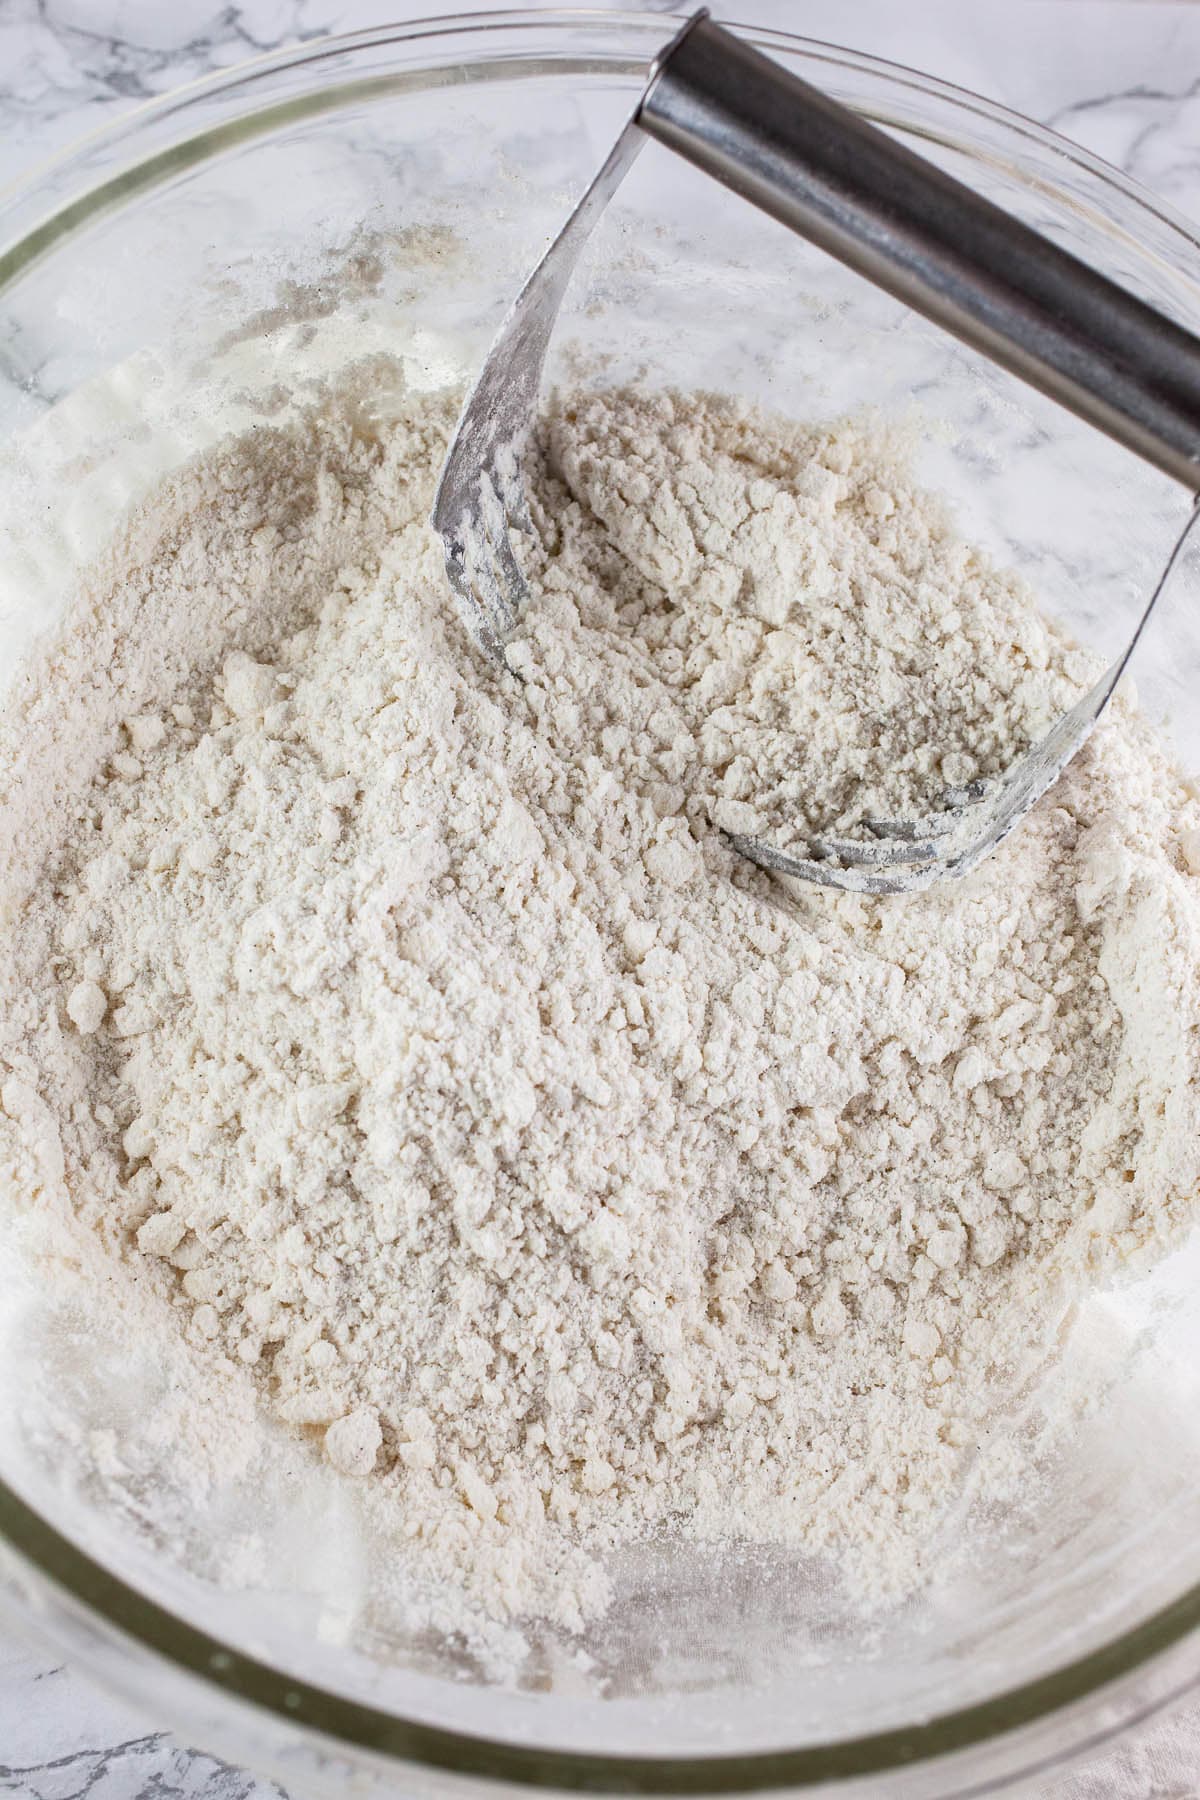
- After 15 minutes, remove the butter from the freezer and add it to the dry ingredients. Cut the butter into the flour mixture using a pastry cutter. The mixture should resemble course crumbs when finished. (This is the same process that is used to make pie crust).
What Does Buttermilk Do For Biscuits?
Buttermilk is one of those quintessential ingredients that is often associated with baked goods like biscuits. The acidity of the buttermilk reacts with the other leavening agents in the dough and helps them to rise as they bake.
It also provides that unmistakable tangy flavor that is found in old fashioned goodies like pancakes, muffins, cakes, and pies.
- Once the butter has been cut into the flour mixture, it's time to combine it with the wet ingredients.
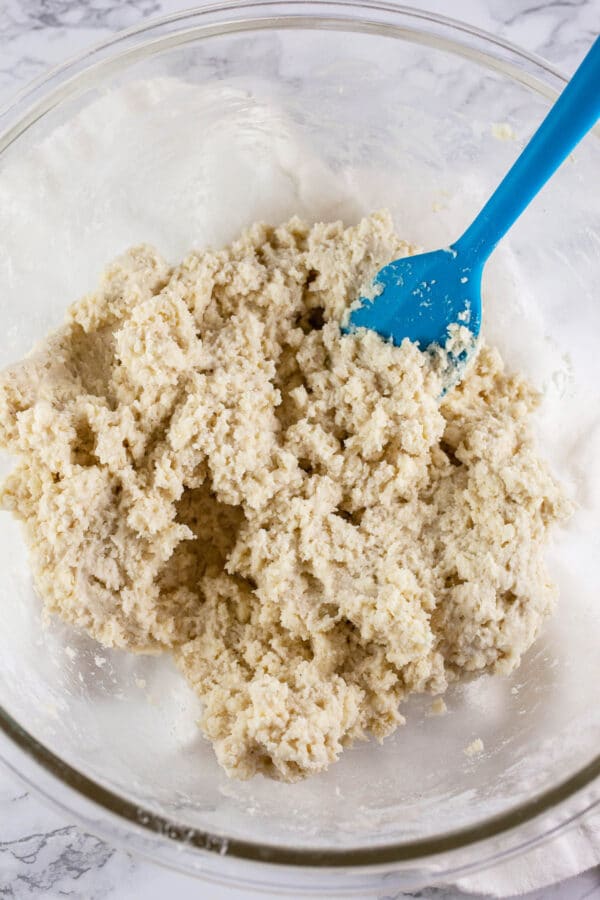
- Simply pour the buttermilk mixture into the dry ingredients a bit at a time, stirring to combine with a wooden spoon.
- Repeat this process until the mixture has formed a sticky dough.
- It's important to stir just until combined. Overworking the dough can result in tough bisuits.
What If I Don't Have Buttermilk?
You can make your own buttermilk if you don't have any on hand.
- Combine 1 cup of milk with 1 Tbsp. white vinegar or lemon juice.
- Allow the mixture to stand for 5 minutes at room temperature. Stir before use.
How To Cut The Dough Into Biscuits
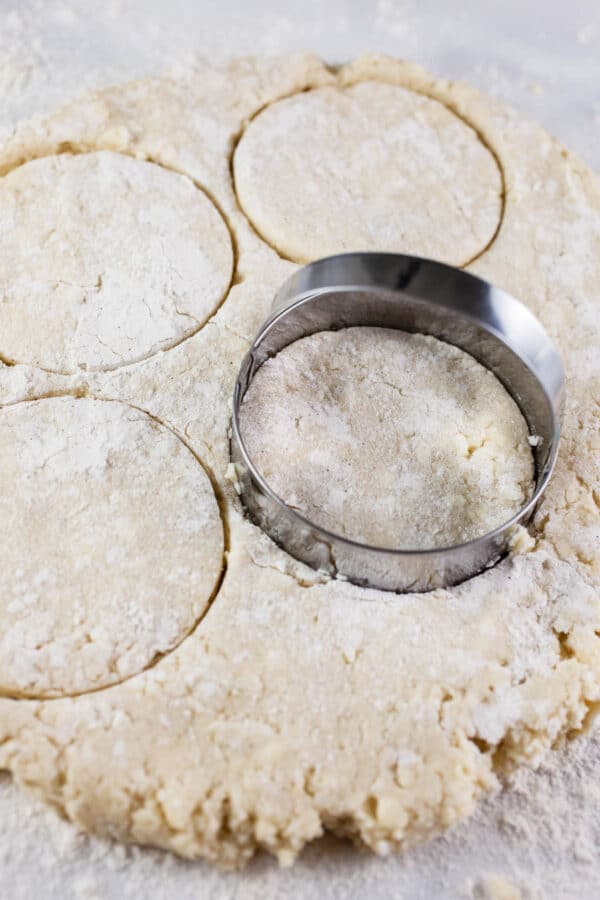
Once the dough is ready, it's time to turn it out onto a lightly floured surface, form it into a disc, and cut the disc into biscuits.
It's important that the dough is not too thin. Gluten free flour does not rise as much as AP flour, so the biscuits will be roughly the same height as the dough after baking.
There is not need to use a rolling pin when working with this biscuit dough. It's easy to work with using only your hands.
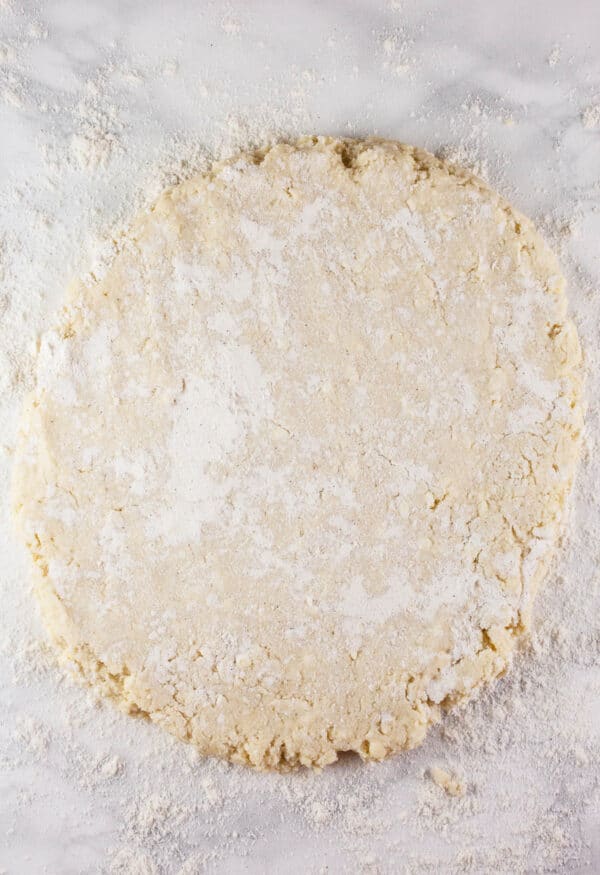
- Sprinkle a generous amount of gluten free flour onto a clean, flat surface.
- Turn the dough out onto the floured surface and gently press down on the dough with your hands, forming it into a circle or disc.
- Press a small-medium sized biscuit cutter down onto the dough and lift it up without twisting the dough. Twisting the biscuit cutter will cause the edges to seal and the biscuits may not rise quite as much as they bake in the oven.
- Repeat the process until all the dough has formed into biscuits. You will need to reform the dough into a disc a few times in order to use up all the dough.
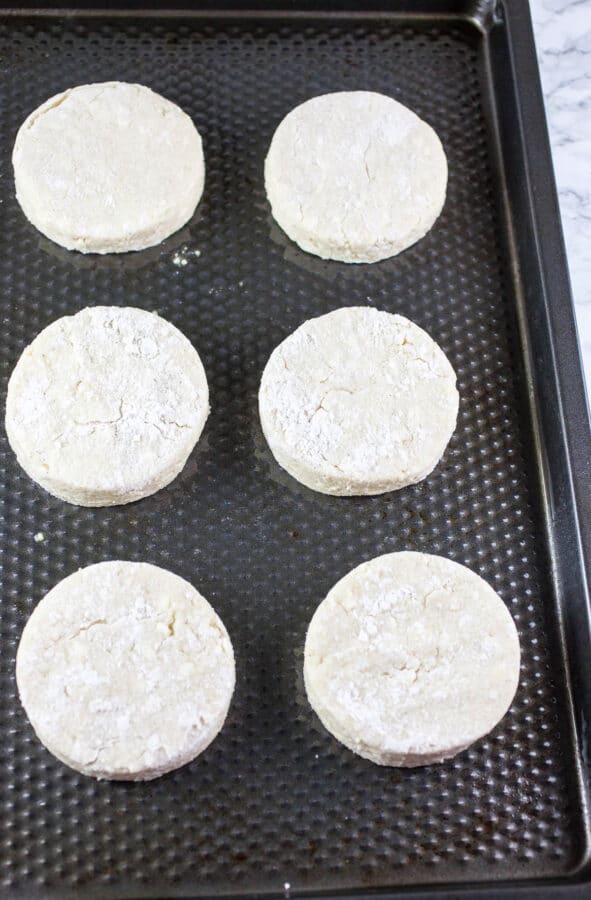
- Place the biscuits onto a baking sheet. You should end up with 8-10 biscuits, depending on the size of biscuit cutter used and the thickness of your dough.
What If I Don't Have A Biscuit Cutter?
Feel free to use a glass, a mason jar lid, a cookie cutter, or any other circular object to cut the biscuits if you do not have a biscuit cutter.
Be sure not to twist the biscuits as you cut them. Simply press down with the circular object and pull the dough up, just as you would with a biscuit cutter.
How Long Do Biscuits Take To Bake?
You can spray the baking sheets with cooking spray if you like, but find that the biscuits do not stick even without it.
The biscuits are chilled in the fridge for 15 minutes prior to baking. This helps to cool down the butter after working the dough with your hands. It also helps to firm them up and maintain their shape when baked.
I use this technique when making gluten free scones and find it works great.
- Heat oven to 450 degrees Fahrenheit.
- Place the baking sheet in the fridge and allow the biscuits to chill for 15 minutes before baking.
- After 15 minutes, remove the baking sheet from the fridge and place it on the top rack of the oven. I find that the top rack is perfect for achieving a golden crust on the bottom of the biscuits.
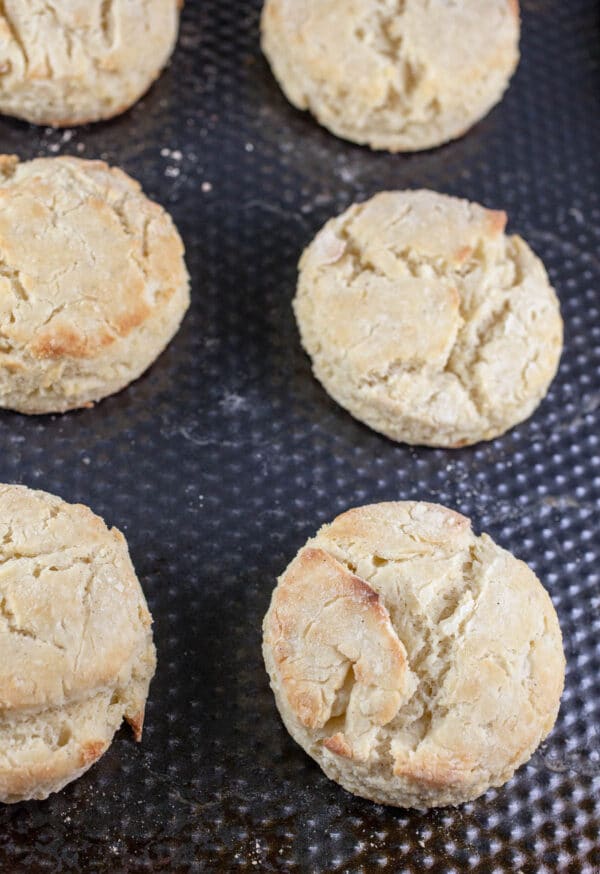
- Bake the biscuits at 450 degrees Fahrenheit for 15-16 minutes.
- Once the biscuits are baked through and the top slightly golden, remove the baking sheet from the oven and allow to cool slightly before serving.
What To Serve With Gluten Free Biscuits
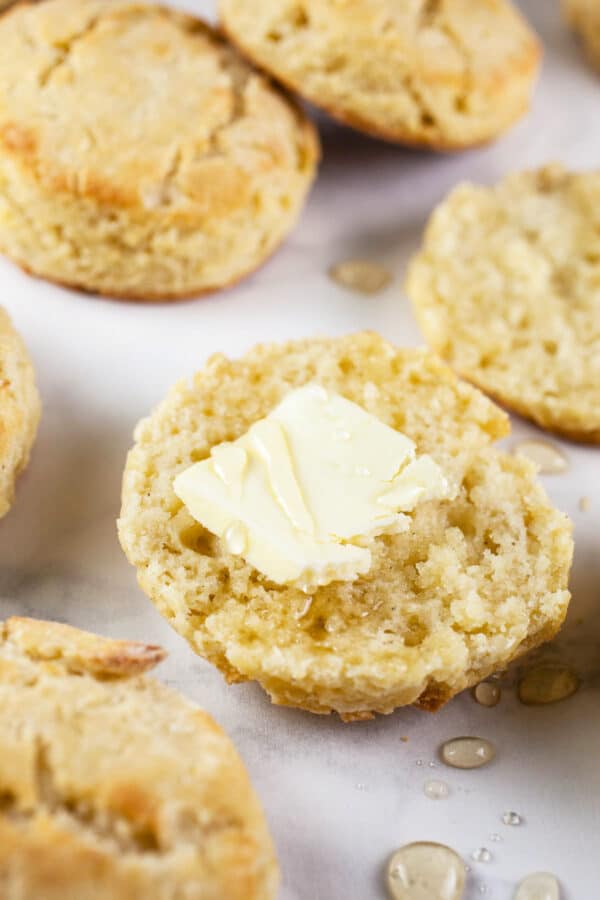
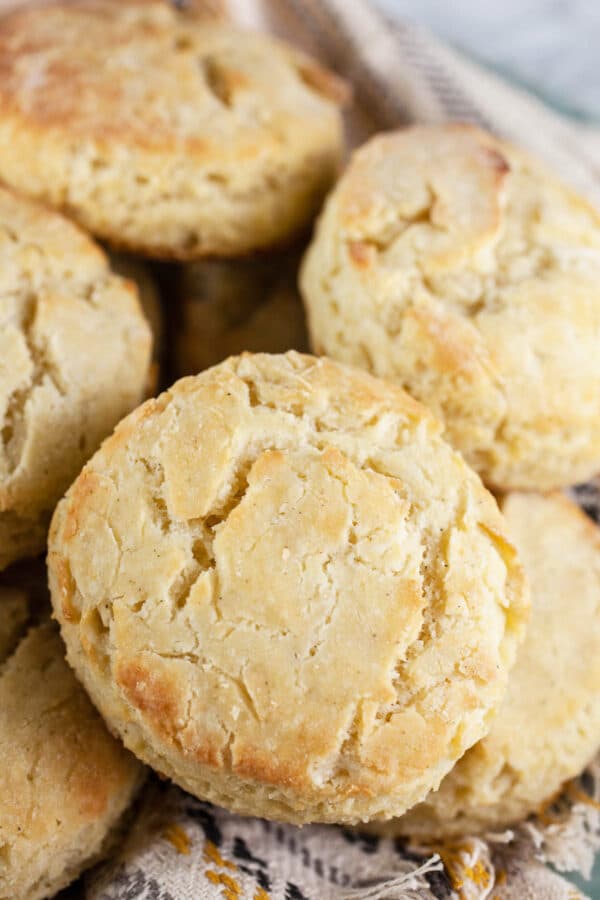
I love everything about homemade biscuits. The flaky texture and buttery flavor are unbeatable. They are versatile and can be enjoyed on their own, with some butter or garlic herb butter, or paired with any amount of sweet or savory toppings.
Biscuits make a great addition to a holiday table. They're great for holidays like Thanksgiving, Christmas, and Easter.
They can be dipped into soups, stews, or gravies.
Biscuits are great with creamy soups like potato leek soup, carrot ginger soup, or root vegetable soup.
Here are some great toppings and ways to enjoy homemade biscuits:
- Butter
- Honey
- Maple Syrup
- Sorghum
- Jam or Jelly
- Cheese Spread
- Peanut Butter
- Gravy
I love to cut the biscuits in half, top them with sliced ham or turkey, eggs, and cheese for a breakfast sandwich. Bacon and sausage also make for great toppings.
How Long Do Homemade Biscuits Last?
These biscuits last for 2-3 days at room temperature.
Make sure to place them in a Ziploc bag or airtight container if storing them at room temperature. Biscuits are much like scones in that they can dry out quickly and are best enjoyed right away.
They should last 3-4 days stored in the fridge in an airtight container.
Can These Biscuits Be Frozen?
Biscuits can be frozen and are a great thing to have on hand.
How To Freeze
- Bake the biscuits as directed and allow to cool completely before transferring to the freezer for storage.
- Once cooled, place them in a heavy-duty freezer bag, label with the date, and freeze up to 3 months.
How To Thaw
- Transfer the biscuits to the fridge 24 hours before serving to thaw.
- Alternately, you can remove as many biscuits as you like and heat them in the microwave or in the oven heated to 350 degrees Fahrenheit on a baking sheet. Bake just until heated through.
I am certainly no biscuit expert (I think you need to have been born in the South to be considered a true biscuit expert) but I am a biscuit aficionado, and I find this recipe to be easy and the results to be very tasty.
Love biscuits? Check out these recipes!
- Gluten Free Cheese Scones
- Gluten Free Pumpkin Scones
- Baked Lemon Doughnuts
- Buttermilk Rhubarb Cake
- Sour Cream Rhubarb Muffins
- Blueberry Buckle
- Cinnamon Streusel Apple Muffins
- Gluten Free Apple Cake
- Sour Cream Rhubarb Bread
Looking For More Gluten Free Bread Recipes? Don't Miss These!
Gluten Free Garlic Knots
Gluten Free Dinner Rolls
Gluten Free Biscuits with Buttermilk
Ingredients
- 6 Tbsp. unsalted butter frozen
- 2 ¼ cup gluten free flour blend
- 1 Tbsp. baking powder
- 2 Tbsp. sugar
- 1 tsp. kosher salt
- 1 large egg
- 1 cup buttermilk
- 1 Tbsp. buttermilk
Instructions
- Cut 6 Tbsp. unsalted butter into small cubes. Place the butter in a small bowl and freeze for 15 minutes.
- In a large mixing bowl combine 2 ¼ cups gluten free flour blend, 1 Tbsp. baking powder, 2 Tbsp. sugar, and 1 tsp. kosher salt. Stir the dry ingredients together until combined.
- In another mixing bowl combine 1 large egg and 1 cup plus 1 Tbsp. of buttermilk. Whisk until combined.
- After 15 minutes remove the butter from the freezer and add to the flour mixture. Combine the flour and butter together using a pastry cutter. The dough should resemble course crumbs when finished. (This process is much like making a pie crust).
- Add the buttermilk mixture to the flour mixture a little at a time using a wooden spoon to combine. Continue until all the ingredients are combined. The dough should be slightly wet and sticky. Try not to stir more than necessary, so that the biscuits are not tough.
- Sprinkle a little gluten free flour onto a clean, flat surface. Turn the dough onto the surface and form it into a circle using your hands. Try not to press the dough too thin. The thickness of your dough is roughly the thickness of the biscuits when finished baking.You will need to press the dough together a few times in order to use all of it up. Simply reform the dough into a disc with your hand and continue to cut with a biscuit cutter until all of the dough is used up.
- Cut the biscuits with a biscuit cutter or round object. Do not twist the biscuits. Simply press down with the cutter, lift, them, and place on a baking sheet. This recipe should make 8-10 biscuits, depending on the thickness of your dough and size of your biscuit cutter.You can spray the baking sheet with cooking spray if you like, but I find that it is not necessary.I recommend a small-medium sized biscuit butter for biscuits that are taller, rather than wider.
- Place the baking sheet in the fridge and allow the biscuits to chill for 15 minutes before baking.
- Heat oven to 450 degrees Fahrenheit.
- Place the baking sheet on the top rack of the oven and bake for 15-16 minutes (I find the top rack results in a golden crust on the bottom of the biscuits and does not overcook them). Check at the 15 minute mark and bake for a couple more minutes if necessary. The tops should be slightly golden brown.
- Remove from the oven when finished and let cool for at least 5 minutes before serving.


Leave a Reply