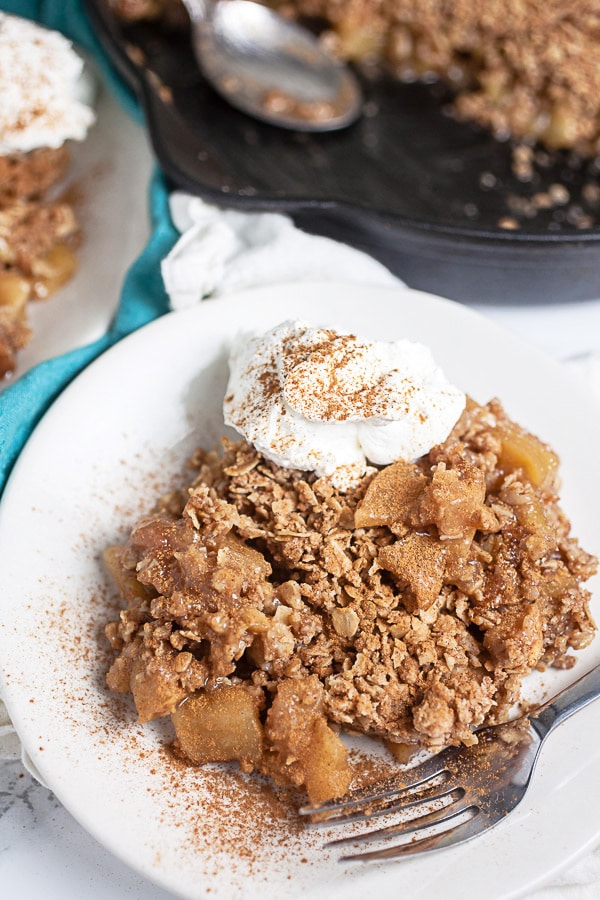
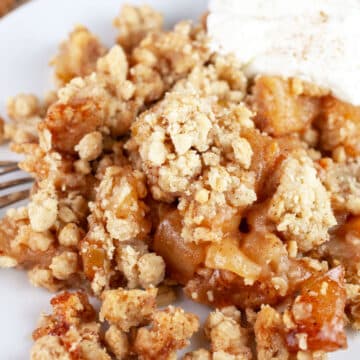
This Cast Iron Apple Crisp recipe is the perfect easy gluten free fall dessert! It's made in a skillet with apples and oat streusel topping.
I can't think of a better way to indulge fall cravings than a batch of this Cast Iron Skillet Apple Crisp.
There are times when summer gradually fades into fall and we get a few magical weeks when the nights are cool but the days are still warm, the leaves begin to turn ever so slightly, and we slowly incorporate a few autumn items into our wardrobe.
Then there are times when summer decides its done with us and we're dumped right from late August to mid-October. No gradual transition time, just a quick 'See ya. Enjoy shivering in your house because you're too stubborn to turn on the heat so early in the season'.
This is one of those times. The cold fall weather decided to sneak attack us this year and I went from being satisfied with a light salad to needing a big plate of beef short ribs, like, now. Those cold weather comfort food cravings are real, folks.
It's got everything that's to love about apple desserts - This recipe is homey and comforting, it smells AMAZING as it bakes in the oven, and it helps us to not only tolerate, but embrace the cooler weather.
Jump to:
- What Apples Are Best For Apple Crisp?
- Should I Peel The Apples Before Baking?
- Ingredients For Cast Iron Apple Crisp
- How To Make Apple Crisp From Scratch
- How To Make Oatmeal Streusel Topping
- Can I Make This Streusel Without A Mixer?
- Bake The Cast Iron Apple Crisp
- How To Keep Apple Crisp From Getting Watery
- How To Tell When Apple Crisp Is Done
- Can This Recipe Be Made In A Regular Pan?
- How To Store Apple Crisp
- Can It Be Frozen?
- Cast Iron Apple Crisp (Gluten Free)
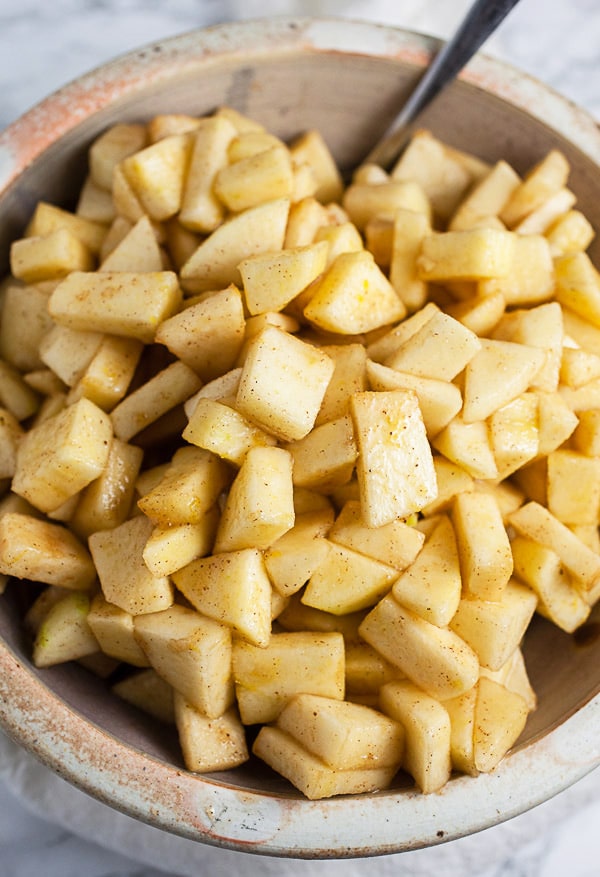
What Apples Are Best For Apple Crisp?
When it comes to apple desserts the rule of thumb is to choose a combination of sweet and tart apples. The combo of the two provides a flavor that's the perfect balance of sweetness and acidity.
My favorite combo (and I use this to make everything from a Classic Apple Pie to an Apple Galette) is Granny Smith and something sweet such as Fuji, Gala, Braeburn, or Honeycrisp.
It's also important to choose a variety of apples that are not too soft or the dessert may become mushy as it bakes.
Should I Peel The Apples Before Baking?
I would recommend peeling the apples before baking them into a crisp because leaving them on may result in a weird texture (and we don't eat things like apple crisp to be healthy, right)?
It's not completely necessary to peel the apples and it's ultimately a personal choice but for this recipe I recommend doing so.
Ingredients For Cast Iron Apple Crisp
The great thing about apple crisp (aside from being delicious) is that its easy to make and requires only a few ingredients.
Here's what you'll need to make it.
- 3 Tart Apples (such as Granny Smith)
- 3 Sweet Apples (such as Fuji, Gala, or Honeycrisp)
- zest of 1 Lemon
- 2 Tbsp. Lemon Juice
- 1 ¼ packed cup Brown Sugar
- 2 tsp. Cinnamon
- ¼ tsp. Nutmeg
- ½ cup plus 3 Tbsp. Gluten Free Flour Blend (or regular AP flour if not gluten free)
- 2 cups Gluten Free Oats (or regular oats if not gluten free)
- 6 Tbsp. Butter
- ¼ tsp. Kosher Salt
How To Make Apple Crisp From Scratch
I am a huge fan of scratch-made apple pie (or any pie for that matter) but pies are a bit time-consuming.
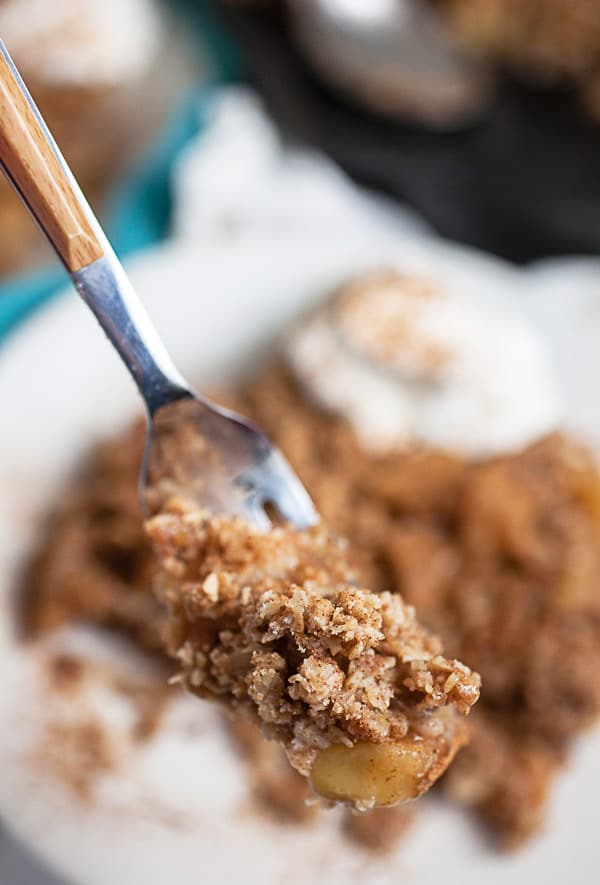
The great thing about crisps is that you can toss all of the ingredients into a pan, throw it in the oven, and let it do its thing.
There's no rolling of pie crusts, no mess, and no worrying about the crust overcooking. It's a dessert that tastes like it took a lot of effort but in reality is super simple to prepare.
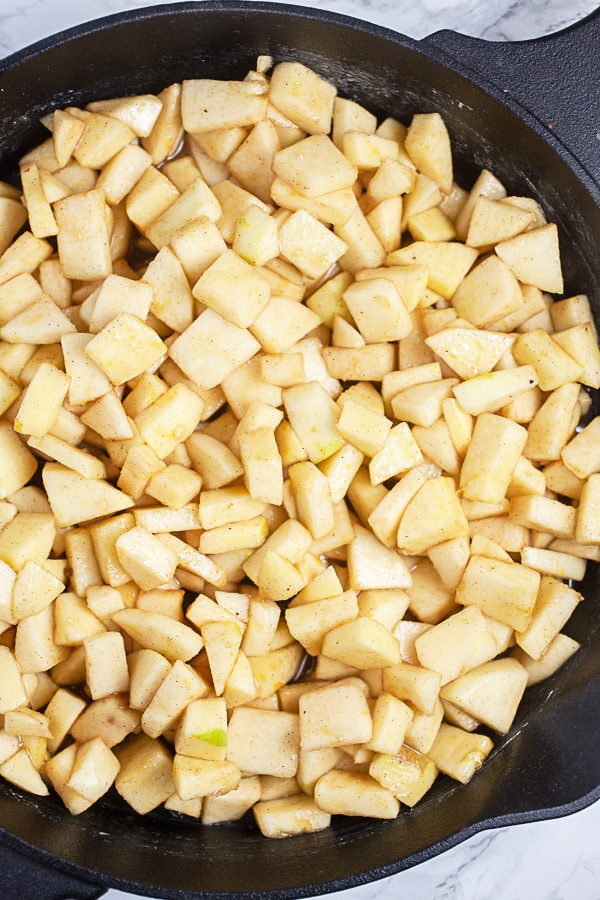
- Start by peeling all of the apples. Once the apples are peeled cut them into small-ish pieces.
- Place the diced apples into a large bowl. Zest 1 lemon into the apples using a microplane or small zester. Once the lemon is zested cut it in half and add 2 Tbsp. of lemon juice (careful to remove any seeds).
- Add ¾ packed cup of brown sugar along with ½ tsp. cinnamon, ⅛ tsp. nutmeg, and 3 Tbsp. gluten free flour blend (or regular AP flour if not gluten free). Stir all of these ingredients until completely combined.
This provides the base or the 'fruit filling' for the Cast Iron Skillet Apple Crisp. The filling is then topped with a layer of streusel before baking in the oven.
Love old fashioned desserts? Don't miss these recipes!
How To Make Oatmeal Streusel Topping
Apples are delicious and all but when it comes to crisps it's ALL about that streusel topping.
I would eat just about anything if it came with a layer of streusel topping (like this Blueberry Buckle).
Streusel can be made with a variety of ingredients but in my book it's best when made with oats. The oats give homemade streusel a great texture and flavor.
The streusel topping becomes crunchy as it bakes and gives the apple crisp an unbeatable sweet and salty bite.
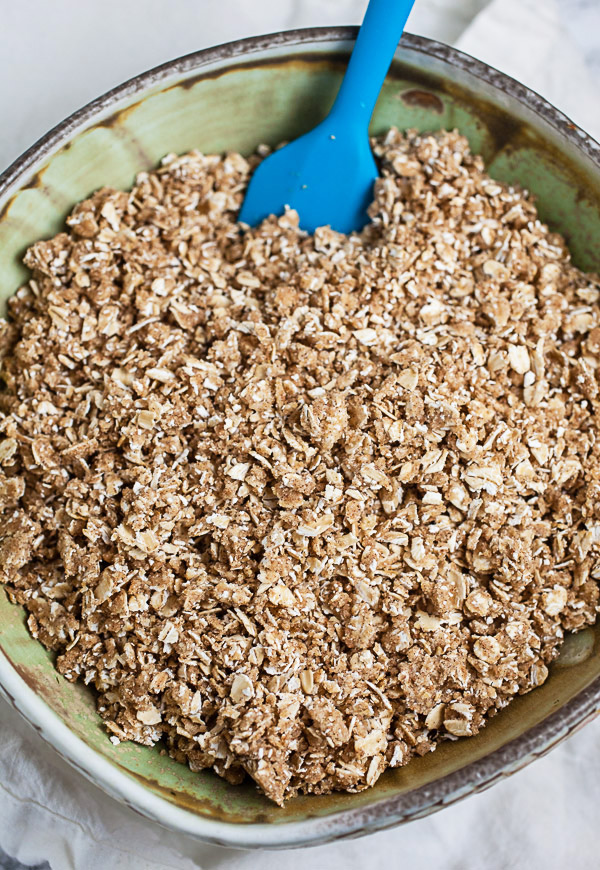
- To make the streusel add 2 cups of gluten free oats (or regular oats if not gluten free), ½ cup gluten free flour blend (or regular AP flour if not gluten free), 1 ½ tsp. cinnamon, ⅛ tsp. nutmeg, ½ packed cup brown sugar, and ¼ tsp. kosher salt to the bowl of a KitchenAid mixer.
- Cut 6 Tbsp. of cold butter into pieces and add them to the bowl.
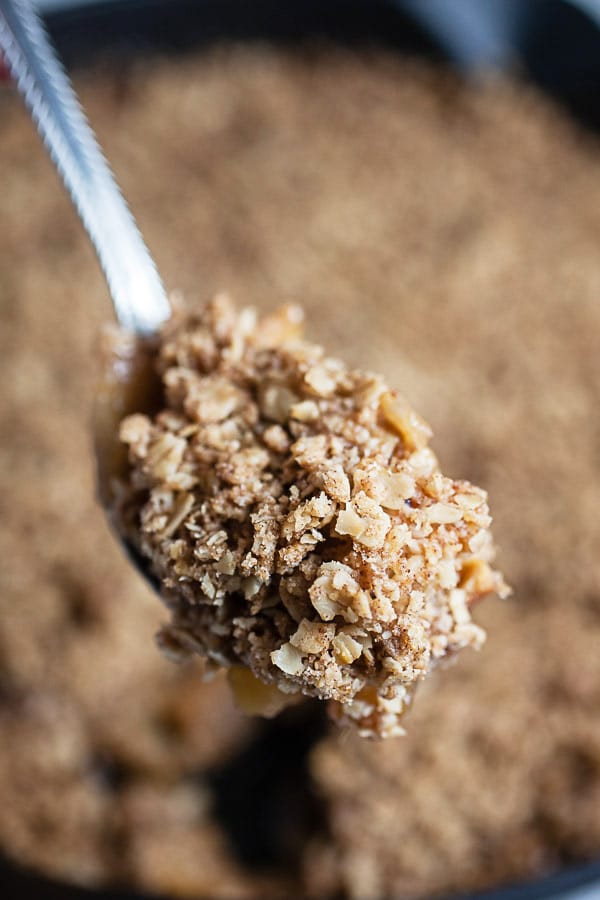
- Using the paddle attachment of the mixer combine all of the ingredients together on medium-low speed until the mixture resembles coarse crumbs.
Can I Make This Streusel Without A Mixer?
Yes! To make it without a mixer simply combine all of the ingredients in a large bowl and combine them using a pastry cutter or fork.
You can also use your fingers to combine all of the ingredients (the texture may be slightly different than if using a mixer).
Bake The Cast Iron Apple Crisp
Once the apples and streusel are ready it's time to throw it all together to bake.
This recipe is baked in a cast iron skillet. The great thing about cast iron is that it distributes heat perfectly so anything that's prepared in it cooks evenly. The apples are cooked to an even softness, the topping doesn't burn, and the whole thing stays nice and balanced.
- Start by generously greasing a 12" cast iron skillet with butter. The butter will help to prevent the apples from sticking to the bottom.
- Pour the diced apples (and juices) and spread them evenly across the bottom of the skillet.
- Sprinkle the streusel topping evenly over the top of the apples.
- Place the skillet into an oven that has been heated to 350 degrees Fahrenheit, loosely place a pieces of foil over the top, and bake for 45 minutes. After 45 minutes, remove the foil and bake for another 15 minutes (60 minutes total).
How To Keep Apple Crisp From Getting Watery
I find watery apple crisp (or any watery apple desserts) super unappealing so I do my best to avoid it.
The flour in the apple mixture helps to create a thick, caramel-like sauce as the apple crisp bakes. I take this extra step with my apple pie recipe as well and am always happy with the results.
I also find that not over-loading the streusel topping with butter helps to keep it crunchy and prevents the whole thing from turning to mush.
How To Tell When Apple Crisp Is Done
Baking times may vary slightly. I found that 1 hour of cooking time was perfect but every oven is different and it may take less time for you.
Apple Crisp is done when the apples are easily pierced with a knife or fork. It's important that they are soft but not mushy.
Feel free to test the apples at the 45-minute mark after removing tinfoil and leave it in for another 5-15 minutes to bake without the tinfoil (if needed).
Can This Recipe Be Made In A Regular Pan?
I have never tested this recipe in a regular pan but it should be fine to do so.
You could try an 11x7 inch or 9x13 inch to see which works better for this amount of filling.
Remember to grease the pan before adding the filling. Bake at 350 degrees Fahrenheit as directed and check the apples at the 45-minute mark.
Cooking times may vary slightly depending on the type of pan used.
Or, you can check out this Gluten Free Apple Crisp recipe (it's made in a 9x13 inch cake pan).
Looking for more apple desserts? Don't miss these!
How To Store Apple Crisp
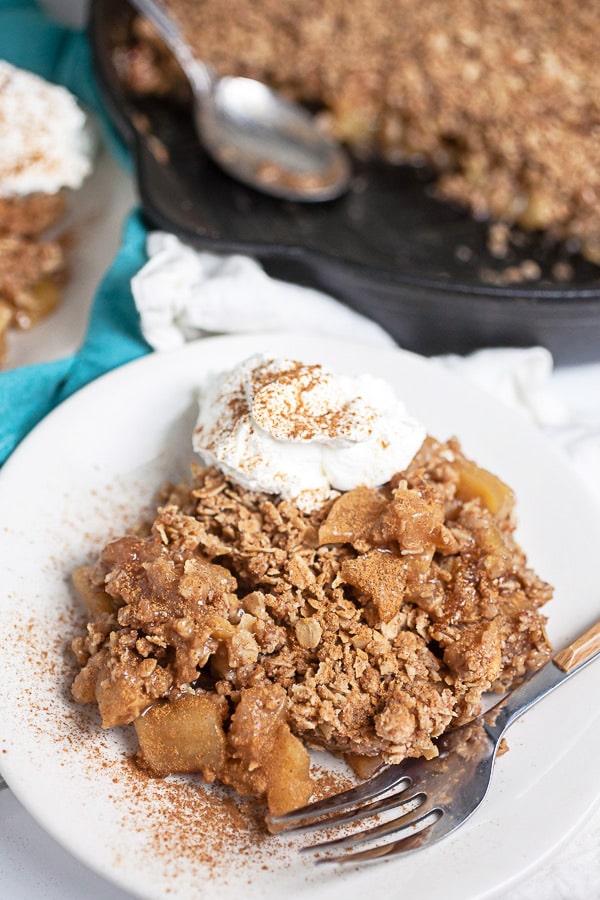
This recipe didn't last more than a day in our house but if we had any kind of self-control it should last 2-3 days at room temperature. Be sure to cover the pan with a dish towel or foil to keep it free from fruit flies or anything of the sort.
If you feel more comfortable storing in the fridge it should last 3-4 days stored in an airtight container. The streusel may lose some of its crunchiness if stored in the fridge but that's totally fine.
Can It Be Frozen?
Apple crisp can definitely be frozen but it's best to freeze in tinfoil or some kind of freezer-friendly container as you probably don't want your cast iron skillet tied up in the freezer for 3 months.
How To Freeze
- Prepare according to recipe directions. Allow the apple crisp to cool completely.
- Transfer to a freezer-friendly storage container, cover or wrap tightly with plastic wrap or foil, and store up to 3 months in the freezer.
How To Thaw
- Thaw in the refrigerator 24 hours before serving.
- Once thawed, bake at 35o degrees for 20 minutes or so or until warmed through.
You just can't beat a hot apple dessert - Especially paired with a cup of coffee!
Love fall desserts? Check out these recipes!
- Pumpkin Bread Pudding
- Maple Bourbon Pecan Pie
- Cinnamon Caramel Pumpkin Cheesecake
- Pumpkin Waffles
- Coffee Infused Banana Bread
- Maple Walnut Pie
- Pumpkin Streusel Coffee Cake
- Maple Pumpkin Scones
- Pumpkin Panna Cotta
Looking For More Cast Iron Skillet Desserts? Don't Miss These!
The Ultimate Skillet Cookie
Gingersnap Skillet Cookie
Easy Homemade Blackberry Cobbler
Easy Gingersnap Pear Crumble
Chocolate Cherry Skillet Cookie
Cast Iron Apple Crisp (Gluten Free)
Equipment
- 12 Inch Cast Iron Skillet
Ingredients
- 3 tart apples such as Granny Smith
- 3 sweet apples such as Fuji or Gala
- 2 Tbsp. lemon juice plus lemon zest
- 1 ¼ packed cup brown sugar split
- 2 tsp. cinnamon split
- ¼ tsp. nutmeg split
- 6 Tbsp. cold butter
- ½ cup gluten free flour blend or AP flour if not gluten free
- 3 Tbsp. gluten free flour blend or AP flour if not gluten free
- 2 cups gluten free oats or regular oats if not gluten free
- ¼ tsp. kosher salt
Instructions
- Heat oven to 350 degrees Fahrenheit.
- Start by peeling the apples. Once the apples are peeled dice them into small chunks.
- Place the diced apples into a large bowl. Zest 1 lemon into the apples using a microplane or small zester. Once the lemon is zested cut it in half and add 2 Tbsp. of lemon juice (careful to remove any seeds).
- Add ¾ packed cup of brown sugar along with ½ tsp. cinnamon, ⅛ tsp. nutmeg, and 3 Tbsp. gluten free flour blend (or regular AP flour if not gluten free). Stir all of these ingredients until completely combined.
For The Streusel Topping:
- Add 2 cups of gluten free oats (or regular oats if not gluten free), ½ cup gluten free flour blend (or regular AP flour if not gluten free), 1 ½ tsp. cinnamon, ⅛ tsp. nutmeg, ½ packed cup brown sugar, and ¼ tsp. kosher salt to the bowl of a KitchenAid mixer. Cut 6 Tbsp. of cold butter into pieces and add them to the bowl.
- Using the paddle attachment of the mixer combine all of the ingredients together on medium-low speed until the mixture resembles coarse crumbs.
- Generously greasing a 12″ cast iron skillet with butter. The butter will help to prevent the apples from sticking to the bottom. Pour the diced apples (and juices) and spread them evenly across the bottom of the skillet.
- Sprinkle the streusel topping evenly over the top of the apples.
- Place the skillet into an oven that has been heated to 350 degrees Fahrenheit, loosely place a pieces of foil over the top, and bake for 45 minutes. After 45 minutes, remove the foil and bake for another 15 minutes (60 minutes total).
- Remove the skillet from the oven when finished baking and cool before serving.
- To Serve: Serve with whipped cream or ice cream (optional).


Leave a Reply