
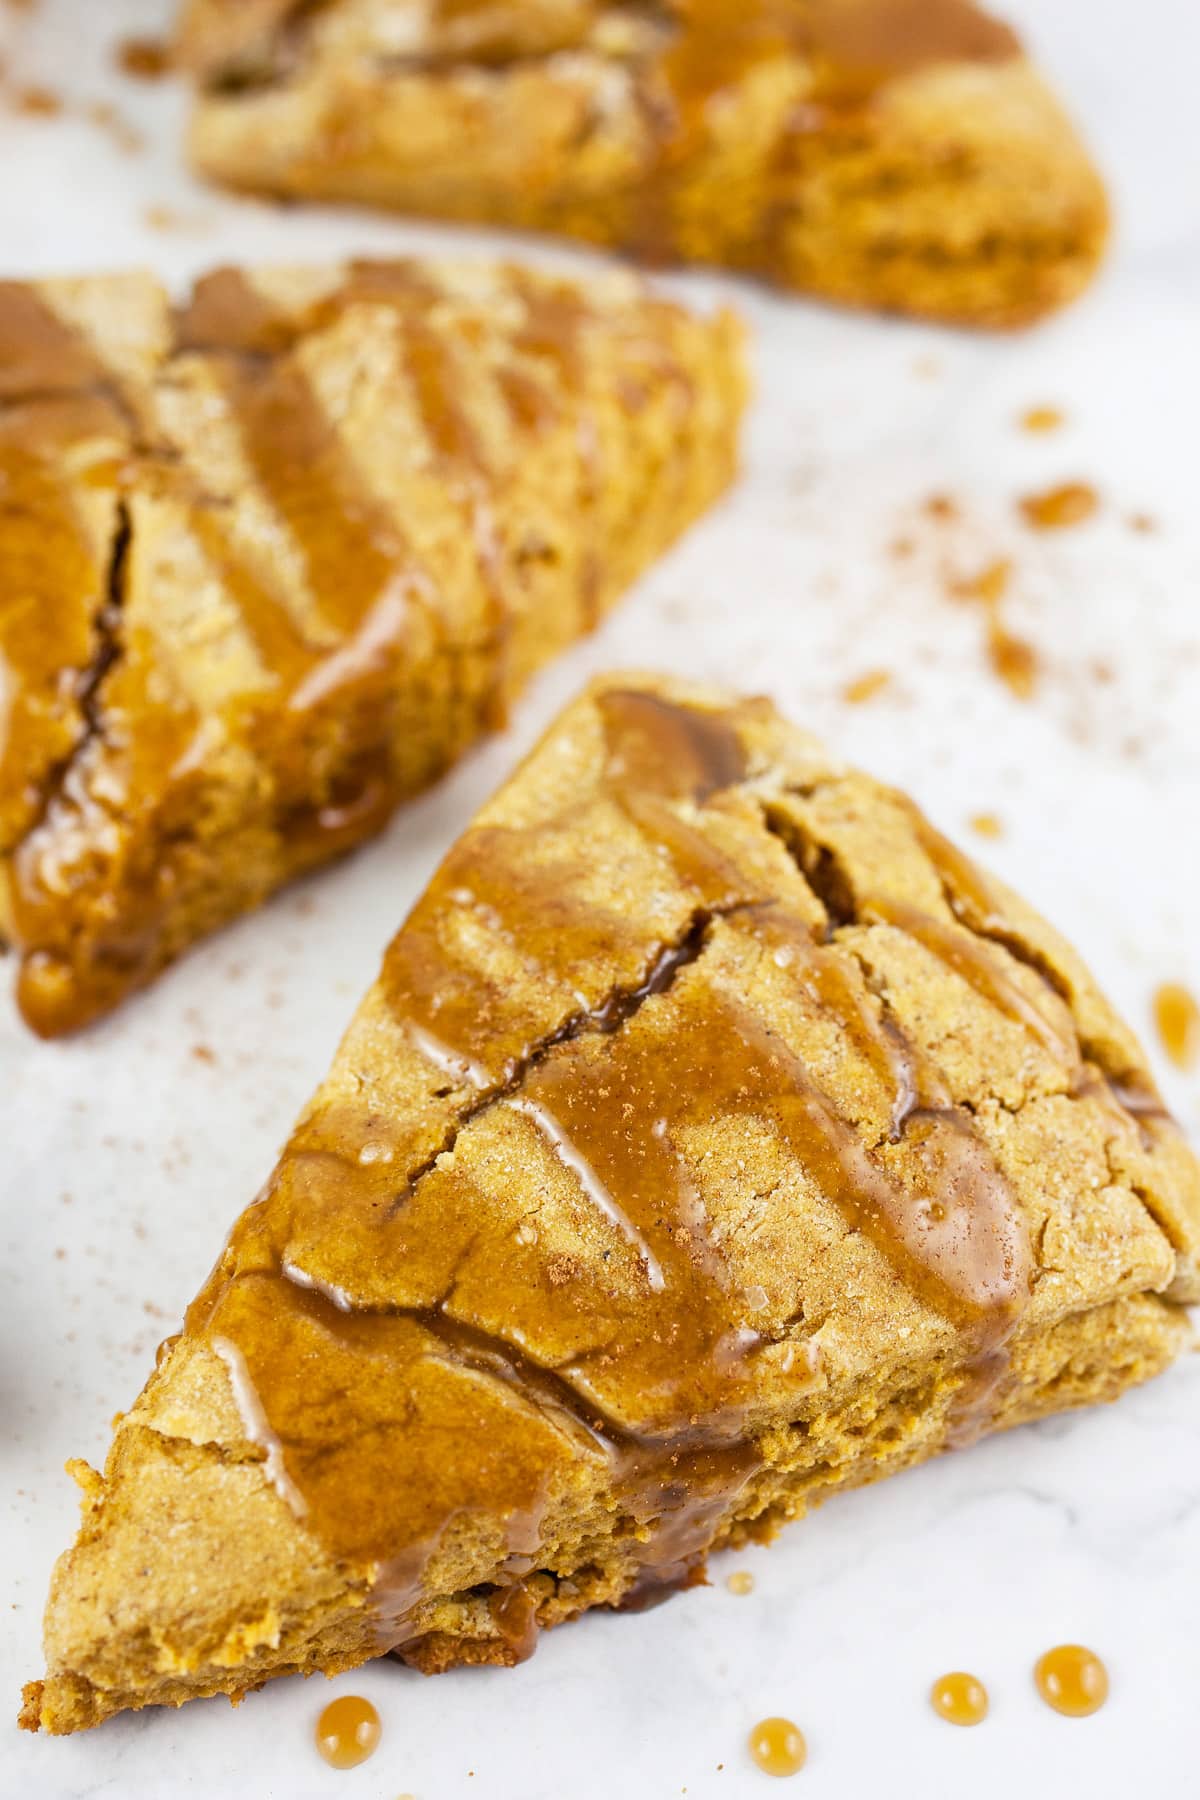
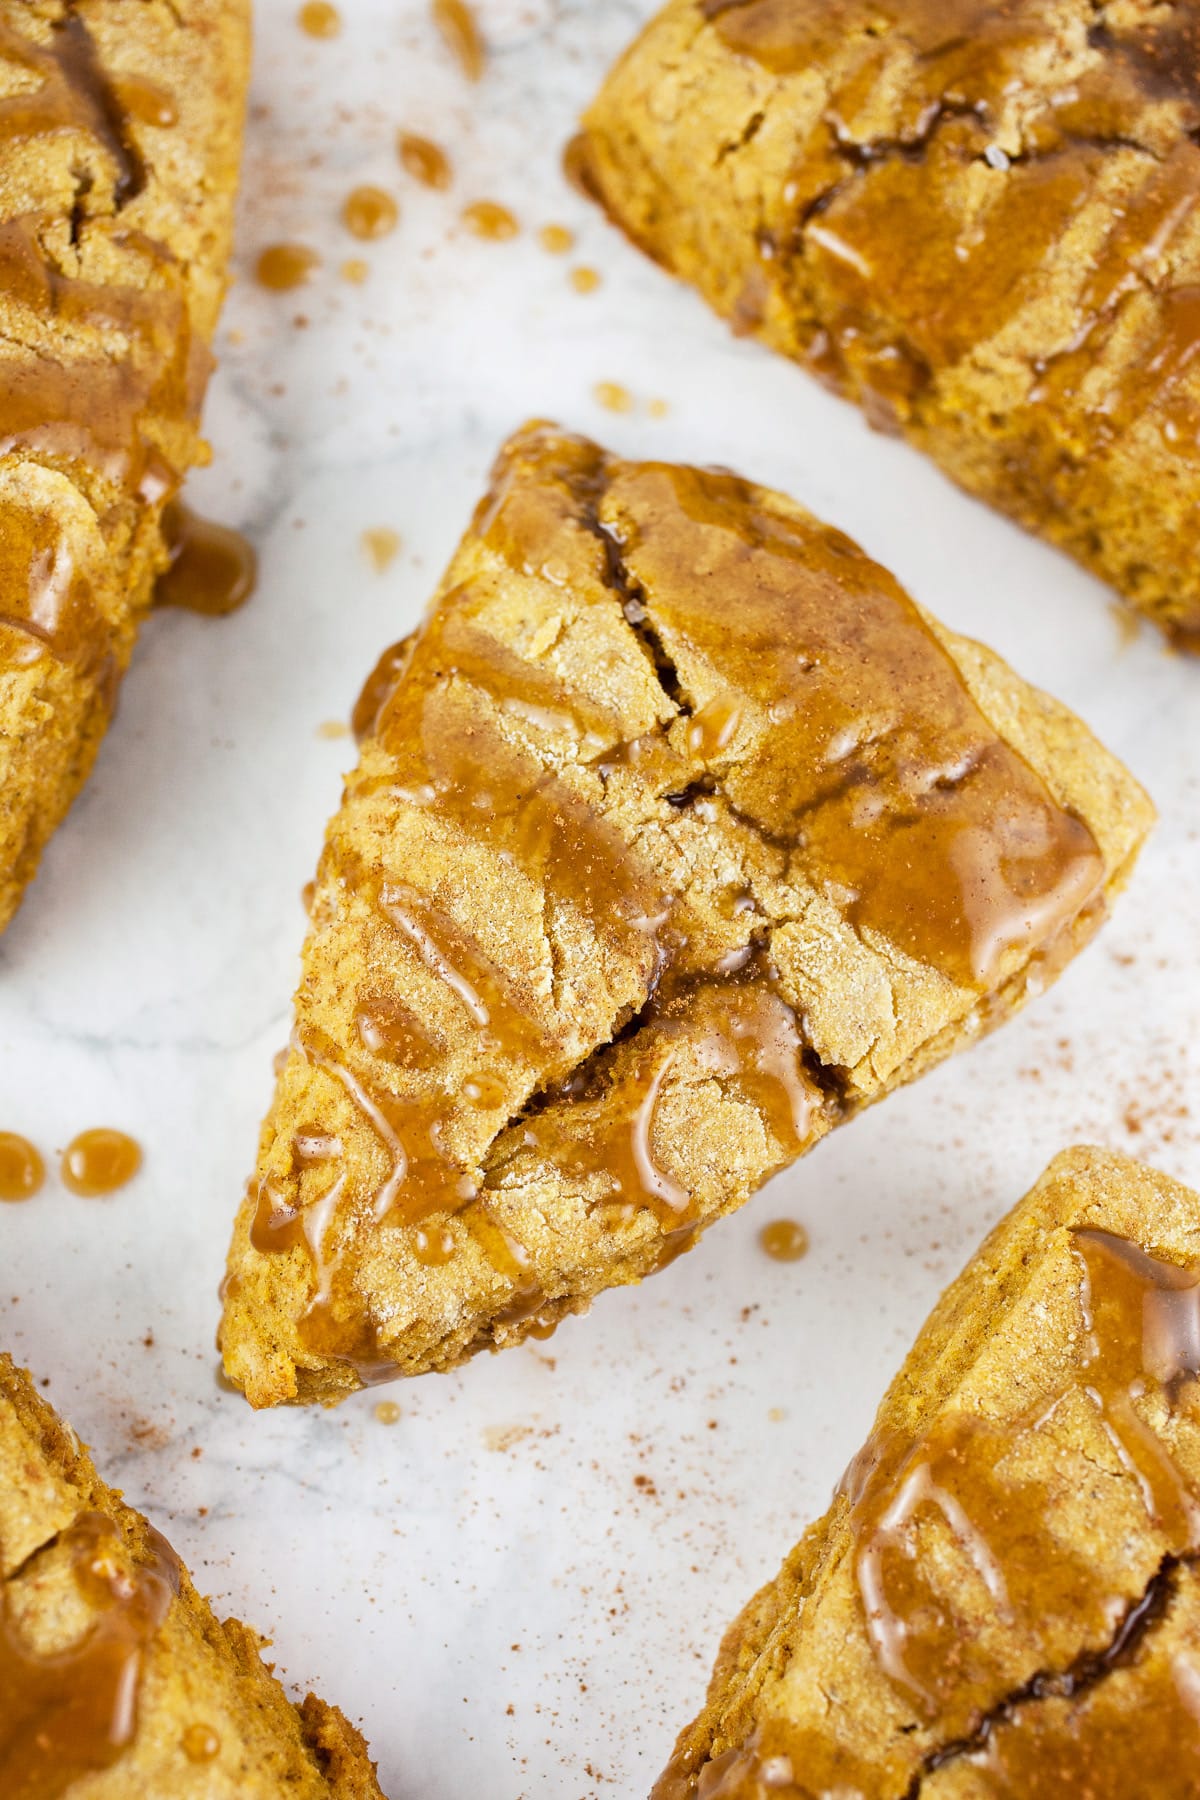
These Gluten Free Pumpkin Scones are moist and perfect for fall! They're made with cinnamon, ginger, and topped with a maple caramel glaze.
Fall isn't quite fall without baked pumpkin goodies like these Maple Glazed Pumpkin Scones. There's nothing like a batch of these scones baking in the oven on a chilly fall day.
I've always been intimidated by the idea of baking scones, figuring the process to be much more complicated than it is in reality. It turns out that homemade scones are easy to prepare and totally worth the effort!
These pumpkin scones are flavored with pumpkin puree, ginger, and cinnamon.
They're moist and topped with a homemade maple caramel glaze with a bit of kosher salt added for added depth.
I love a good scone or muffin with a hot cup of coffee on a cold day. These scones are lightly sweet and taste a bit like pumpkin pie.
Jump to:
- What Are Scones?
- Ingredients For Gluten Free Pumpkin Scones
- How To Make Gluten Free Pumpkin Scones
- Why Grate Frozen Butter Into Scones?
- Which Flour Is Best For Gluten Free Scones?
- Combine The Wet and Dry Ingredients
- Form The Dough Into A Disc
- Cut The Dough Into Wedges
- Why Chill Scones Before Baking?
- How Long Do Pumpkin Scones Take To Bake?
- How To Make Maple Glaze
- What To Serve With Pumpkin Scones
- How To Store Pumpkin Scones
- Can Scones Be Frozen?
- Gluten Free Pumpkin Scones (Maple Glazed)
What Are Scones?
Over the years, I have developed a serious appreciation for scones. A scone is a baked good that is light, fluffy, and a bit crumbly in texture. Scones are often slightly sweetened, but can be made savory as well.
Scones are a bit like biscuits in texture, although they are generally not quite as light and flaky as biscuits. They can be enjoyed on their own, or topped with anything from butter to honey to jam.
I enlisted the help of my Mom in the creation of this recipe. She is an excellent baker and loves to shower the people in her life with baked goods. Much of the credit for this recipe goes to her.
Ingredients For Gluten Free Pumpkin Scones
Here's what you'll need to make these homemade scones.
- 2 ¼ cups Gluten Free Flour Blend
- ½ packed cup plus ¼ packed cup Brown Sugar (split)
- 1 Tbsp. Baking Powder
- ½ tsp. Baking Soda
- ½ tsp. Kosher Salt plus more for garnish
- 2 tsp. Cinnamon
- 1 tsp. Ground Ginger
- ¼ tsp. Nutmeg
- ½ cup (1 stick) plus 1 Tbsp. Unsalted Butter (frozen)
- ½ cup Pumpkin Puree (not pumpkin pie filling)
- ½ cup and 1-2 Tbsp. plus ¼ cup Heavy Whipping Cream (split)
- 1 Egg
- 1 tsp. Vanilla Extract
- 2 Tbsp. Maple Syrup
How To Make Gluten Free Pumpkin Scones
These pumpkin scones are made much like most baked goods, with the wet and dry ingredients mixed in separate bowls and then combined together in a larger bowl.
The dry ingredients are then combined with frozen butter that is grated in the mixture, creating a mixture that resembles that of pie crust. The wet ingredients are added and mixed just until combined.
The dough is formed into a circle on a flat surface and then cut into equal wedges. The wedges are chilled and then baked in the oven.
Once the scones are cooled, they are drizzled with a homemade maple caramel glaze and finished with some kosher salt.
- Start by placing 1 stick (½ cup) unsalted butter in the freezer for 15-30 minutes and allow it to harden.
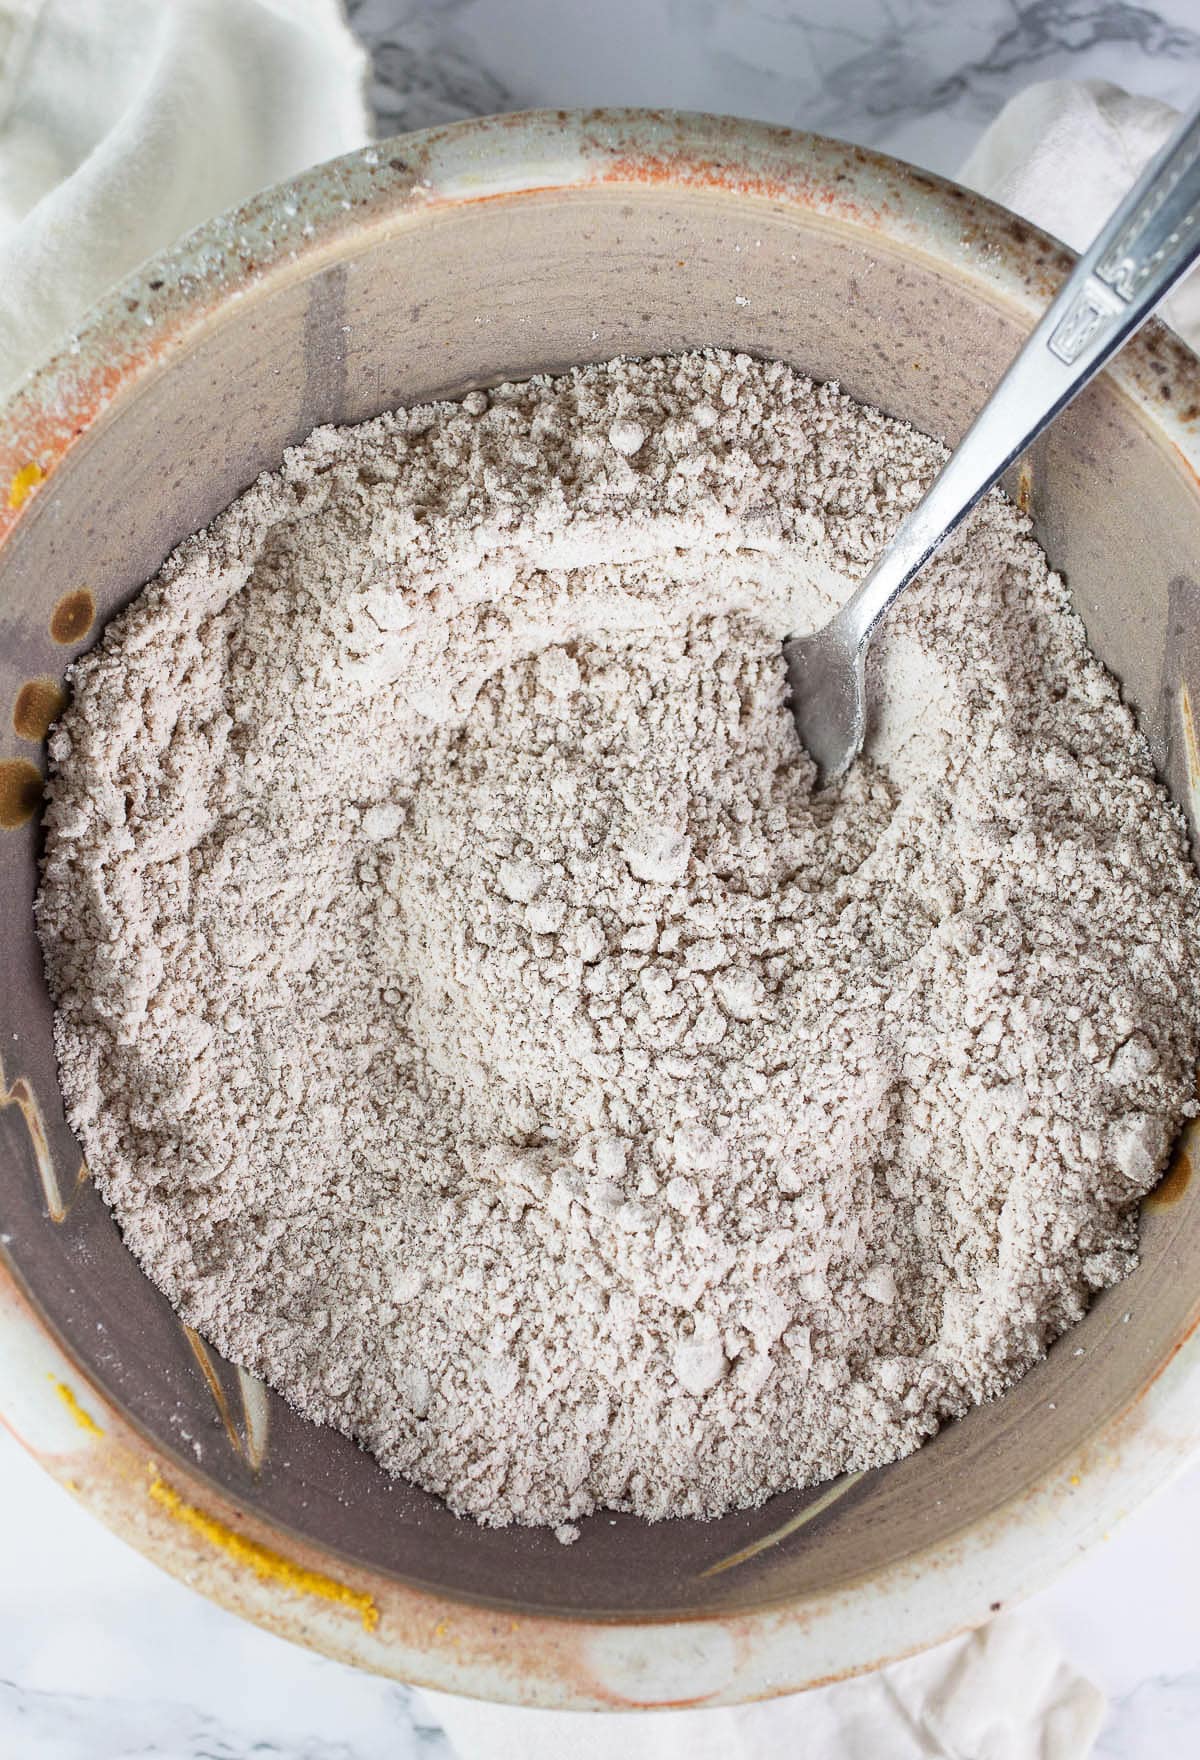
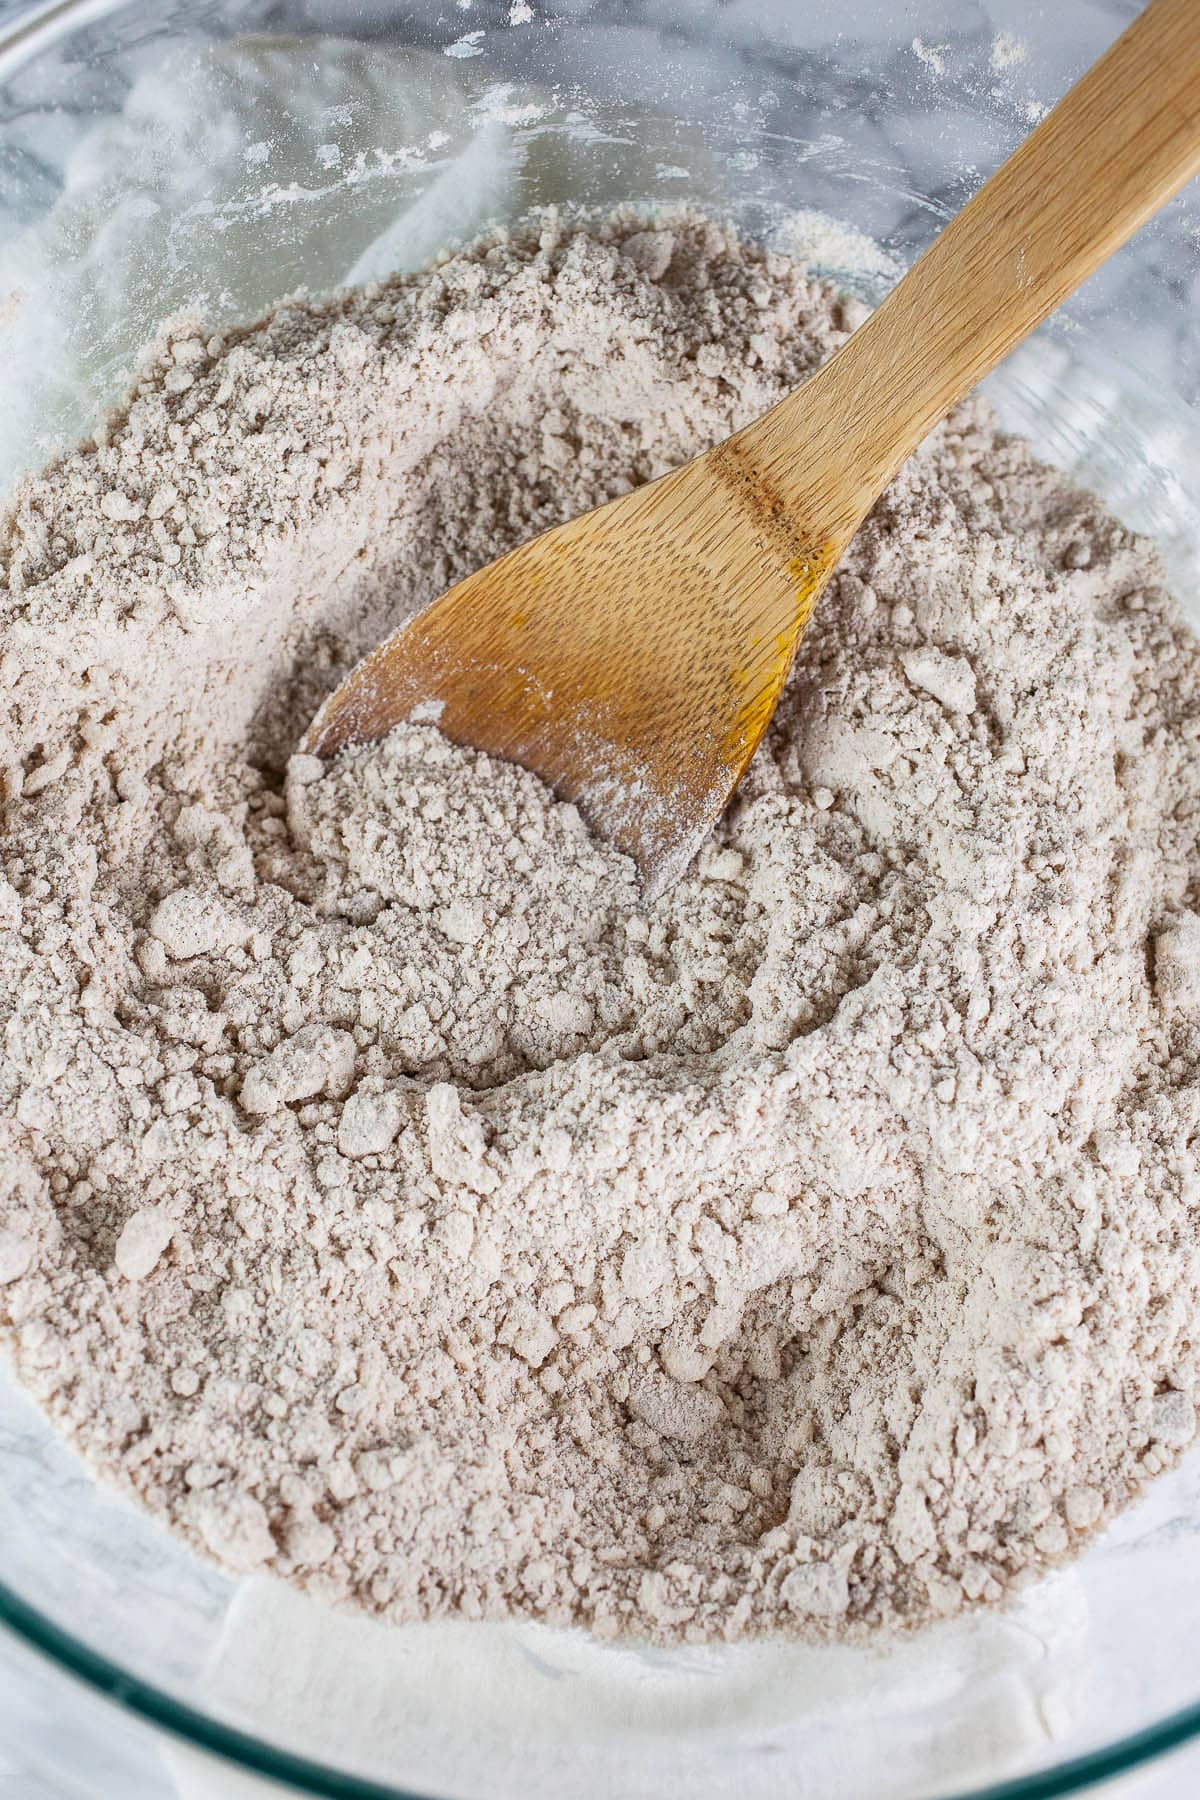
- In one bowl, add 2 ¼ cups gluten free flour blend, ½ packed cup brown sugar, 1 Tbsp. baking powder, ½ tsp. baking soda, ½ tsp. kosher salt, 2 tsp. ground cinnamon, 1 tsp. ground ginger, and ¼ tsp. ground nutmeg. Stir until all of the dry ingredients are completely combined, breaking apart any clumps of brown sugar.
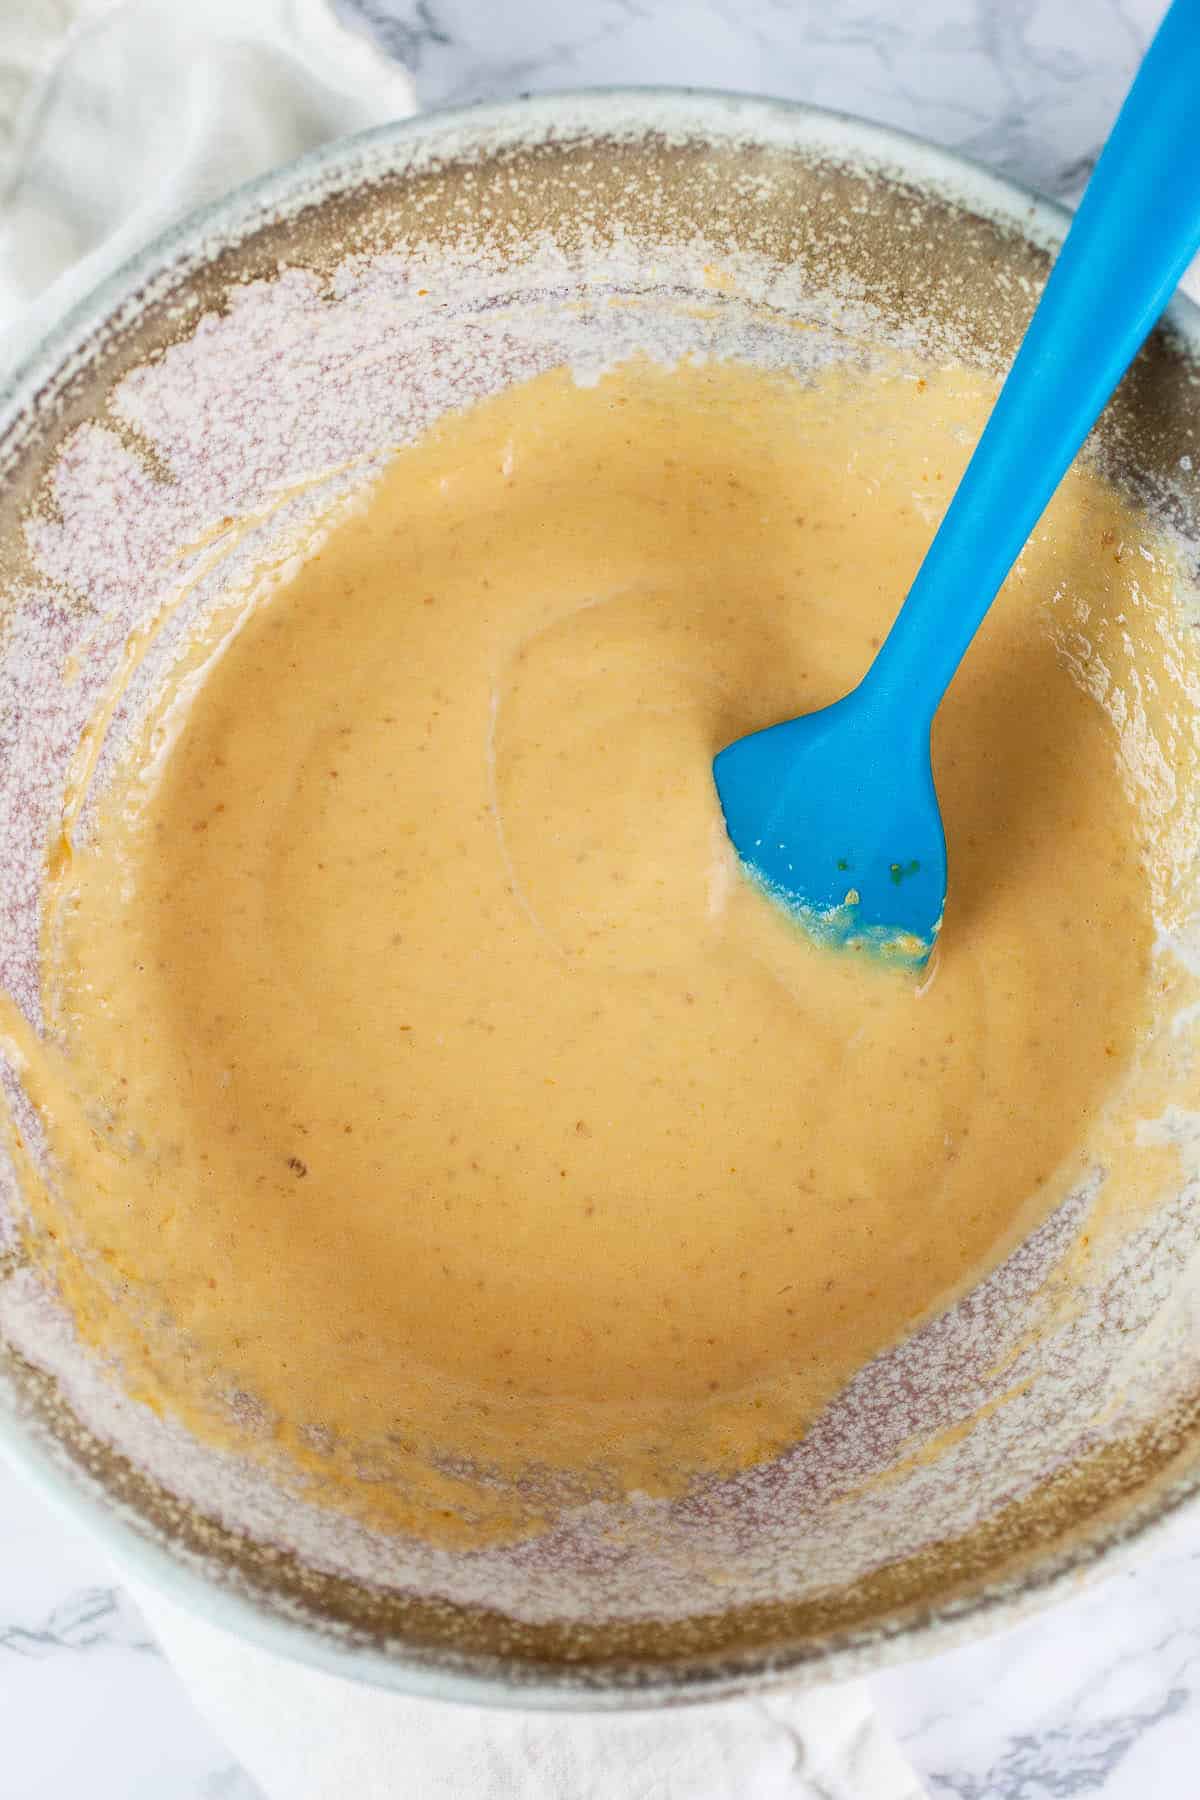
- Add ½ cup pumpkin puree, ½ cup heavy whipping cream, 1 egg, and 1 tsp. vanilla extract to a separate bowl and stir until all of the wet ingredients are completely combined.
Why Grate Frozen Butter Into Scones?
The process of making scones is a little like that of making dough for pie crust or biscuits. The batter is a bit dry and crumbly and it's important that the butter not melt when incorporated into the dough.
Freezing the butter before adding to the dry ingredients will allow you to grate it easily using a cheese grater. The frozen butter also does not melt when added to the dough and more easily gets incorporated, resulting in a lighter and fluffier texture.
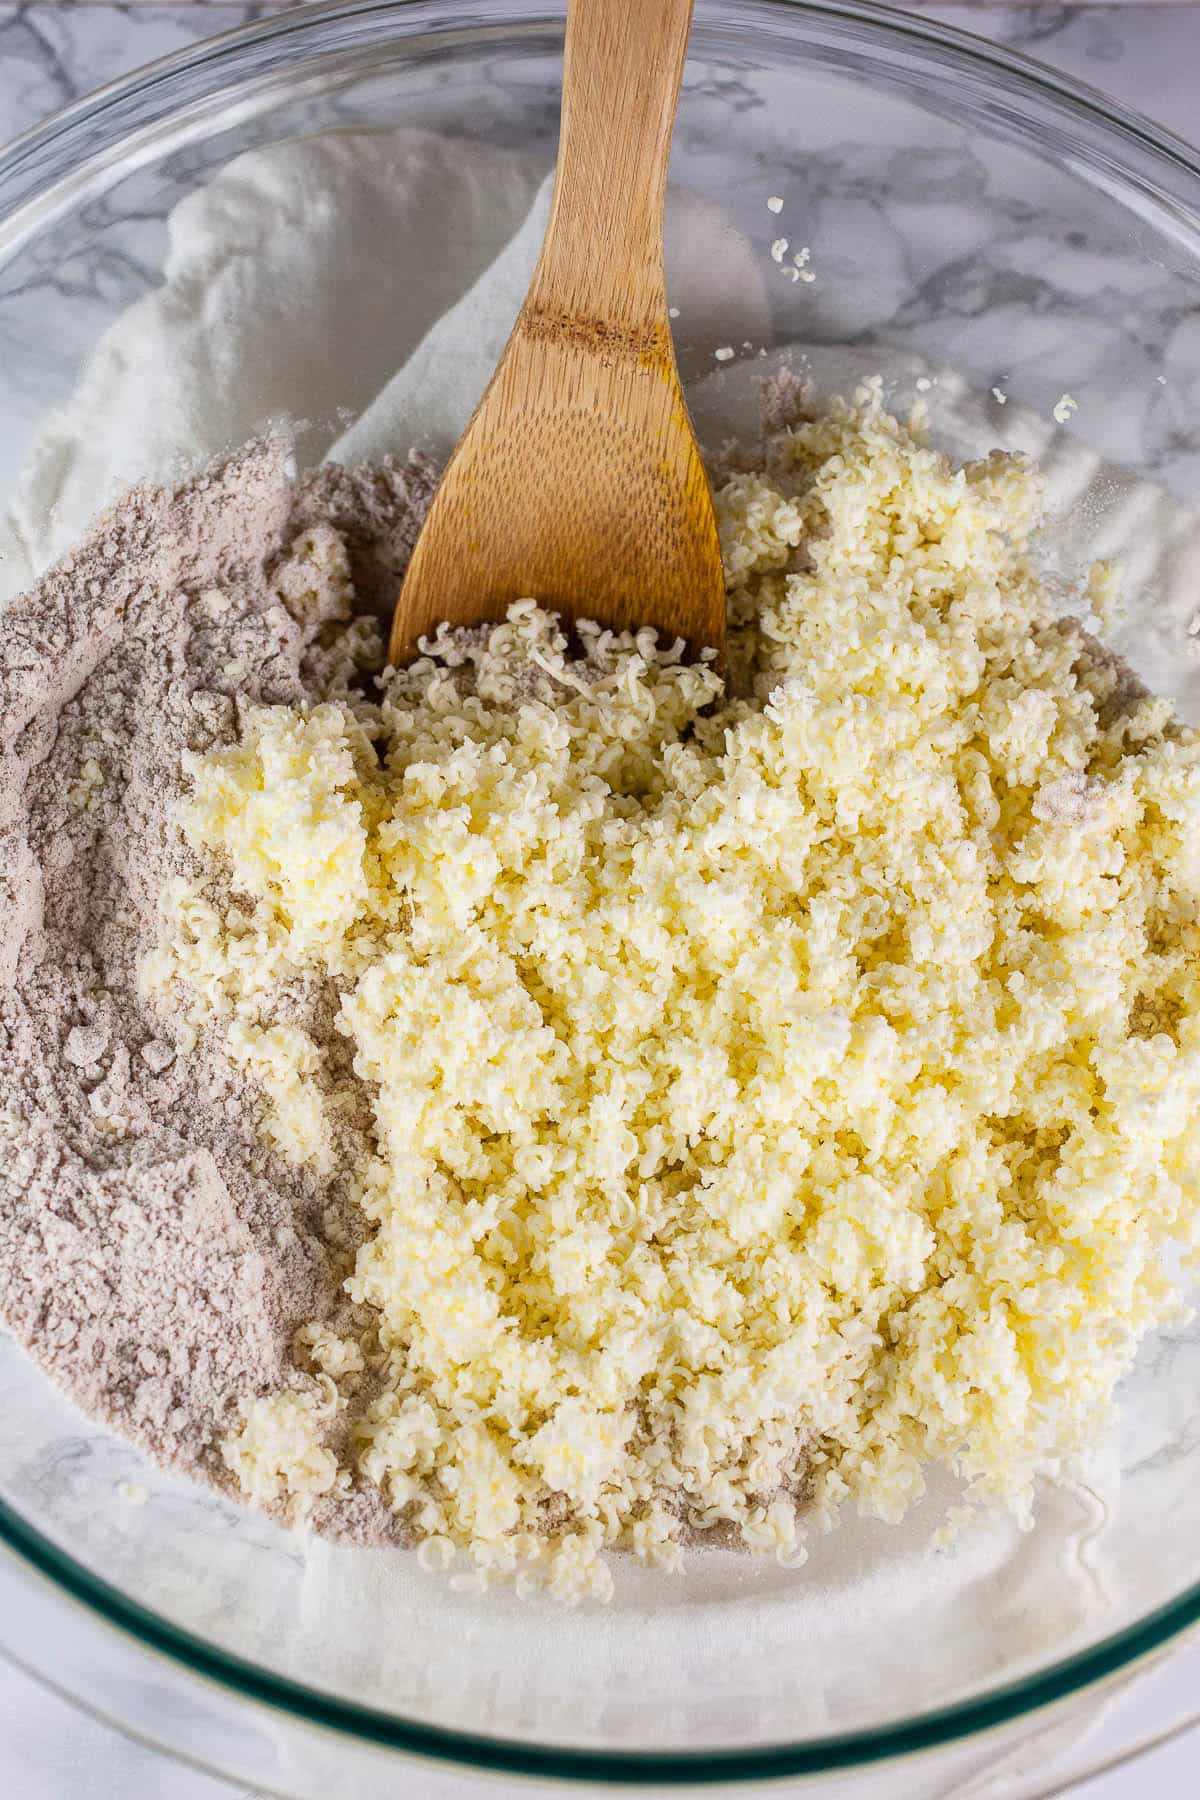
- After the butter is frozen, remove it from the freezer and grate it into the dry ingredients using a cheese grater. You can use either the fine or the regular size when grating the butter. Make sure to exercise caution when grating frozen butter so that you do not injure your fingers! Alternately, you can grate the frozen butter in a food processor.
- Mix the grated butter into the dry ingredients until everything is fully incorporated. The mixture should resemble coarse crumbs.
A Few Tips
- You can also cut the frozen butter into chunks and use a pastry cutter to incorporate it into the dry ingredients.
- A food processor may also be used to incorporate the dry ingredients and frozen butter. Be sure to cut the butter into chunks before adding it to a food processor along with the dry ingredients.
Which Flour Is Best For Gluten Free Scones?
A gluten free flour blend such as Bob's Red Mill 1 to 1 Flour or Cup 4 Cup Multipurpose Flour works great when making these Gluten Free Pumpkin Scones. A flour blend such as these brands contains all of the ingredients needed to replicate the consistency of All-Purpose Flour.
There is no need to add xantham gum, mix flours, or make any complicated substitutions when using a gluten free flour blend.
This recipe has not been tested using regular All-Purpose flour and using it in place of a gluten free flour blend may yield unpredictable results.
The process of making gluten free scones varies slightly from scones that contain gluten. I would recommend a regular pumpkin scone recipe if gluten is not an issue for you.
Combine The Wet and Dry Ingredients
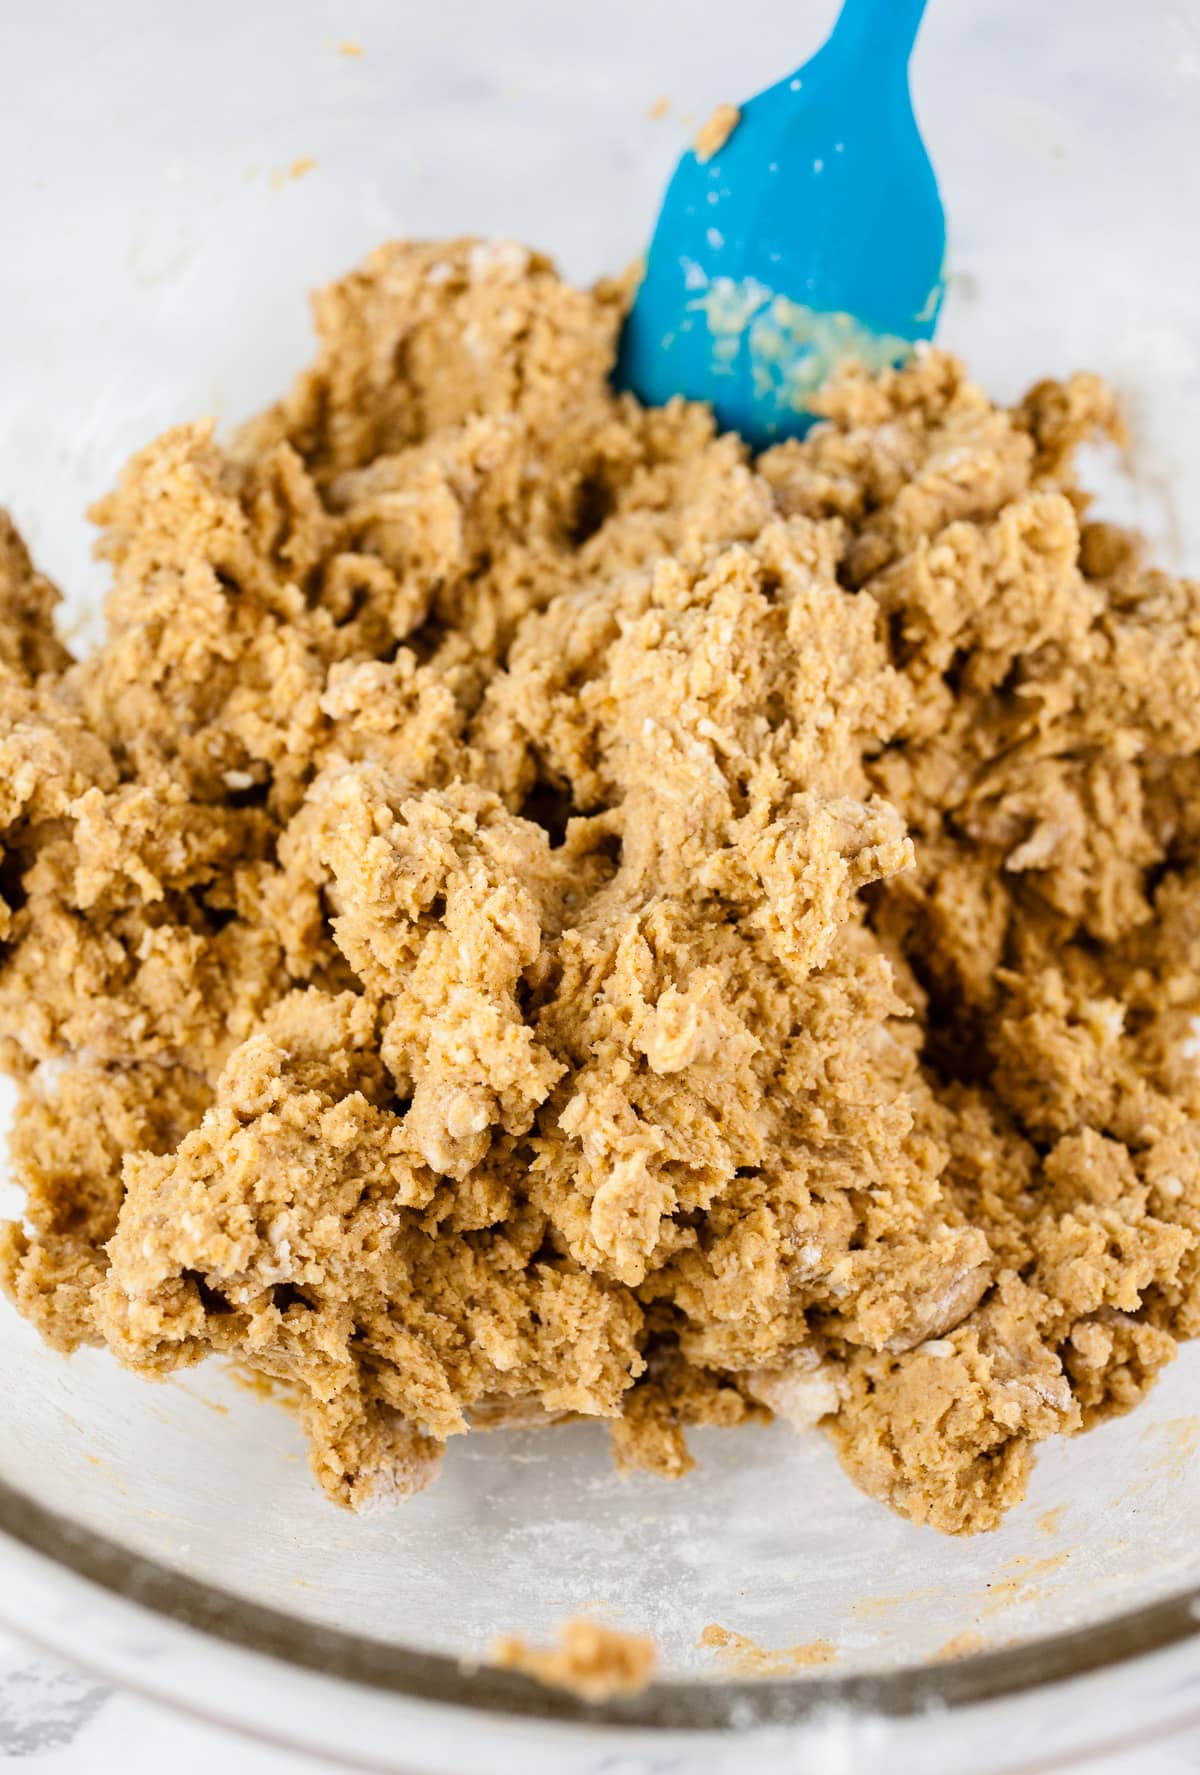
Once the butter is incorporated into the dry ingredients and the mixture resembles coarse crumbs (much like pie crust), it's time to incorporate the wet ingredients to the mixture.
- Add the wet ingredients to the dry ingredients a bit at a time, stirring to combine each time more wet ingredients are added.
- Continue until all of the pumpkin mixture has been incorporated.
A Few Things
- The dough is thick, sticky, and slightly crumbly. It should hold together when pressed with your hands.
- If it feels too dry, simply add 1-2 more Tbsp. of heavy whipping cream until the mixture is stickier.
- If the mixture feels to wet and sticky, simply add a little more flour a bit at a time.
Form The Dough Into A Disc
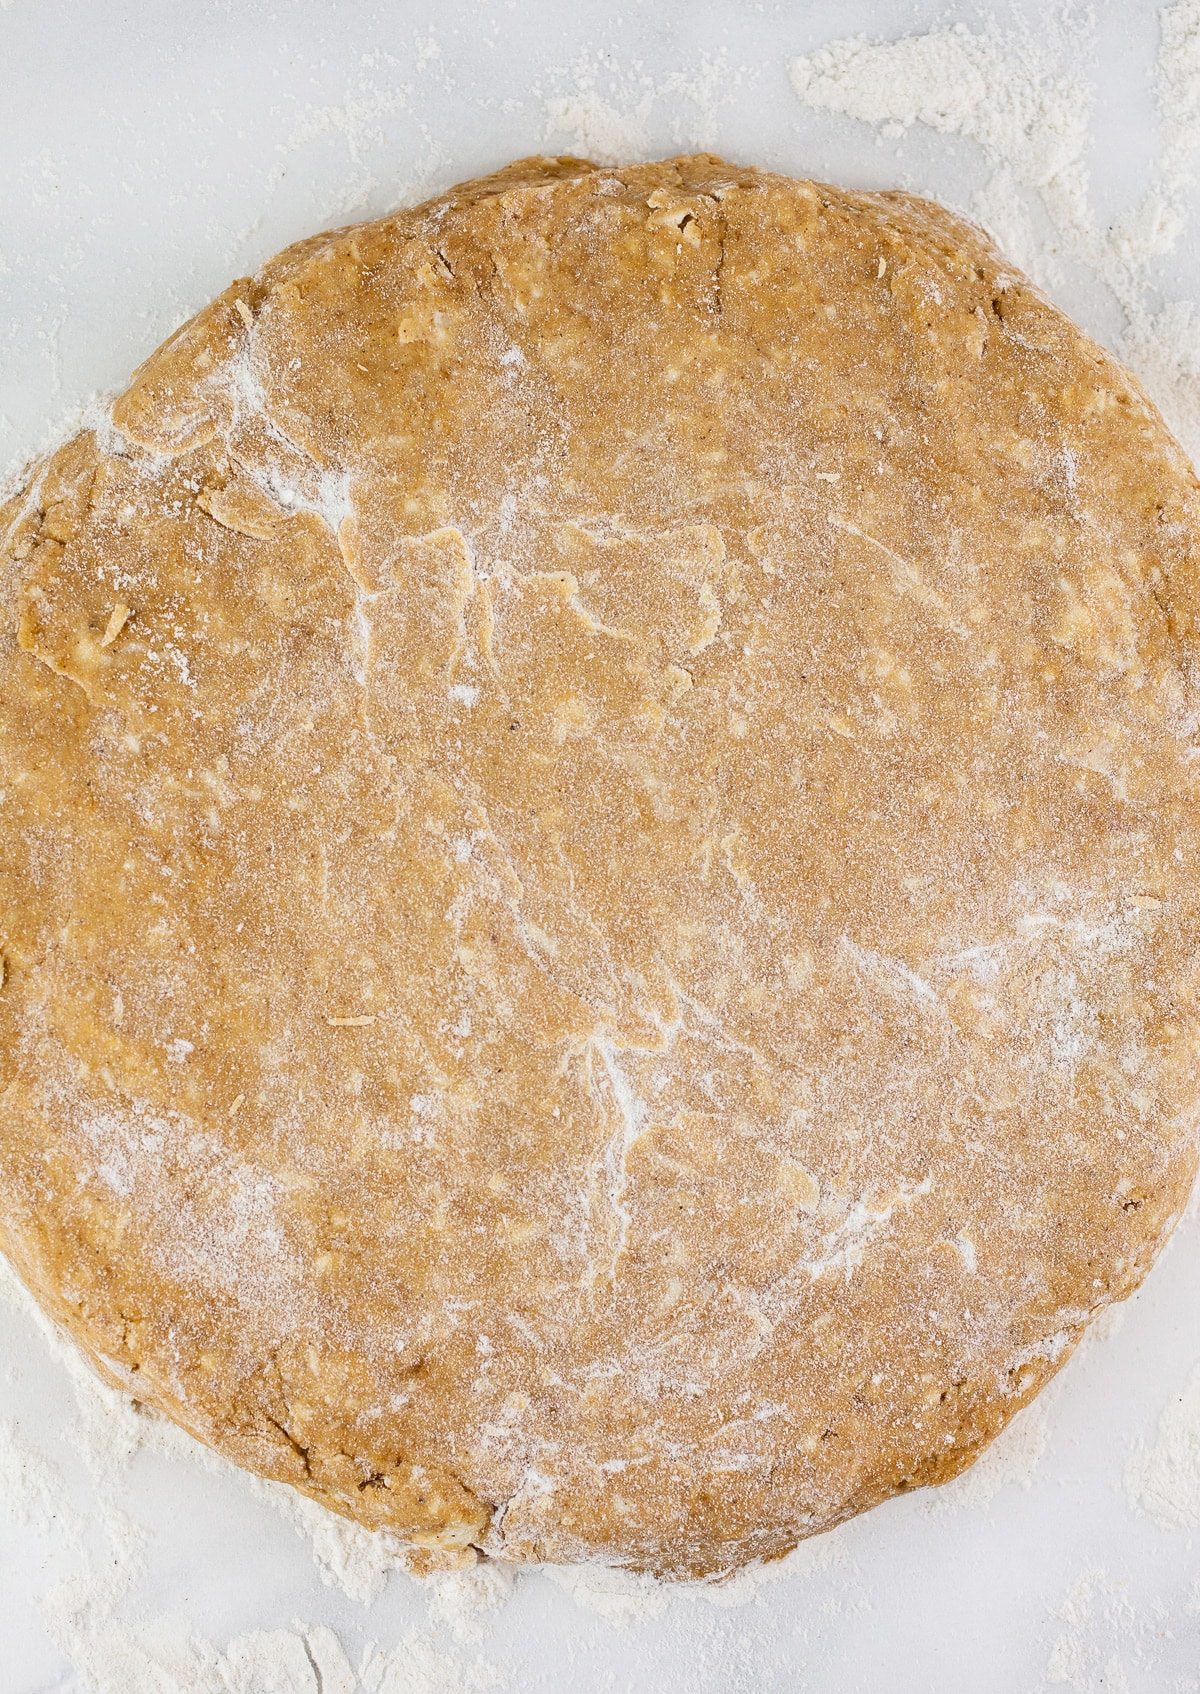
After the dough is combined, it's time to transfer it to a clean, floured surface and form it into a disc.
If the dough falls apart when formed into a disc, add a bit more heavy whipping cream until it holds together.
- Generously flour a flat surface and pour the batter out on top of it.
- Form the dough into a disc that is 8 inches around. Make sure that the disc is evenly shaped to ensure that all of the wedges are the same size and that they cook evenly.
Cut The Dough Into Wedges
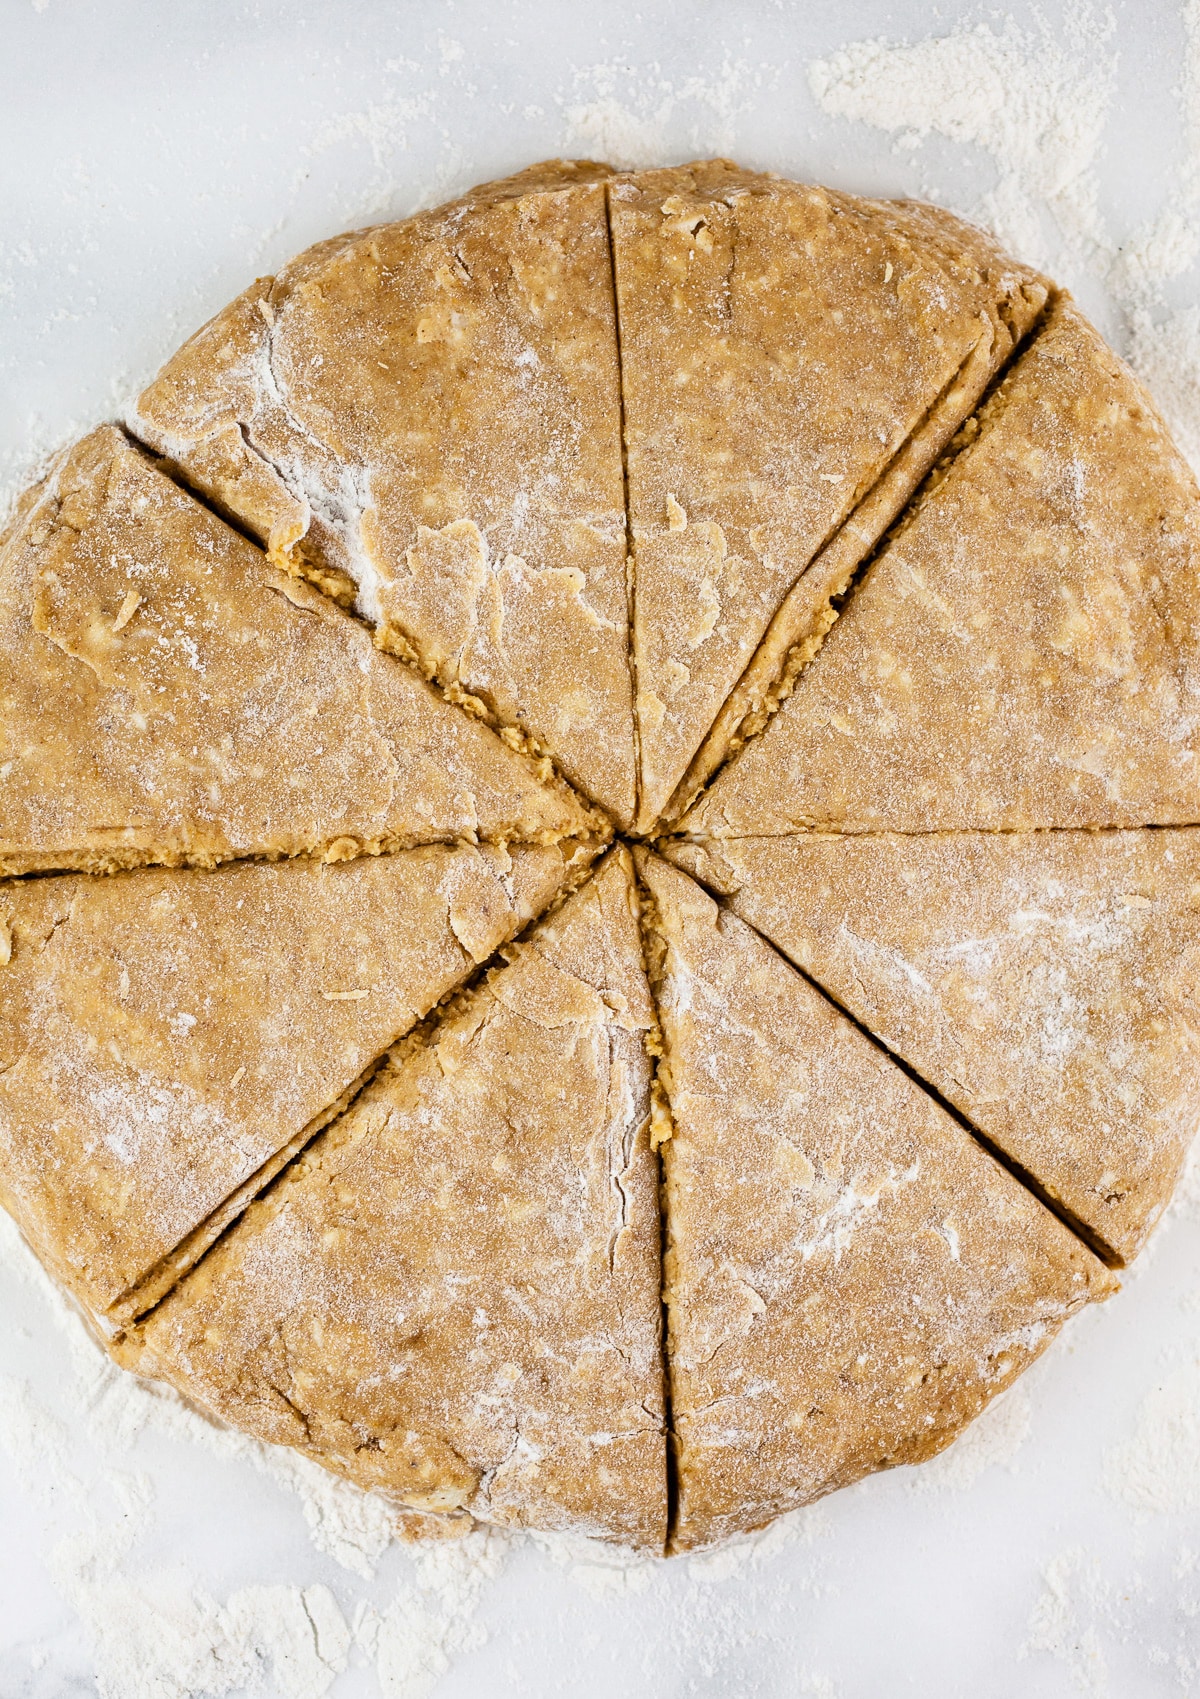
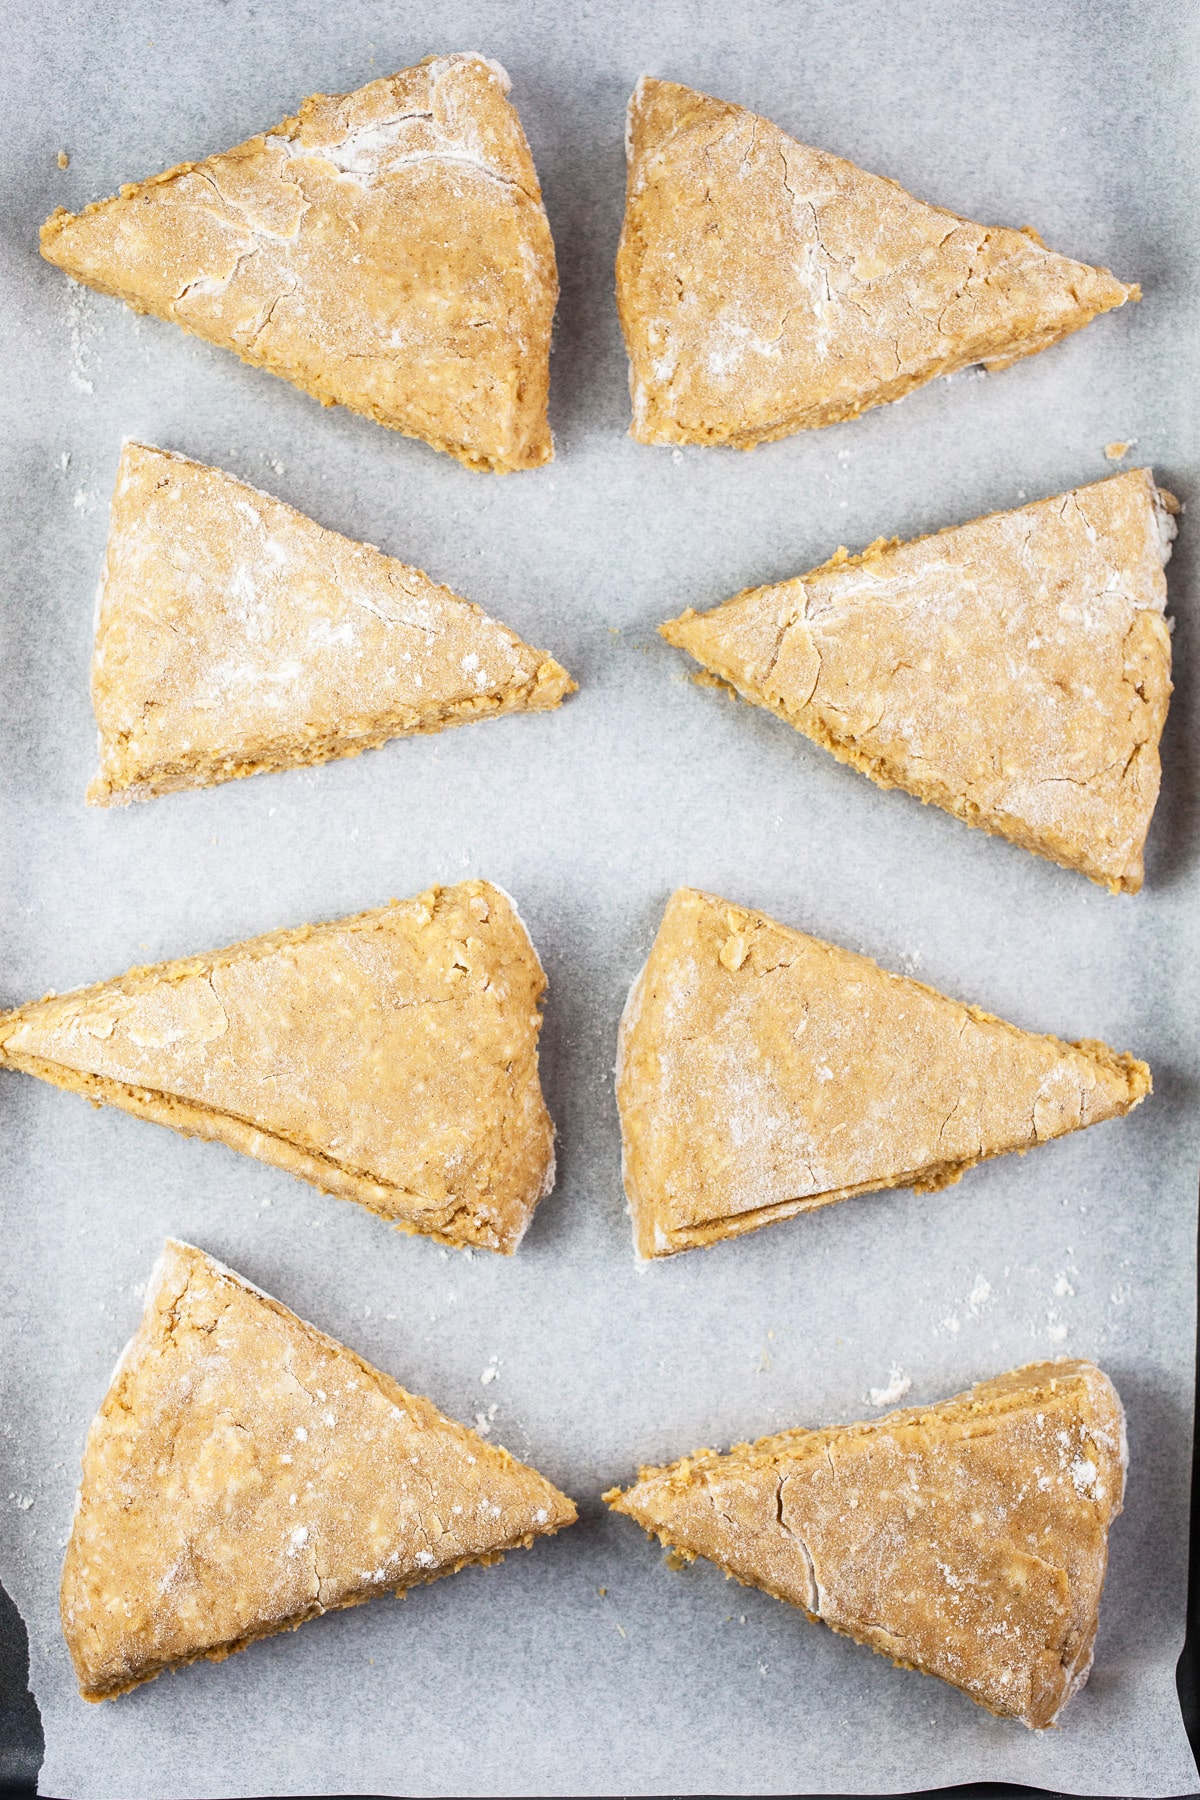
After the dough has been shaped into a disc, it's time to cut the disc into wedges and transfer the wedges to a parchment paper lined baking sheet.
- Line a baking sheet with parchment paper.
- Carefully cut the disc into 8 evenly sized wedges (it should look like a pizza that has been cut into pieces).
- Transfer each wedge to a baking sheet that has been lined with parchment paper.
- Make sure that there is a few inches of space between each scone.
Feel free to use a metal spatula to transfer the scones so that they do not break apart in your hands.
If they break apart a bit when transferring, simply place them together with your fingers.
Why Chill Scones Before Baking?
Once the scones are formed, it's best to chill them in the refrigerator for 15 minutes before baking.
Chilling the scones ensures that the butter and all of the ingredients stay cold. Cold butter results in a lighter and flakier texture. It also helps the scones rise, instead of spread, as they bake.
- Place the baking sheet with the unbaked scones in the refrigerator and allow them to chill for 15 minutes before baking.
How Long Do Pumpkin Scones Take To Bake?
After the scones have chilled, it's time to bake them in the oven.
- Heat oven to 400 degrees Fahrenheit.
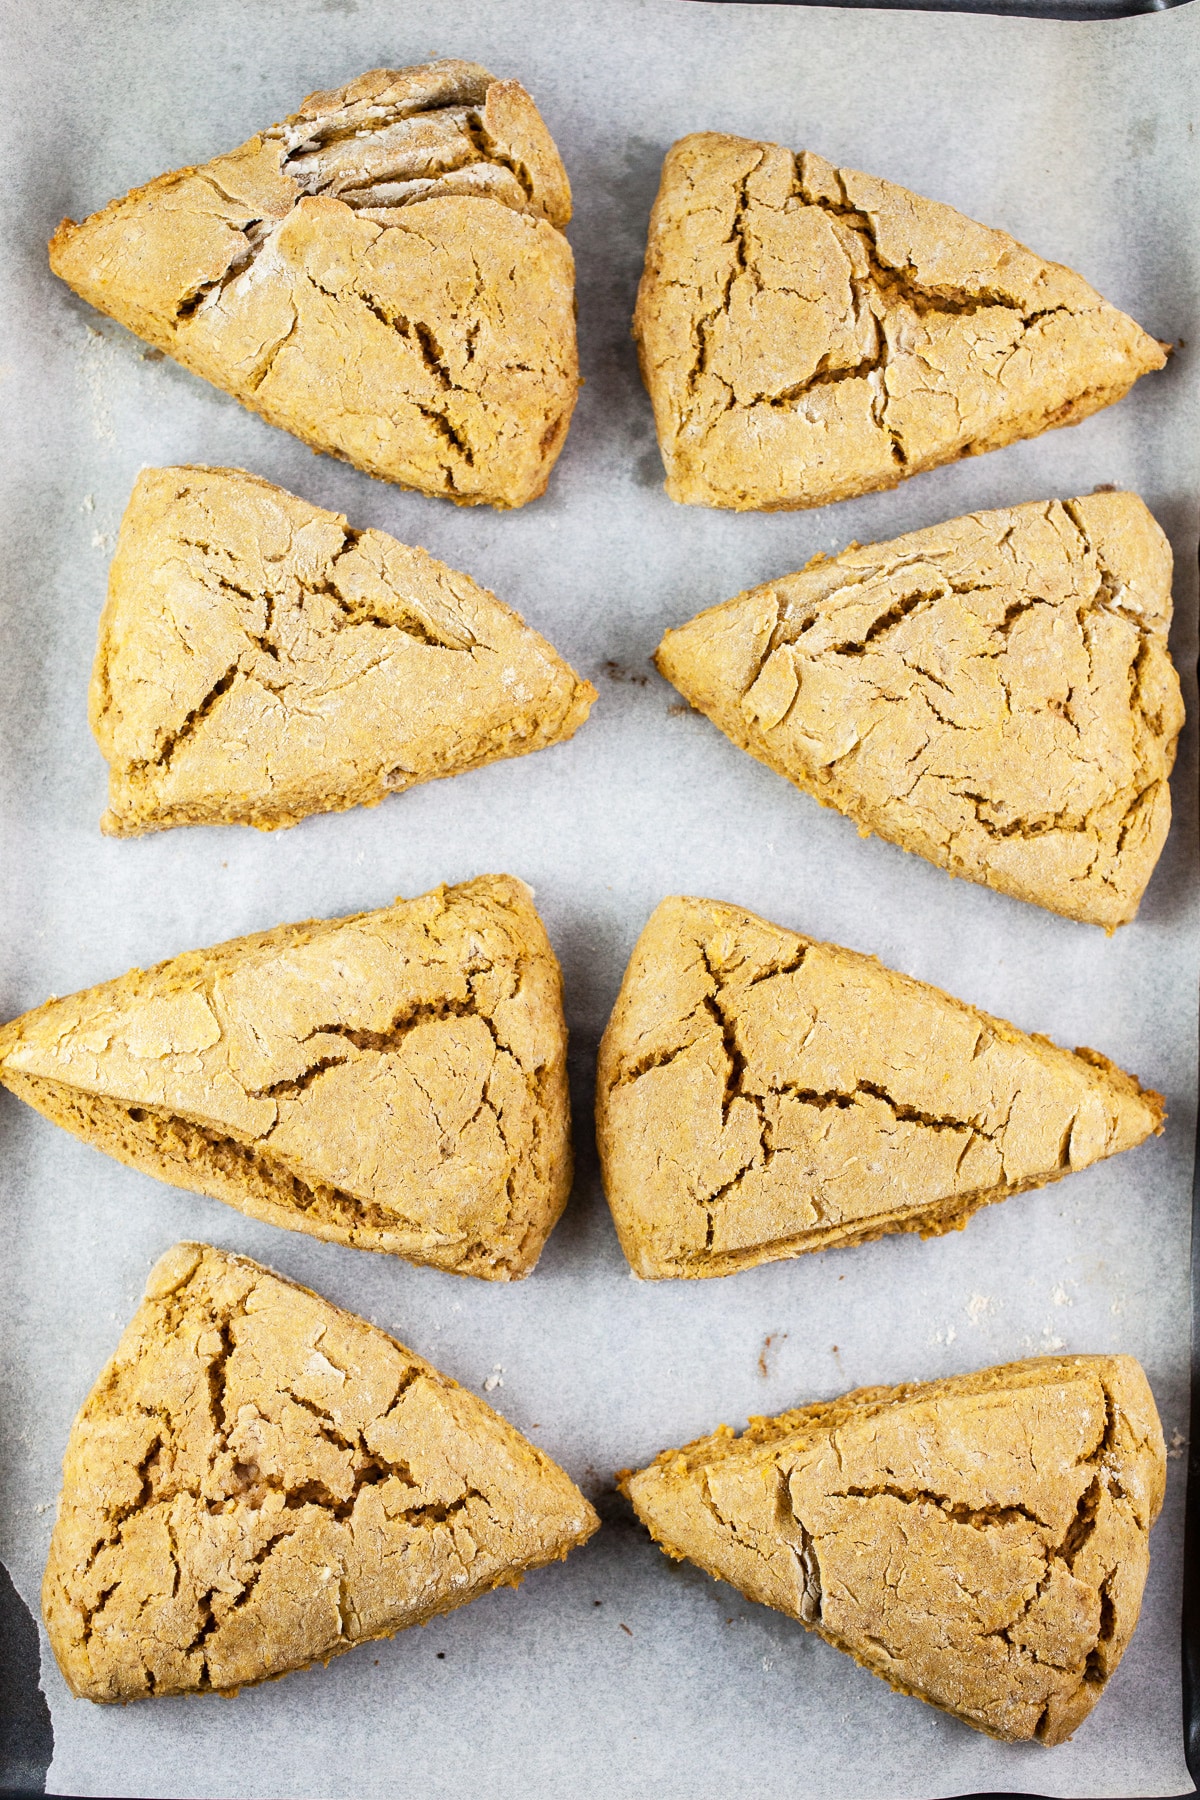
- Place the baking sheet in the oven and bake the scones for 15 minutes.
- Remove the baking sheet from the oven and set aside.
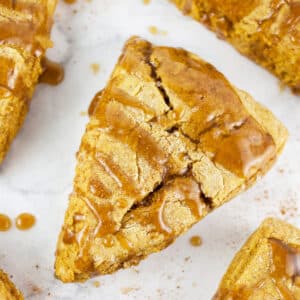
The tops of the scones will become lightly browned when baked and they should look a little like biscuits when finished.
Love baked treats? Check out these recipes!
- Old Fashioned Blueberry Buckle
- Scandinavian Almond Cake
- Baked Lemon Doughnuts
- Coffee Banana Bread
- Sour Cream Rhubarb Bread
- Buttermilk Rhubarb Cake
- Cinnamon Streusel Rhubarb Muffins
How To Make Maple Glaze
These Gluten Free Pumpkin Scones are not overly sweet and they pair so well with the maple glaze that is drizzled over the top once baked.
It's actually more of a maple caramel sauce and is easily prepared on the stove top as the scones bake in the oven.
The glaze does not make the scones too sweet, it simply accents their flavor. You can feel free to add as much or as little of the glaze as you like.
- To make the glaze, place a small sauce pan on the stove top and heat to medium-low. Add 1 Tbsp. unsalted butter and allow it to melt.
- Add ¼ packed cup brown sugar to the butter and stir until it melts and dissolves. Add ¼ cup heavy whipping cream and stir until incorporated.
- Add 2 Tbsp. maple syrup and stir until incorporated.
- Feel free to add a bit of maple extract if you want to bump up the maple flavor.
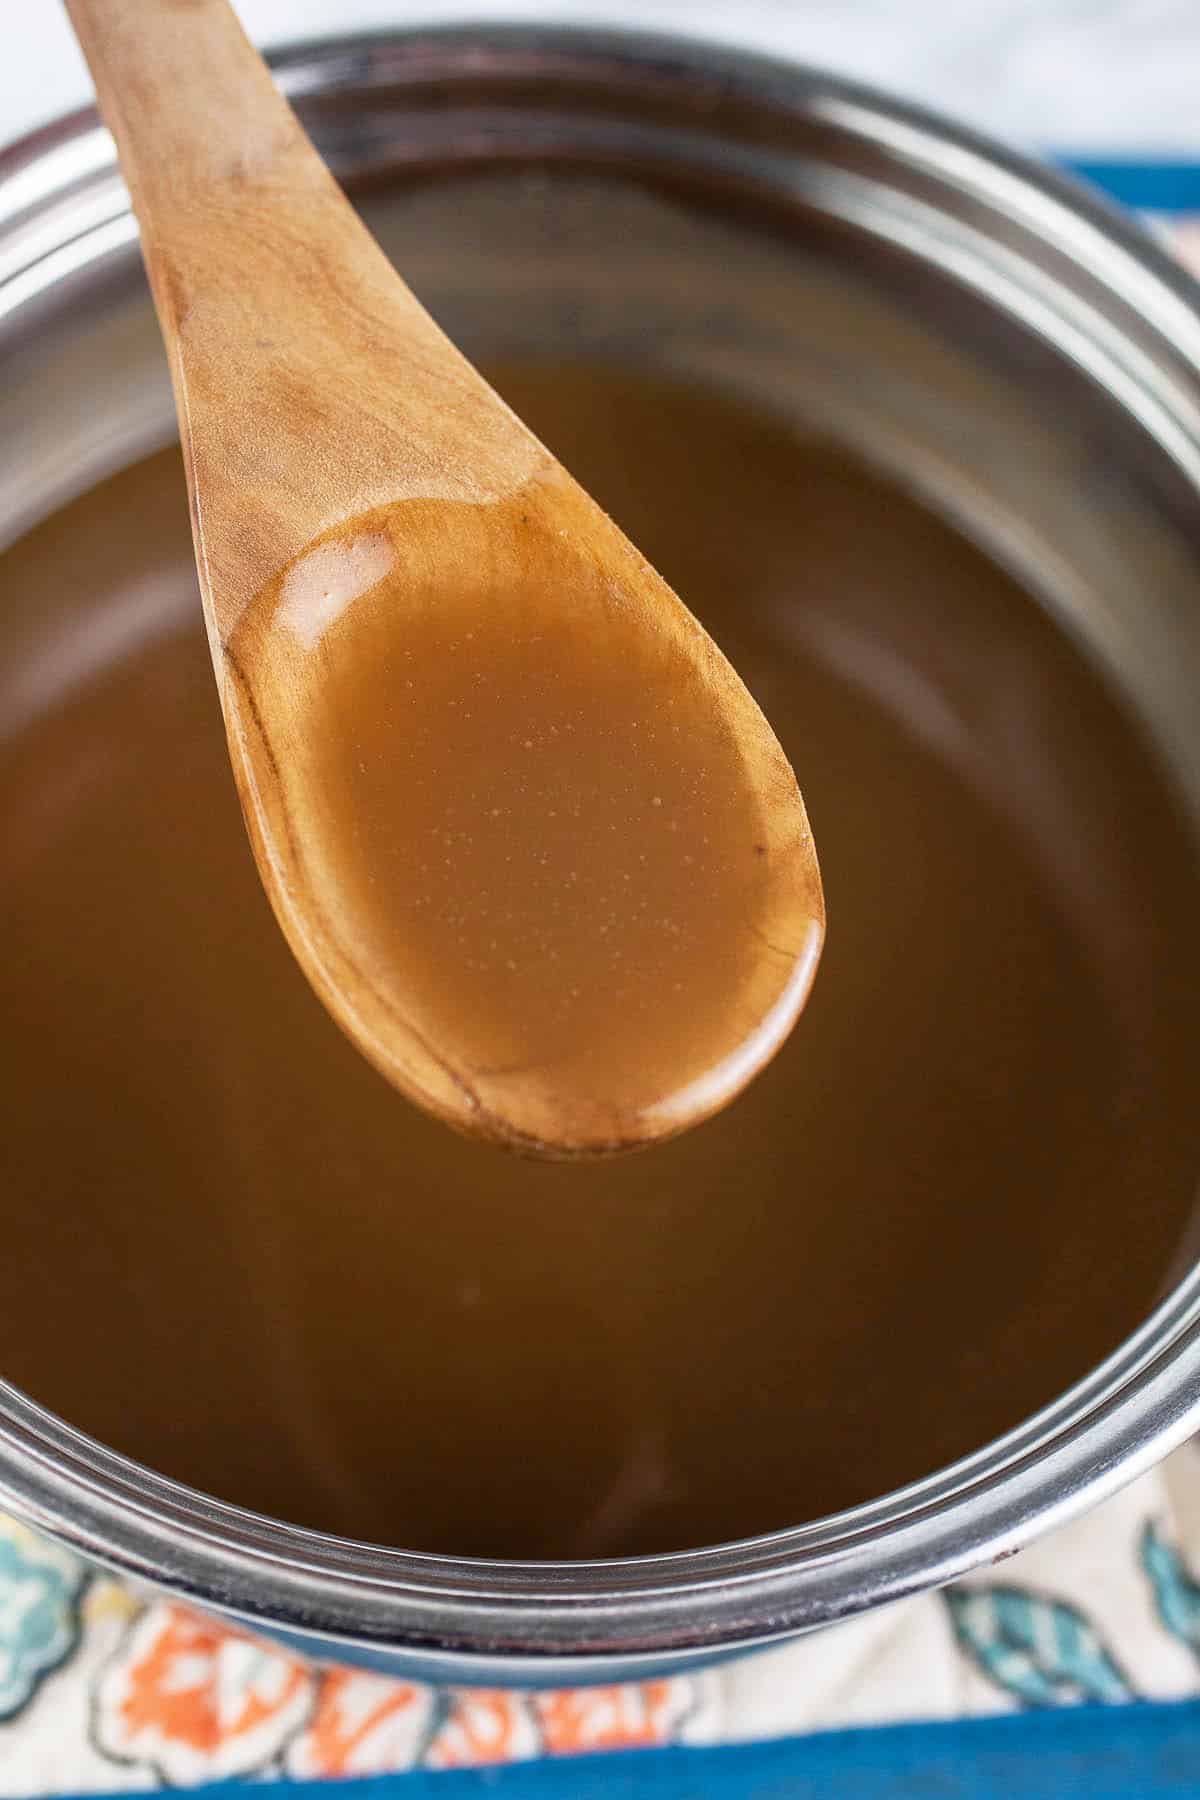
- Continue to cook the maple caramel sauce over medium-low heat for a few minutes, stirring often to prevent it from burning.
- Remove the sauce from the heat and allow it to cool slightly and thicken.
Feel free to add a pinch of kosher salt to the maple glaze if you like.
What To Serve With Pumpkin Scones
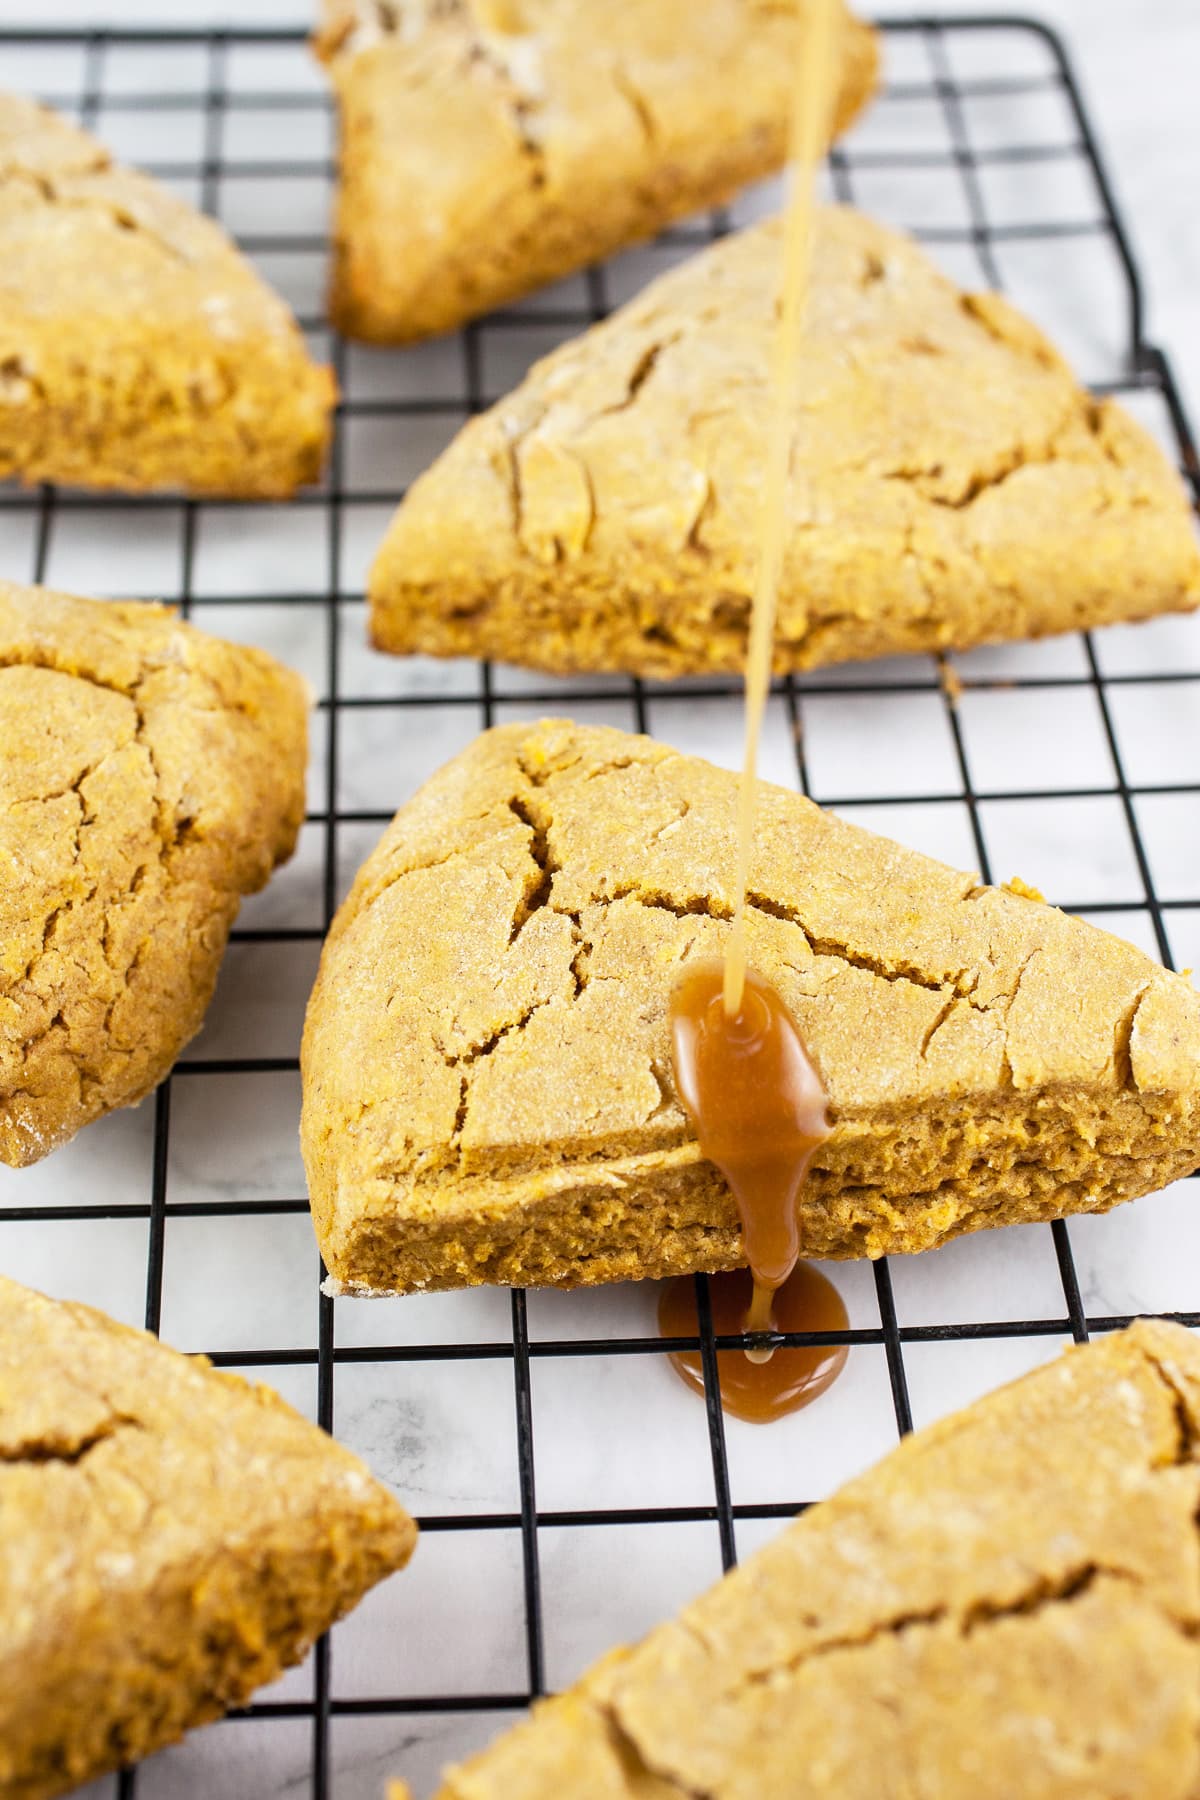
Once the scones have cooled a bit, it's time to drizzle them with the maple glaze.
It's best to place the scones on some parchment paper when drizzling with the glaze in order to avoid a mess.
- Pour as much or as little of the maple caramel glaze over the cooled scones as you like.
- Sprinkle the tops of the scones with some kosher salt or coarse sea salt.
There is nothing better than a freshly baked scone straight from the oven. I love baked goodies like this one with a cup of coffee.
Of course, you can opt for tea because scones are often enjoyed in Englad with a cup of tea.
Looking for more fall baked goodies? Don't miss these recipes!
- Cinnamon Sugar Apple Cake
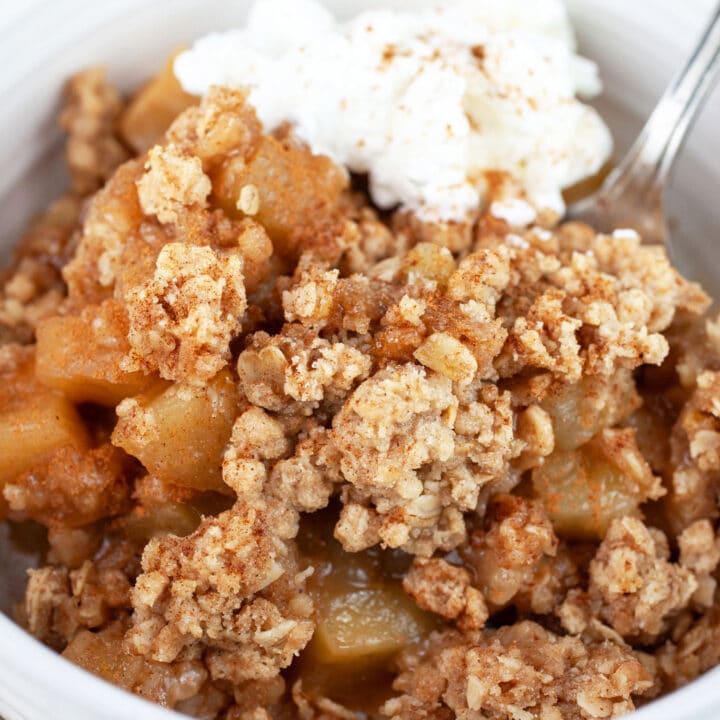
- Gluten Free Apple Crisp
- Apple Streusel Muffins
- Gluten Free Apple Pie
- Cast Iron Skillet Apple Crisp
- Maple Bourbon Pecan Pie
- Maple Walnut Pie
How To Store Pumpkin Scones
Scones are best enjoyed right out of the oven, but they do last for 2-3 days stored in an airtight container at room temperature or in the fridge.
Make sure the scones have cooled completely before transferring to a container for storage.
Keep in mind that scones do dry out a bit the longer they sit.
Can Scones Be Frozen?
Yes!
Scones can be frozen both baked and unbaked.
How To Freeze Baked Scones
- To freeze baked scones, prepare the recipe as directed without the addition of the maple glaze.
- Allow the baked scones to cool completely and then wrap each one tightly in aluminum foil or plastic wrap.
- Place the wrapped scones in a heavy-duty plastic freezer bag, label with the date, and store up to 3 months.
- To thaw, remove the scones and allow to cool in the fridge.
- Prepare and top the scones with the maple glaze just before serving.
How To Freeze Unbaked Scones
- Prepare the recipe as directed, but do not bake the scones or prepare the maple glaze.
- Place the unbaked scones in the freezer on a baking sheet for about an hour, until they harden.
- Once hardened, place them in a heavy-duty freezer bag, label with the date, and store up to 3 weeks.
- To bake, place the frozen scones on a parchment paper lined baking sheet and bake for 16-18 minutes at 400 degrees Fahrenheit.
- Prepare the maple glaze and top right before serving.
Love scones? Check out these Savory Cheddar Chives Scones!
Love pumpkin? Check out these recipes!
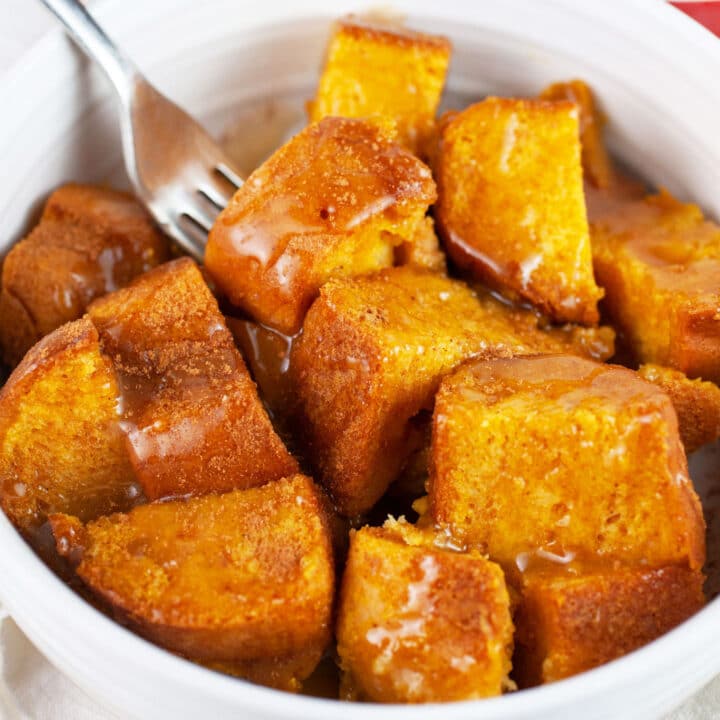
- Pumpkin Bread Pudding with Caramel Sauce
- Oatmeal Streusel Pumpkin Coffee Cake
- Crustless Pumpkin Cheesecake
- Pumpkin Pecan Waffles
- Pumpkin Panna Cotta
Looking For More Pumpkin Treats? Don't Miss These!
Mini Pumpkin Layer Cakes
Easy Pumpkin Bread
Pumpkin Cinnamon Rolls
Pumpkin Cookies with Cream Cheese Frosting
Gluten Free Pumpkin Scones (Maple Glazed)
Ingredients
For The Pumpkin Scones:
- 2 ¼ cup gluten free flour blend
- ½ packed cup brown sugar
- 1 Tbsp. baking powder
- ½ tsp. baking soda
- ½ tsp. kosher salt plus more for garnish
- 2 tsp. cinnamon
- 1 tsp. ground ginger
- ¼ tsp. nutmeg
- ½ cup unsalted butter frozen, equals 1 stick
- ½ cup pumpkin puree not pumpkin pie filling
- ½ cup heavy whipping cream plus 1-2 Tbsp.
- 1 egg
- 1 tsp. vanilla extract
For The Maple Glaze:
- 1 Tbsp. unsalted butter
- ¼ packed cup brown sugar
- ¼ cup heavy whipping cream
- 2 Tbsp. maple syrup
Instructions
For The Pumpkin Scones:
- Place 1 stick (½ cup) of unsalted butter in the freezer for 15-30 minutes and allow it to harden.
- In one bowl, add 2 ¼ cups gluten free flour blend, ½ packed cup brown sugar, 1 tablespoon baking powder, ½ teaspoon baking soda, ½ teaspoon kosher salt, 2 teaspoons ground cinnamon, 1 teaspoon ground ginger, and ¼ teaspoon ground nutmeg. Stir until all of the dry ingredients are completely combined.Break apart any clumps of brown sugar if needed.
- In a separate bowl, add ½ cup pumpkin puree, ½ cup heavy whipping cream, 1 egg, and 1 teaspoon vanilla extract and stir until all of the wet ingredients are completely combined.
- After the butter is frozen, remove it from the freezer and grate it into the dry ingredients using a cheese grater. You can use either the fine or the regular size when grating the butter. Make sure to exercise caution when grating frozen butter so that you do not injure your fingers!You can also cut the frozen butter into chunks and use a pastry cutter to incorporate it into the dry ingredients.A food processor may also be used to incorporate the dry ingredients and frozen butter. Be sure to cut the butter into chunks with a knife before adding it to a food processor along with the dry ingredients.
- Mix the grated butter into the dry ingredients until everything is fully incorporated. The mixture should resemble coarse crumbs, just as if you were making a pie crust.
- Add the wet ingredients to the dry ingredients a bit at a time, stirring to combine each time more wet ingredients are added. Continue until all of the pumpkin mixture has been incorporated.Add 1-2 extra Tbsp. of heavy whipping cream to the dough if it is too dry. The dough should be thick and slightly sticky.
- Generously flour a clean, flat surface and turn the batter out on top of it. Form the dough into a disc that is 8 inches around. Make sure that the disc is evenly shaped to ensure that all of the wedges are the same size and that they cook evenly.
- Line a baking sheet with parchment paper. Carefully cut the disc into 8 evenly sized wedges (it should look like a pizza that has been cut into pieces).
- Transfer each wedge to the baking sheet that has been lined with parchment paper. Make sure that there is a few inches of space between each scone.
- Place the baking sheet with the unbaked scones in the refrigerator and allow them to chill for 15 minutes before baking.This will help to prevent them from spreading as they bake.
- Heat oven to 400 degrees Fahrenheit.
- Place the baking sheet in the oven and bake the scones for 15 minutes. Remove the baking sheet from the oven and set aside.
For The Maple Glaze:
- Heat a small sauce pan to medium-low on the stove top. Add 1 tablespoon unsalted butter and allow to melt.
- Add ¼ packed cup brown sugar to the butter and stir until it melts and dissolves. Add ¼ cup heavy whipping cream and stir until incorporated.
- Add 2 tablespoon maple syrup and stir until incorporated. Feel free to add a bit of maple extract if you want to bump up the maple flavor.Continue to cook over medium-low heat for a few minutes, stirring constantly to prevent the caramel from burning.Allow the maple caramel glaze to sit for a few minutes to thicken.
- Place the cooled scones on some parchment paper. Drizzle as much or as little of the maple caramel glaze over the scones as you like. Sprinkle the tops of the scones with some kosher salt or coarse sea salt (optional).

Allyssa
Thank you so much for sharing this amazing recipe! Will surely have this again! It's really easy to make and it tasted so delicious! Highly recommended!
Christine
Hi Allyssa - So glad you enjoyed, thanks for the feedback! 🙂
Jessica
These were so tasty! I just adore the combination of pumpkin and maple - pure fall vibes. Thanks for the recipe!
Christine
Hi Jessica - So glad you enjoyed! 🙂