This no churn Peanut Butter Cup Ice Cream recipe is made at home without an ice cream maker. It's gluten free and uses Reese's cups.
I'm super excited to share this Reese's Peanut Butter Cup Ice Cream with you guys!
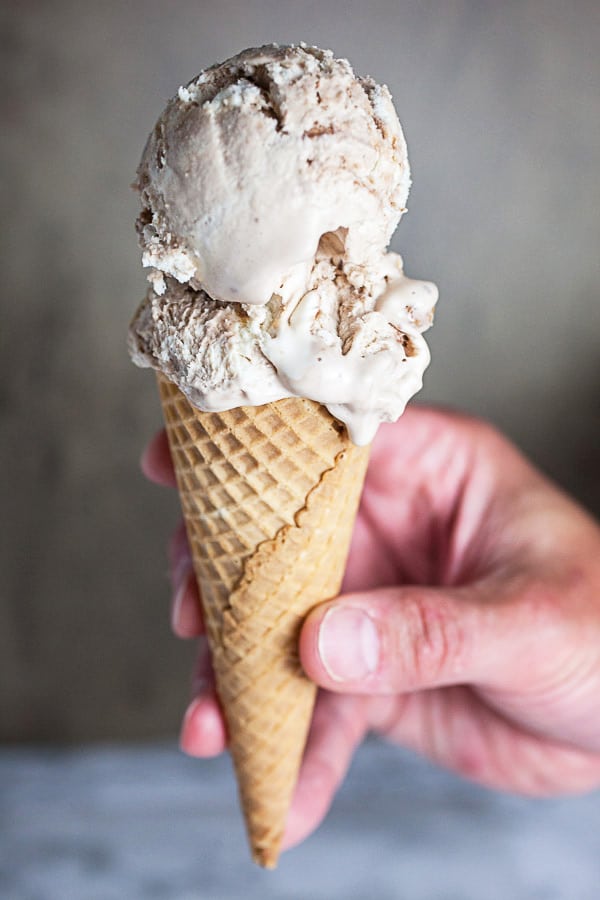
Making ice cream at home from scratch seems like it could be a daunting task that involves lot of gadgets and contraptions - Amiright? It turns out that couldn't be further from the truth.
Homemade no churn ice cream is one of the EASIEST things to make. It basically only requires two ingredients - Heavy whipping cream and sweetened condensed milk.
You can add any number of other flavors to make it your own but all you really need are those two ingredients, a stand or hand mixer, a bread pan, and an ice cream scoop. Plus, a little bit of patience as the ice cream hardens in the freezer for a few hours.
There's nothing complicated about creating a timeless treat like this ice cream.
Jump to:
- What Is No Churn Ice Cream?
- How To Make Ice Cream Step By Step
- What Kind Of Candy Should I Use?
- Pour Mixture Into A Bread Pan
- How Long Does It Take To Freeze Peanut Butter Cup Ice Cream?
- How Long Does No Churn Ice Cream Last In The Freezer?
- What To Serve With Peanut Butter Cup Ice Cream
- Peanut Butter Cup Ice Cream (No Churn)
What Is No Churn Ice Cream?
I'm not sure where the notion that homemade ice cream is complicated came from but I was very happy to discover that when it is no churn it simply is not. But, what exactly does that mean? It means that there is no ice cream maker involved.
The ingredients are not 'churned' or agitated in any way. Churning adds air to the dairy and helps with the texture.
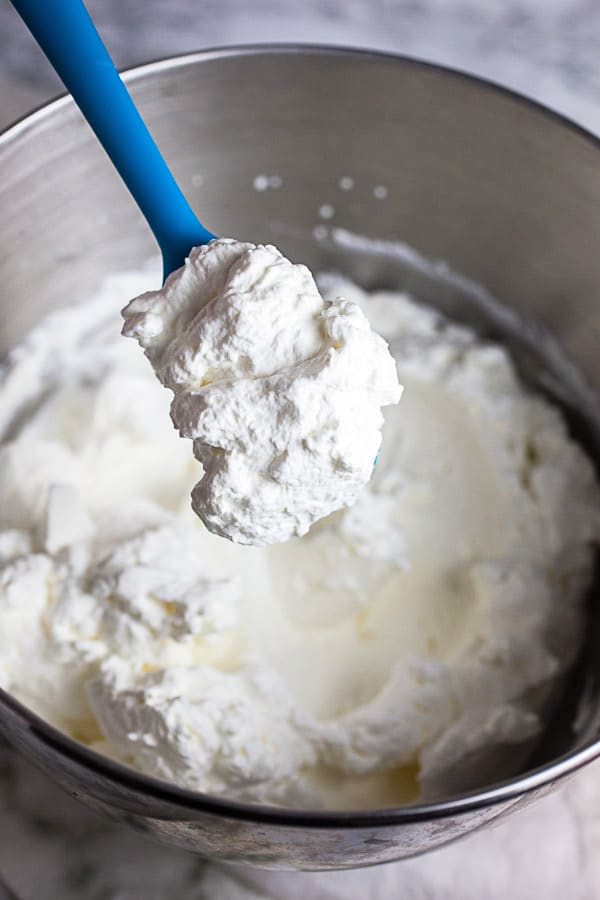
No churn is made by whipping heavy cream until it is light and airy and then combining it with sweetened condensed milk.
The whipped cream helps provide an airy texture and the condensed milk gives it sweetness and that creaminess we all love.
How To Make Ice Cream Step By Step
- The first step is to whip the heavy whipping cream until it is stiff and forms peaks (much like you would if you were making homemade whipped cream for pie) but not so much that it turns into butter.
- Simply pour 2 cups of COLD heavy whipping cream into the bowl of a Kitchen Aid stand mixer or into any large bowl. Mix the cream on medium-high speed for 3-4 minutes with the whisk attachment if using a Kitchen Aid stand mixer. You can also mix for 3-4 minutes on medium-high speed using a hand mixer.
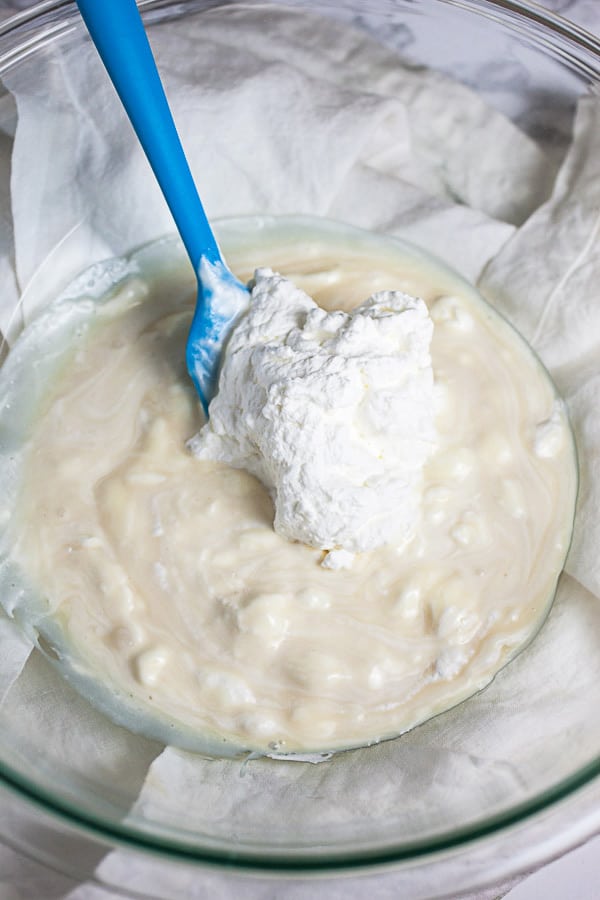
- While the heavy cream is whipping pour 1 14 oz. can of sweetened condensed milk into a separate large bowl. Once the cream is whipped add 1 scoop of it to the condensed milk and slowly fold it in using a spatula. Continue to fold the whipped cream into the condensed milk one scoop at a time. It's important not to stir the mixture too vigorously or it will deflate.
What Kind Of Candy Should I Use?
Once the heavy whipping cream and sweetened condensed milk are completely incorporated the base is finished and it's time to add the embellishments.
I thought long and hard about my favorite flavor and I knew it had to incorporate both sweet and salty elements.
As a kid I always went back to the hot fudge sundae with salted peanuts and I figured that the Reese's Peanut Butter Cup would provide that sweet and salty contrast in addition to containing, you guessed it, chocolate.
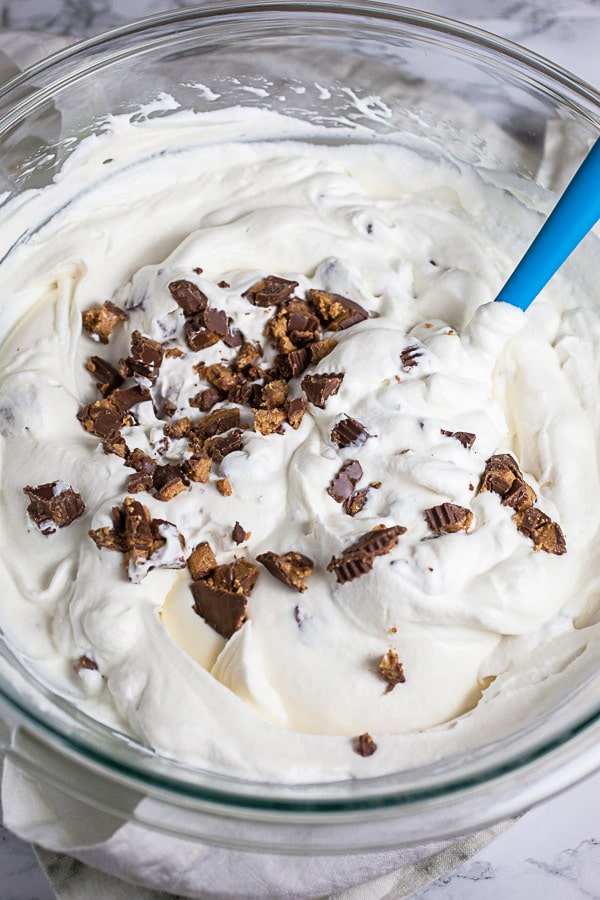
To make sure that the Reese's cups are evenly distributed it's best to cut them into bite-size chunks and then stir them into the mixture. You can use as many or as few as you like - I went with 8 peanut butter cups and found this to be a nice amount.
Simply chop the Reese's Peanut Butter Cups into small pieces (you can stick them in the fridge first so they don't melt as you handle them). Fold the pieces into the mixture until combined.
You can add any variety of candy you like to this recipe, either in place of or in addition to the peanut butter cups. Be sure to choose a gluten free variety of candy if you'd like to keep this recipe free of gluten.
Pour Mixture Into A Bread Pan
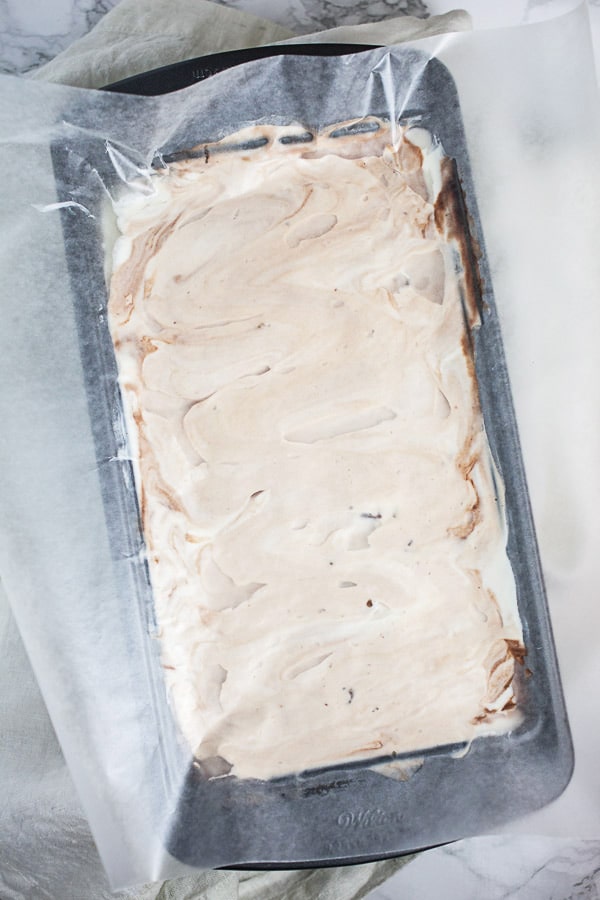
The next step is to pour the mixture into a bread pan or loaf pan. It's best to use a metal pan for this as glass can shatter in extreme temperatures like inside the freezer!
I don't know about you guys but I can never get enough chocolate. To take it over the top pour ⅓ cup or so of chocolate syrup into the ice cream mixture and swirl it until incorporated.
You can use as much or as little as you like. I added just enough to accent it but not overpower the whole thing with chocolate flavor.
Once the chocolate is incorporated smooth the top out with a spatula and place a piece of wax paper over the top. Press the wax paper flat against the ice cream mixture.
This will prevent ice crystals from forming and help it not to get freezer-burnt.
How Long Does It Take To Freeze Peanut Butter Cup Ice Cream?
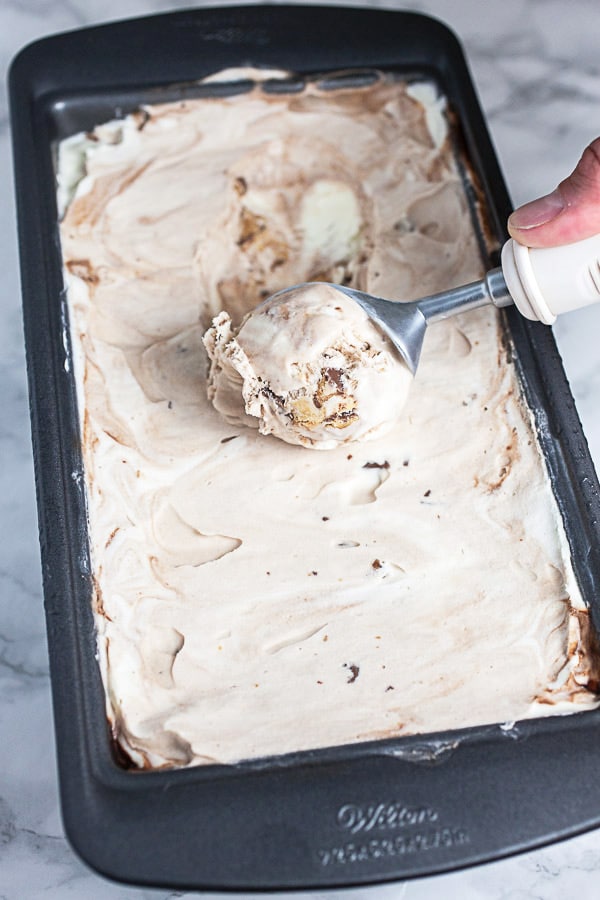
Place the covered loaf pan in the freezer and allow to freeze for at least 6 hours or overnight if possible. (Waiting for the ice cream to freeze proved to be extremely difficult for my husband, who is basically an ice cream fiend).
If you are as fiendish as him when it comes to sweet treats like this I do recommend waiting the recommended amount of time. It's worth the wait - I promise!
Looking for more chocolate desserts? Don't miss these!
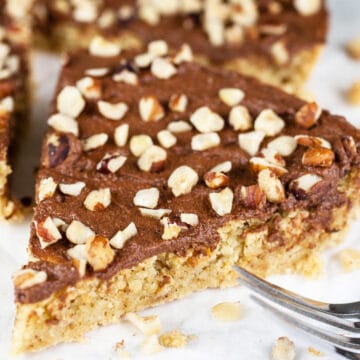
- Italian Chocolate Hazelnut Cake
- Chocolate Baileys Irish Cream Doughnuts
- Halloween Puppy Chow
- Reese's Pieces Chocolate Cookies
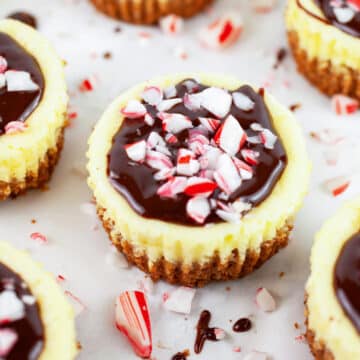
- Peppermint Chocolate Cheesecake Cups
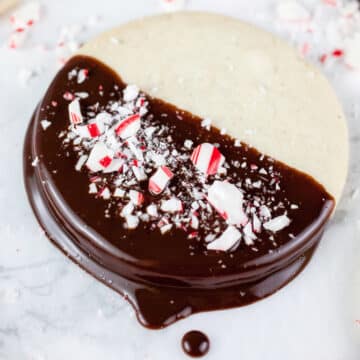
- Chocolate Dipped Shortbread Cookies
How Long Does No Churn Ice Cream Last In The Freezer?
If you're a dessert fiend like my husband your creation might only last a day or two. If you've got some self-control it should keep up to 2 weeks in the freezer.
I recommend wrapping it tightly in some plastic wrap in order to avoid those pesky ice crystals.
Feel free to remove it a few minutes before serving so that it's easier to scoop.
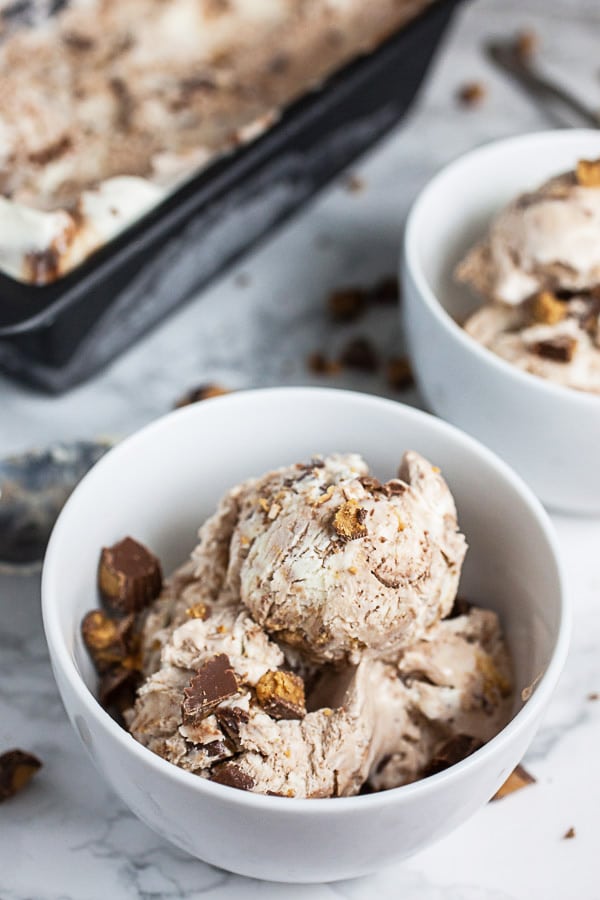
I like to serve it with some additional chopped peanut butter cups and a sprinkle of salt. The salt helps to balance out the sweetness and let's be honest - This stuff is pretty decadent.
Looking for more desserts? Check out these recipes!
- Baked Lemon Doughnuts
- Peanut Butter Blossoms
- Crispy Sugar Cookies
- Scandinavian Almond Cake
- Strawberry Mascarpone Tartlets
- Strawberry Mint Panna Cotta
- Maple Walnut Baklava Bites
What To Serve With Peanut Butter Cup Ice Cream
That's all there is to it! You can go so many directions with a recipe like this. From straight-up vanilla to butter pecan to strawberry to cookies and cream. The flavor possibilities are endless as are the toppings.
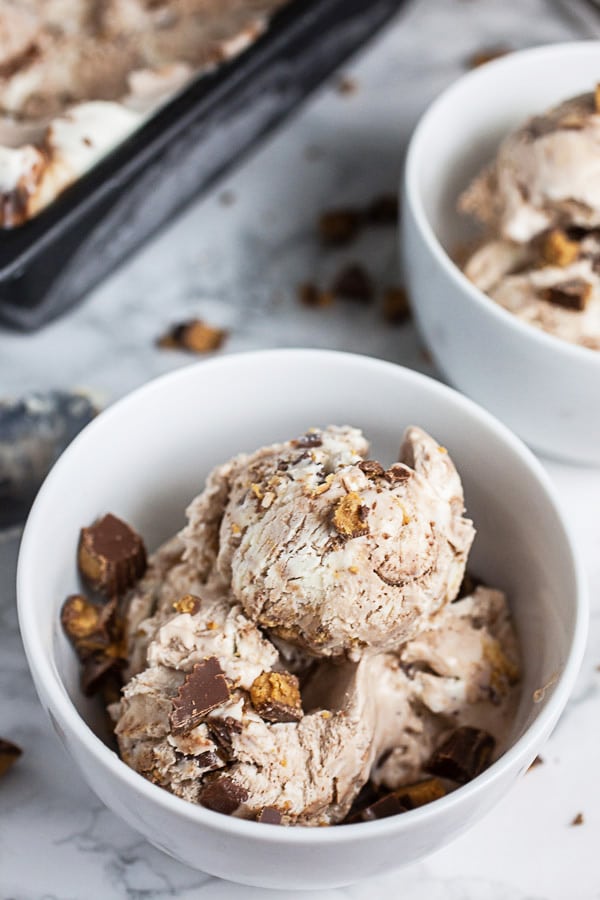
I love this particular recipe because it's gluten free. You can serve it in a gluten-free ice cream cone, in a bowl, or just straight out of the pan (I won't judge).
If you like this recipe you've got to check out this No Churn Cookies and Cream Ice Cream!
Love Ice Cream? Check Out These No Churn Recipes!
No Churn Chocolate Brownie
Matcha Green Tea No Churn Ice Cream
Turmeric Ginger Honey No Churn Ice Cream
Blackberry Cheesecake No Churn Ice Cream
Vegan Coconut Ice Cream with Spiced Chocolate Sauce
Cherry Chocolate Chip Nice Cream

Peanut Butter Cup Ice Cream (No Churn)
Equipment
- Kitchen Aid Stand Mixer or Hand Mixer
Ingredients
- 2 cups cold heavy whipping cream
- 1 14 oz. can sweetened condensed milk
- 8-10 Reese's Peanut Butter Cups
- ⅓ cup chocolate syrup
- pinch kosher salt
- 1 package gluten free ice cream cones or regular ice cream cones if not gluten free
Instructions
- Pour 2 cups of COLD heavy whipping cream into the bowl of a Kitchen Aid stand mixer or into a regular large bowl if using a hand mixer. Using the whisk attachment of a Kitchen Aid stand mixer mix for 3-4 minutes on medium-high or until the whipping cream has formed stiff peaks. Alternately, do the same thing using a hand mixer.
- Pour 1 14 oz. can of sweetened condensed milk into a separate large bowl.
- Add 1 scoop of the whipped cream to the condensed milk and slowly stir to combine. Continue to add the whipped cream, 1 scoop at a time, folding each scoop in using a spatula. Continue until all the whipped cream is added. Be careful not to over-mix or the mixture will deflate and become watery.
- Refrigerate 8 Reese's Peanut Butter Cups (this will prevent them from melting as you handle them). Remove from the fridge and chop them into bite-size pieces. Fold the pieces of candy into the ice cream mixture being careful not to over-mix.
- Pour the ice cream mixture into a metal bread pan or loaf pan. Drizzle ⅓ cup or so of chocolate syrup into the ice cream and swirl it together using a spatula.
- Smooth the top of the ice cream out with a spatula. Place a piece of wax paper or plastic wrap over the top of the bread pan. Press down on the wax paper, smoothing it out across the surface of the ice cream (this will prevent ice crystals from forming).
- Place the bread pan in the freezer and allow to harden for at least 6 hours or overnight if possible.
- To serve: Remove from freezer a few minutes before serving so that it's easier to scoop. Top with more chopped Reese's Peanut Butter Cups and a sprinkle of salt.



Anne Lawton
Peanut butter cup ice cream is a delicious combination, and I love that it's a no churn version.
Christine
Thanks, Anne! I'm in love with the no churn method - So easy!
Marie
Such a great recipe. I love the peanut butter cups mixed in. Deeeeelicious!
Christine
Thanks, Marie! It is the best flavor combo! 🙂
Karly
Wow! That is super easy. I had know idea.
Christine
It's crazy, right? I always thought ice cream was so complicated but am happy to find out that it isn't!
sarah Irvin
Can I use my ice cream maker?
Christine
Hi Sarah - I'm honestly not sure as I have never used an ice cream maker. This recipe is so easy, though, that I wonder if the ice cream maker would just complicate things.
Caroline Cirace
Can I use a plastic container to put ice cream in with cover instead of covering it with plastic wrap?
Christine
Hi Caroline - It should be just fine to use a plastic container with a cover while the ice cream is setting up in the freezer. 🙂