
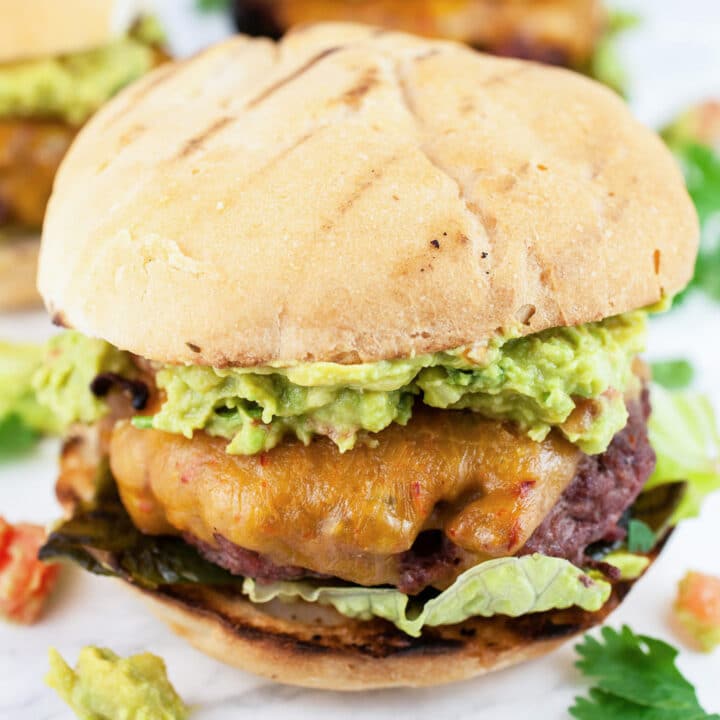
This Grilled Juicy Lucy Burger recipe is made with ground beef and stuffed with cheese. Learn how to make this iconic Minnesota cheeseburger!
The Juicy Lucy is a staple of Minnesota cuisine. It's a ground beef burger stuffed with American cheese and cooked until the cheese is hot and molten. In this version, the beef patties are cooked on the grill.
When it comes to food, Minnesotans tend to have our own versions of things. We don't eat casserole - We eat tater tot hotdish. We'll pass up more popular varieties of fish for walleye. Wild rice is basically a food group. When it comes to burgers, none is more Minnesotan than this one.
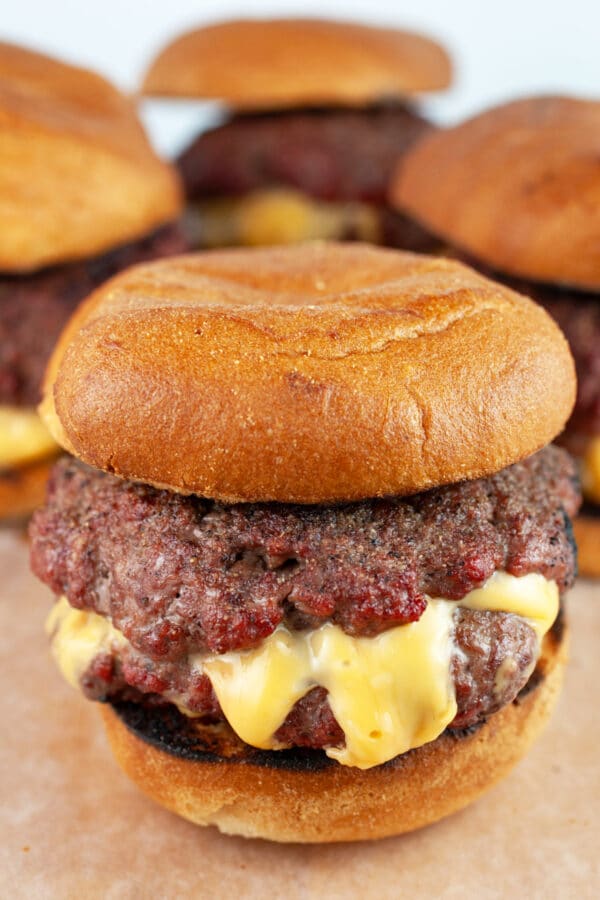
A Juicy Lucy is a cheeseburger with a few slight variations. The main one being that the cheese is stuffed inside the burger before it's cooked. This results in a cascade of melty cheese oozing out the sides of the burger when it's finished.
This burger is made with only a few simple ingredients and is a completely unpretentious guilty please. The ground beef patties are seasoned simply with some Worcestershire sauce, garlic and onion powder, and kosher salt and pepper.
The cheese of choice for this burger is American because of it's melt factor. The grilled burgers are then served on buns with your toppings of choice.
Jump to:
- Which Ground Beef Is Best For Juicy Lucy Burgers?
- Ingredients For Grilled Juicy Lucy Burger
- Which Cheese Is Best For A Juicy Lucy Burger?
- How To Make A Juicy Lucy
- How To Press The Burgers Together
- How To Season Juicy Lucy Burger
- How To Grill Juicy Lucy Burgers
- What To Serve With Grilled Juicy Lucy Burger
- Where Did The Juicy Lucy Originate?
- How Long Do These Burgers Last In The Fridge?
- Grilled Juicy Lucy Burger

Which Ground Beef Is Best For Juicy Lucy Burgers?
It's finally warm enough to grill outside (comfortably) and we wanted to kick of grilling season right. These burgers are the perfect way to do just that.
When it comes to grilled burgers, it's best to choose ground beef with a higher fat content. Ground beef with a fat content of 85|15% or 80|20% is preferable to lean ground beef.
Lean ground beef is lower in fat and tends to dry out when cooked on the grill. Ground beef with a higher fat content remains juicy when grilled and doesn't dry out if cooked properly.
Ingredients For Grilled Juicy Lucy Burger
Here's what you'll need to make them.
- 2 lbs. Ground Beef (85|15% or 80|20% fat content is preferred)
- 6 slices American Cheese (or any cheese that melts nicely)
- 2 Tbsp. Worcestershire Sauce
- 1 tsp. Garlic Powder
- 1 tsp. Onion Powder
- ½ tsp. each Kosher Salt and Pepper (split)
- 4 Gluten Free Burger Buns (or any buns if not gluten free)
- Toppings such as Lettuce, Tomato, Onions, and Pickles (optional)
Which Cheese Is Best For A Juicy Lucy Burger?
When it comes to cheese, it's essential to choose one that melts well. The cheese is stuffed inside these burgers so make sure to opt for a variety that has no trouble melting.
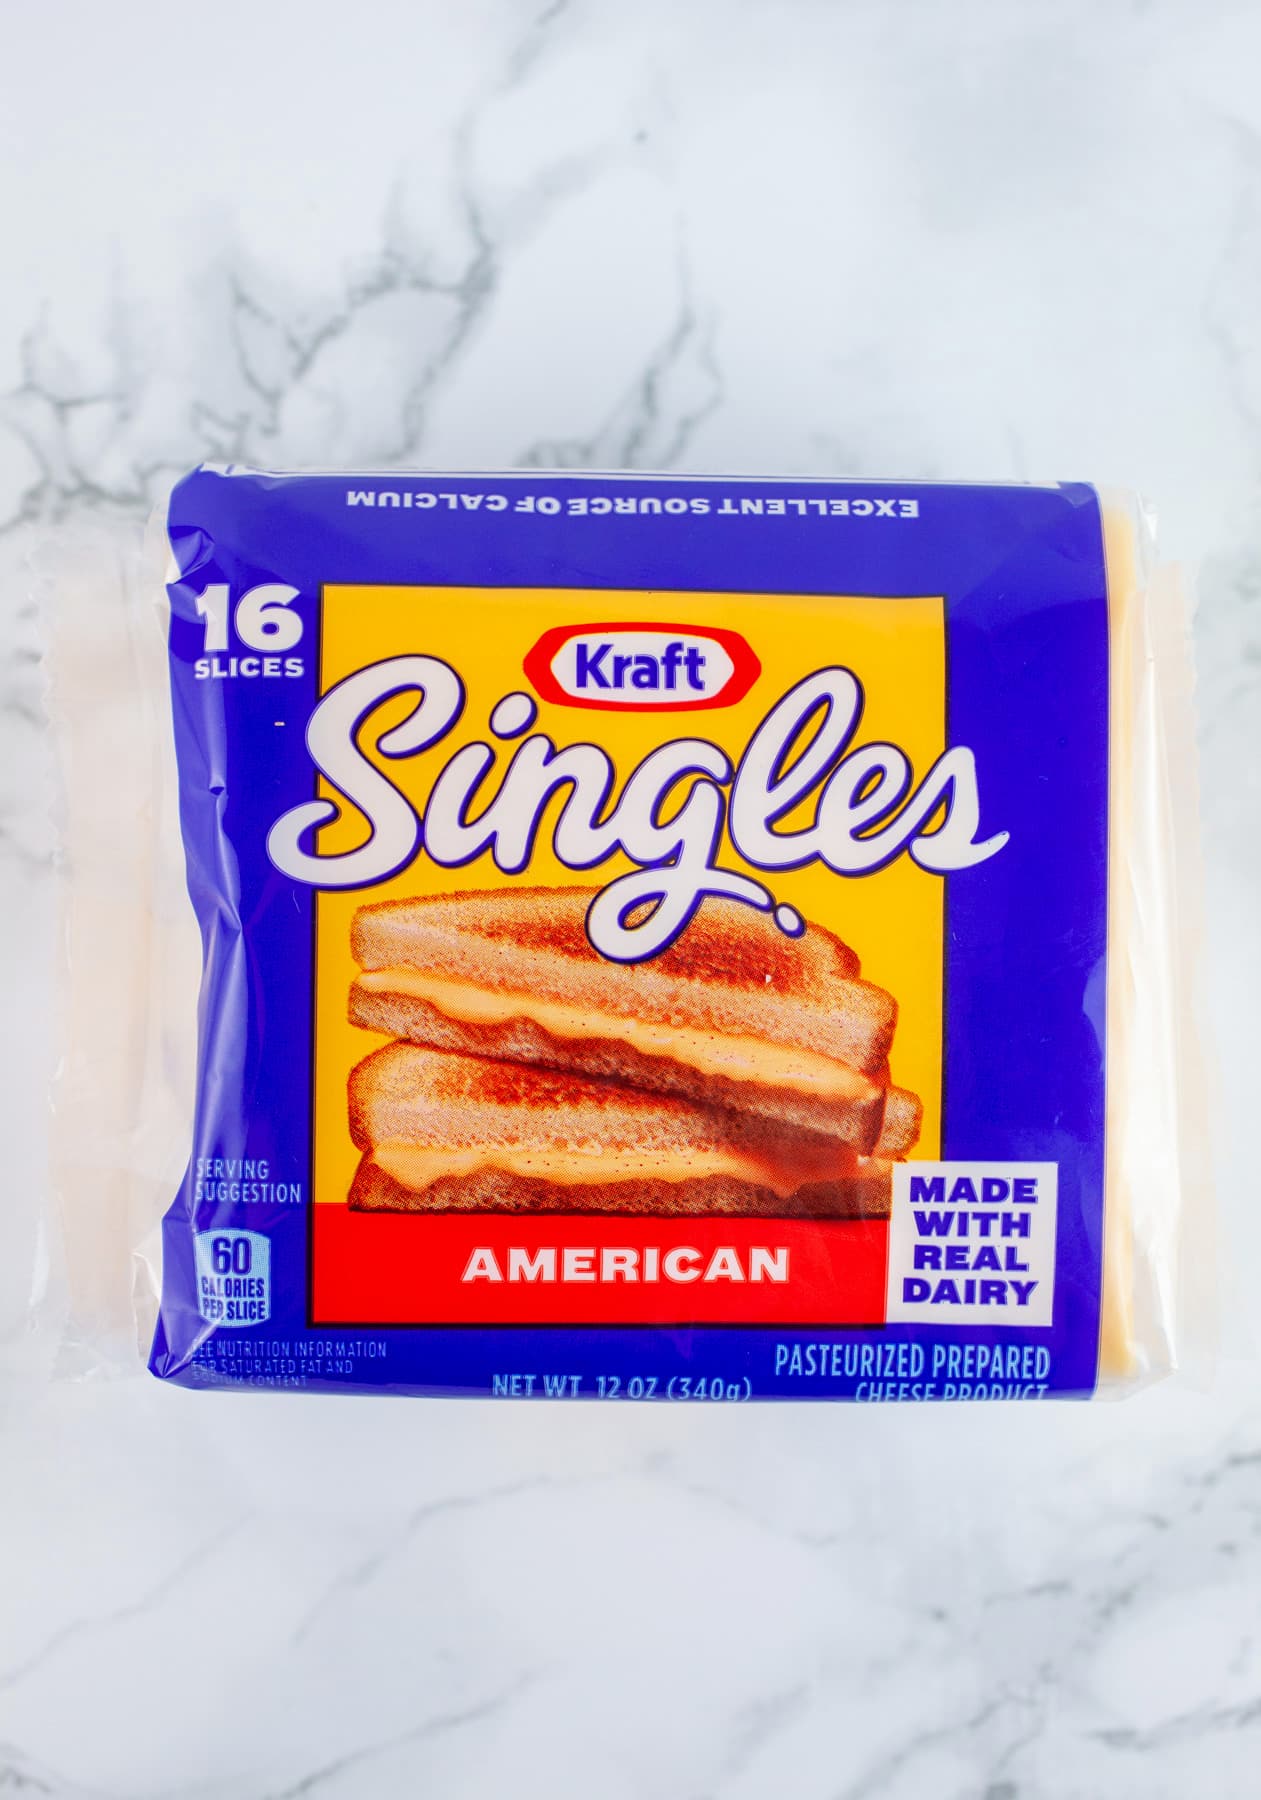
The quintessential cheese for a Juicy Lucy (or any burger for that matter) is American cheese. It provides that classic 'cheese' flavor that we all know and love when it comes to grilled burgers. More importantly, it melts nicely and gives the burgers a nice salty kick.
If you don't have or can't find American cheese, you can substitute any variety of cheese that melts nicely. Sliced Gouda, cheddar, provolone, Swiss, or mozzarella will work as well, but keep in mind that different varieties of cheese will alter the flavor of the burgers slightly.

How To Make A Juicy Lucy
The Juicy Lucy is a big and meaty burger. When it comes to burgers, I say 'Go big or go home'.
The process starts with seasoning 2 lbs. of ground beef with Worcestershire sauce. The ground beef is then divided into 8 patties. The cheese slices are cut into quarters and placed on top of the beef patty.
The second beef patty is placed on top of the cheese and then the two patties are pinched together and the outside of the burger patties are seasoned simply with garlic and onion powder along with kosher salt and pepper.
- Place 2 lbs. of ground beef in a large mixing bowl. It's best to use ground beef with a higher fat content - Go for 85|15% or 80|20% lean ground beef.
- Add 2 of Tbsp. Worcestershire sauce to the meat and mix together with your hands just until combined (over working the meat can make it tough).
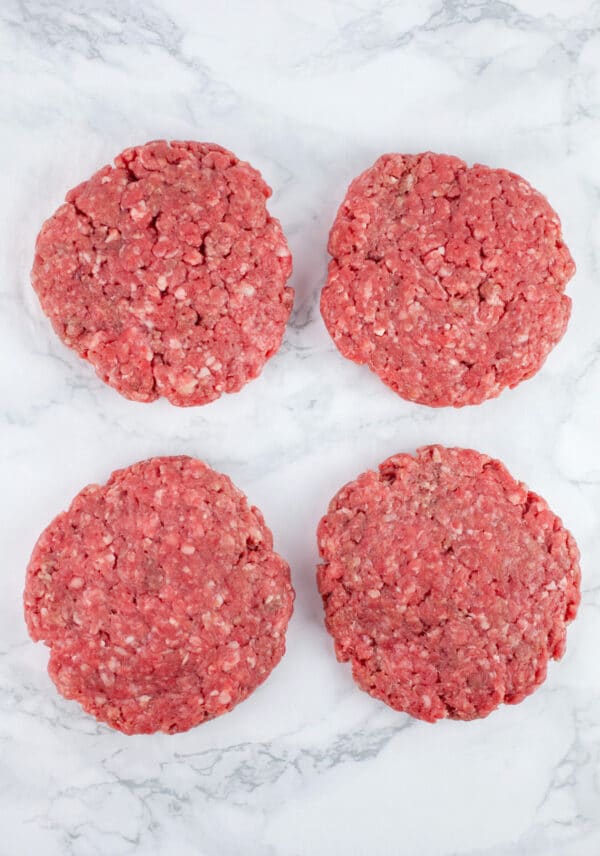
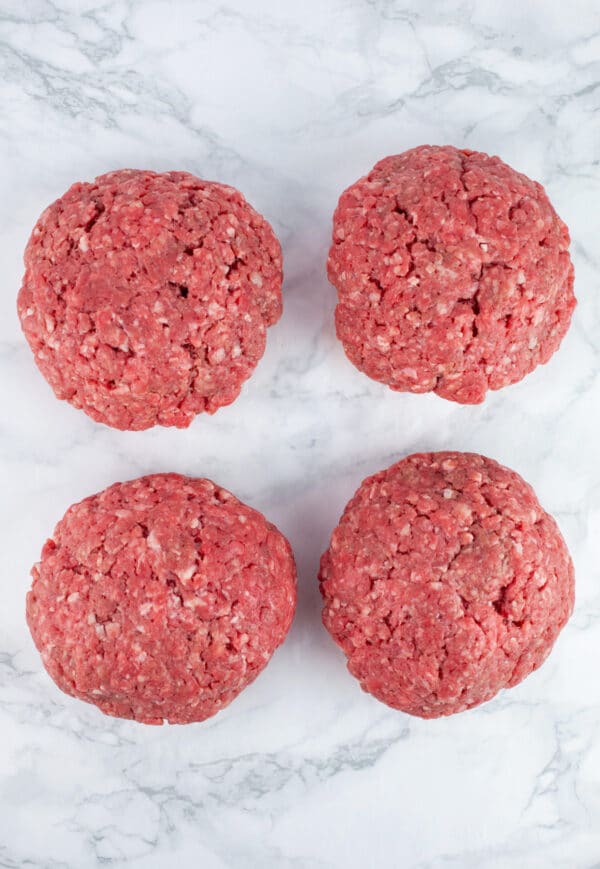
- Divide the meat into 8 portions. Place a piece of wax paper onto a kitchen scale and then place each portion onto the scale, measuring each portion to weigh 4 oz.
- Form each 4 oz. portion of ground beef into a patty and press it down as flat as you can with your fingers.
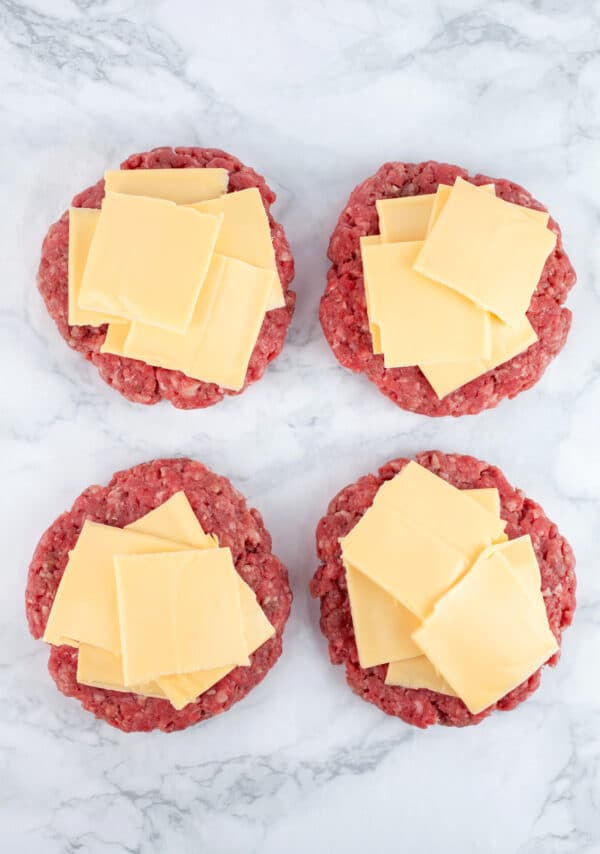
- Cut 6 slices of American cheese (or melting cheese of choice) into quarters. Place 6 of the cheese quarters on 4 of the ground beef patties.
- Place the second beef patty on top of the cheese and press the edges together as tightly as you can with your fingers.

How To Press The Burgers Together
It takes a bit of patience, but all that's needed is to press the two ground beef patties together with your fingers. Gently press the edges of the burger patties together and 'seal' the edges as best you can.
The main goal is to ensure that the cheese is tucked away in between the two patties and that they are sealed well enough so that they don't fall apart as they cook.
When all is said and done you should have 4 burgers.
How To Season Juicy Lucy Burger
When it comes to seasoning, this burger is pretty low maintenance. I like to add some ground garlic and onion powder for a savory flavor and, of course, kosher salt and pepper is an essential component of any burger.
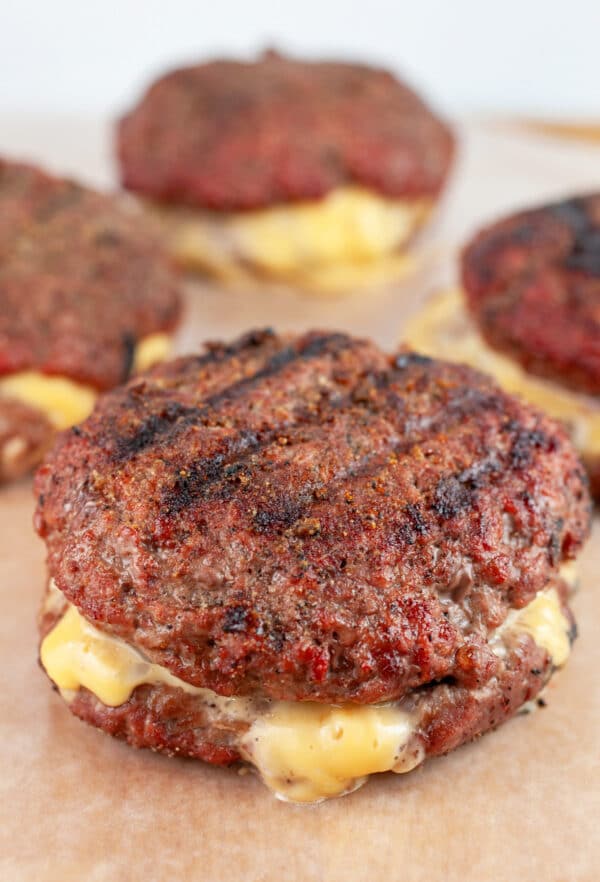
I like to add the spices to the outside of the burger so they form a little crust as the burger cooks on the grill.
- Add ¼ tsp. each of kosher salt and pepper to one side of each burgers along with ½ tsp. each of garlic powder and onion powder (try to make sure all of the patties are evenly seasoned).
- Flip the burgers and repeat the process, adding another ¼ tsp. each of kosher salt and pepper and ½ tsp. each of garlic powder and onion powder to the second side.


How To Grill Juicy Lucy Burgers
When it comes to grilling burgers, there are a few tips and tricks that can help to achieve optimal flavor and juicy texture.
- Start by placing the burger patties over the direct heat. Grill for 3 minutes on each side and then move to a more indirect heat and continue to cook until the meat reaches your desired doneness (this may be tested using a food thermometer).
- Use a food thermometer to check the internal temperature. This is a much more accurate method to ensure that a burger does not become overcooked.
- DO NOT press the burgers down with a spatula as they're cooking. This will dry them out and it's completely unnecessary.
- Flip the burgers once during the cooking process. There is no need to flip them over and over again.
- Let the burgers sit for a few minutes after removing them from the grill. This allows them to retain their juices.
Either a charcoal or gas grill will work when making this Grilled Juicy Lucy Burger. Whether using a gas or charcoal grill, aim for the temperature to reach 400 degrees Fahrenheit.
- Heat a charcoal grill or gas grill to 400 degrees Fahrenheit.
- Place the burger patties over direct heat.
- Cover and cook the burgers for 3 minutes on the first side. Flip the burgers, cover, and grill for 3 minutes on the second side.
- Move the burgers to indirect heat, cover, and cook until the interior of the burger reaches your desired level of doneness. Cooking times may vary depending on the thickness of the burgers, the type of grill used, and how you prefer your burgers.
- Use a food thermometer to check the interior temperature of the burger. Make sure to place the thermometer into the beef patty and not into the cheesy center for an accurate temperature.
- Once the burgers have reached your desired temperature, remove them from the grill and set aside.
The safe internal temperature for ground beef is 160 degrees Fahrenheit. To achieve this temperature, cook the burgers for about 4-5 minutes over indirect heat.
Here is a general cooking guide for internal temperatures (degrees in Fahrenheit):
- 125-130 degrees for Rare
- 130-140 degrees for Medium-Rare
- 145 degrees for Medium
- 150-155 degrees for Medium-Well
- 160 degrees for Well Done
These burgers take a bit longer than regular burgers because they're large and it the goal is to melt the cheese on the inside of the buger.
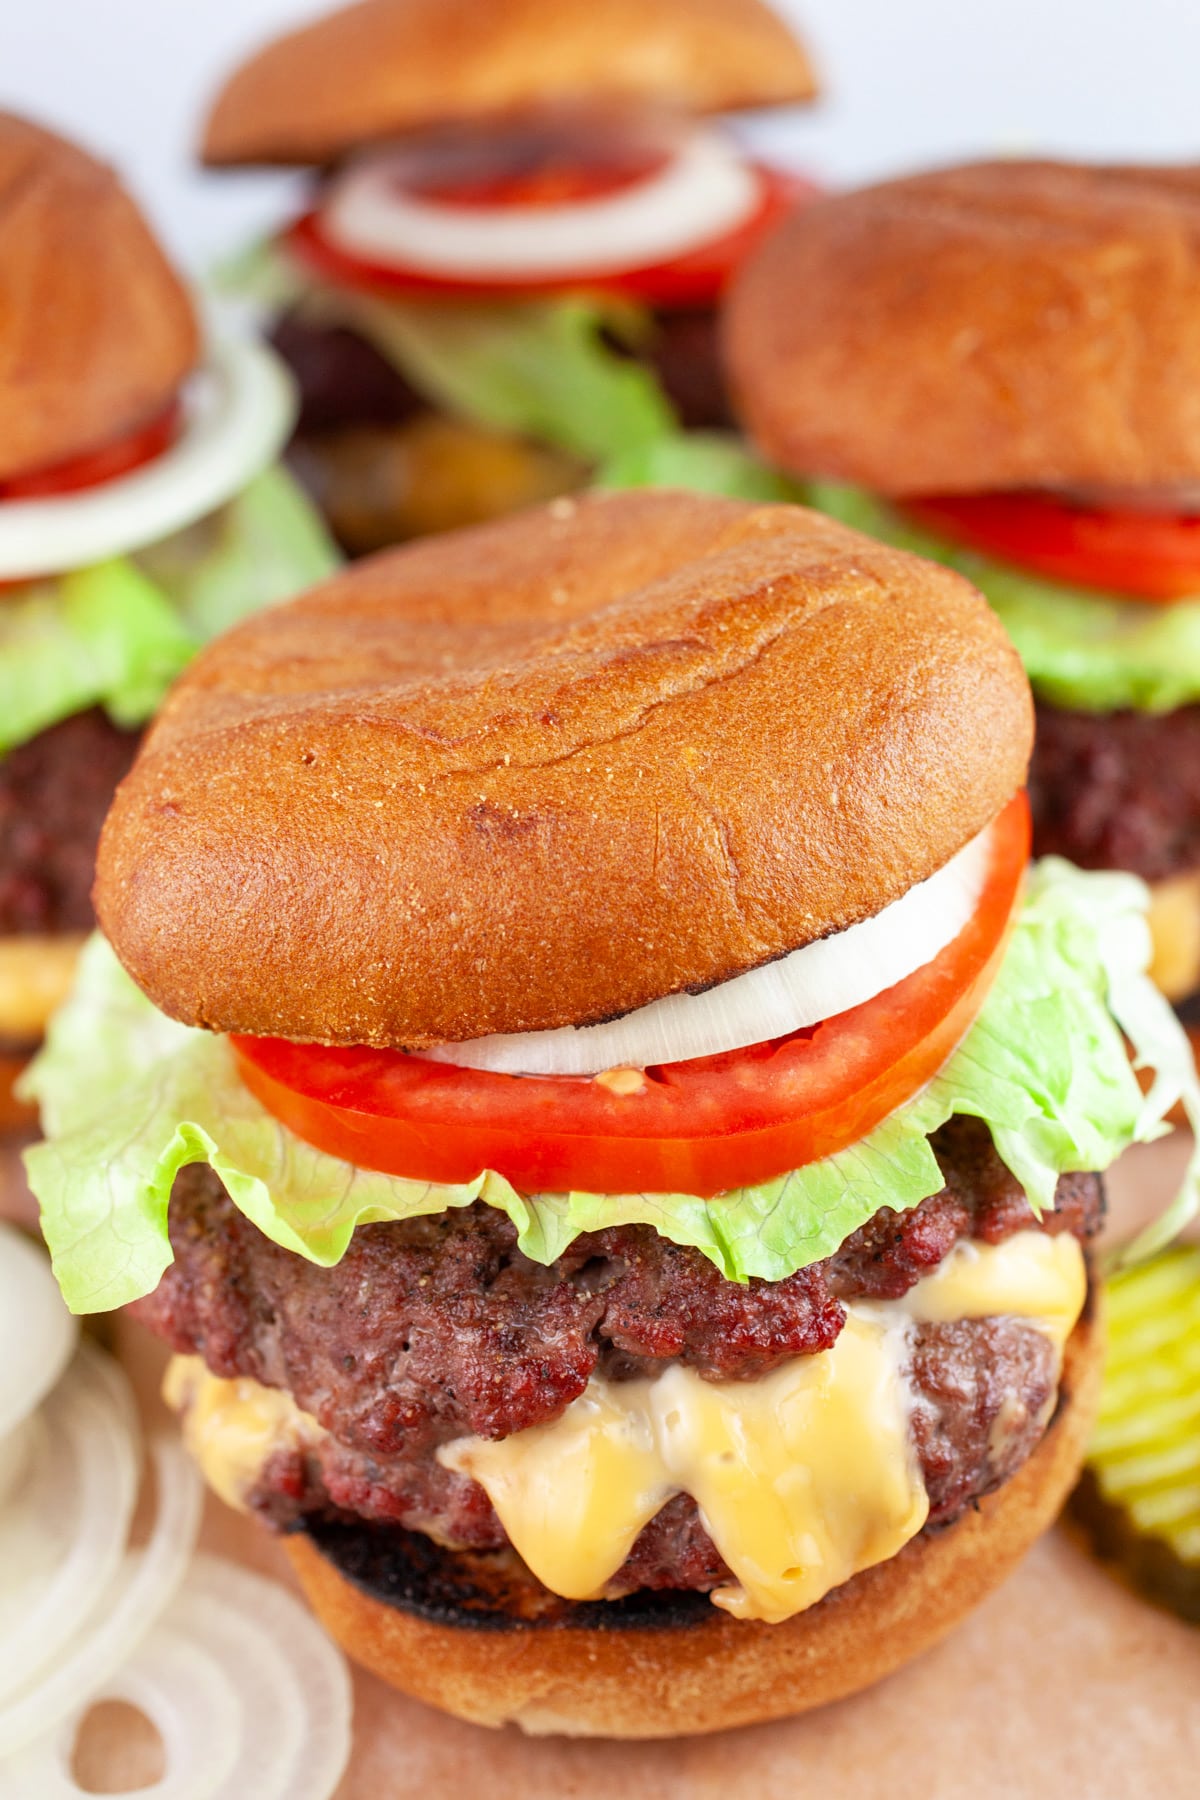
If biting into a Juicy Lucy, keep in mind that the cheese inside is extremely hot. Don't worry if some of the cheese melts out the side of the burgers. This can happen if the patties are not sealed tightly enough (as seen in these photos).

What To Serve With Grilled Juicy Lucy Burger
You can top and serve a Juicy Lucy just as you would any other burger. Traditionally, they're served on soft burger buns without many accoutrements, but burgers are subjective and I say top and serve them any way you like.
This recipe is gluten free and calls for gluten free burger buns. Feel free to use any burger buns if gluten is not an issue for you. The buns can be toasted or not, depending on your preference.
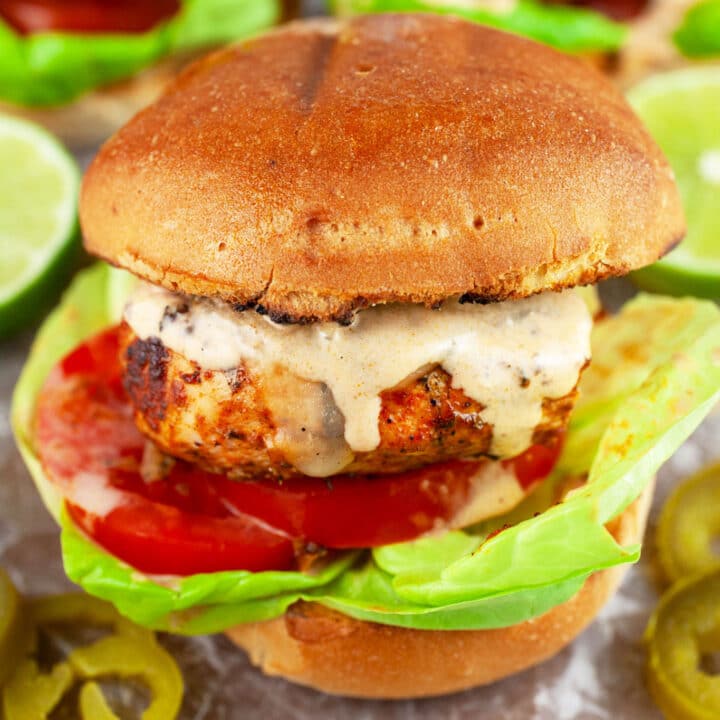
Vegetables are not part of the authentic Juicy Lucy but I can't resist some fresh veggie toppings like lettuce, tomato, and onion. In my world, pickles are an essential burger topping.
Feel free to add any sauce you like to the buns before assembling the burgers. Mayo, mustard, or any burger sauce is great.
I love to serve grilled burgers with summer side dishes like coleslaw, potato salad, or pasta salad like this Dill Pickle Pasta Salad.
This grilled corn feta salad or roasted summer vegetable salad would be a perfect pairing.
A lighter side like fresh tomato salad, crunchy pea salad, green bean salad, or pickled beet salad are also great choices.
Looking for more grilled recipes? Don't miss these!
- BBQ Sweet Potatoes
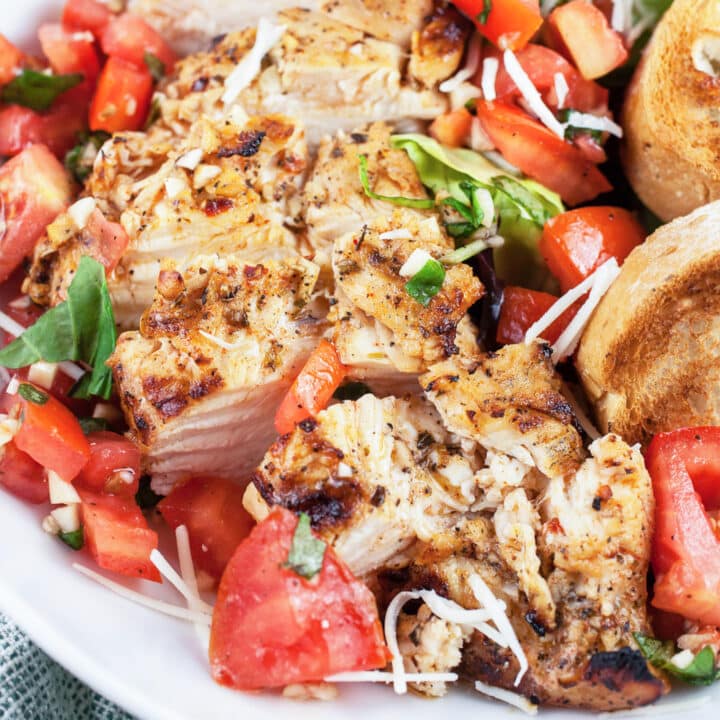
- Grilled Bruschetta Chicken
- Italian Grilled Chicken Sandwich
- Grilled Southwest Chicken Sandwich
- Chicken Kofta Kebabs
- Grilled Eggplant Sandwiches

Where Did The Juicy Lucy Originate?
There's this rivalry between two south Minneapolis bars as to where the Juicy Lucy originated - Matt's Bar and the 5-8 Club. People tend to fall into one of the two camps when it comes to who makes the best.
To be fair, I've never tried either of them. I was a St. Paul girl and my loyalty falls between The Nook and The Blue Door Pub.
These two joints are known for their variations on the classic burger (my favorite was the Thai peanut burger with coconut dipping sauce at the Blue Door).
I'm not making any claims that either place 'does it right' and I'm not claiming that my version is authentic - It's my version and that's the beautiful thing about cooking. There's no right or wrong way to eat.
How Long Do These Burgers Last In The Fridge?
Any leftover burgers may be stored in an airtight container in the refrigerator for 1-2 days.
Make sure to allow the burgers to cool completely before transferring to the refrigerator for storage.
Love burgers? Check out these recipes!
- Grilled Blue Cheese Burgers
- Grilled Southwest Poblano Burgers
- Grilled Burgers with Jalapeno Burger Sauce
- Air Fryer Turkey Burgers
Looking For More Grilled Burgers? Don't Miss These Recipes!
Hawaiian Style Teriyaki Pork Burgers
Goat Cheese Stuffed Bison Burger
Bacon Jam Burgers

Grilled Juicy Lucy Burger
Equipment
Ingredients
- 2 lbs. ground beef 85|15% or 80|20% fat content
- 2 Tbsp. Worcestershire sauce
- 6 slices American cheese
- 1 tsp. garlic powder
- 1 tsp. onion powder
- ½ tsp. kosher salt
- ½ tsp. pepper
- 4 gluten free burger buns or regular buns if not gluten free
- lettuce, tomato, onion, pickles for topping optional
Instructions
- Place 2 lbs. of ground beef in a large mixing bowl. It's best to use ground beef with a higher fat content such as 85|15% or 80|20% lean ground beef.
- Add 2 of Tbsp. Worcestershire sauce to the meat and mix together with your hands or a large spoon just until combined (over working the meat can make it tough).
- Divide the meat into 8 portions. Place a piece of wax paper on a kitchen scale, place each potion on the kitchen scale, and measure each portion to weigh 4 oz.
- Form each 4 oz. portion of ground beef into a patty and press it down as flat as you can with your fingers (this equals 8 4 oz. patties).
- Cut 6 slices of American cheese (or melting cheese of choice) into quarters. Place 6 of the cheese quarters (equaling 1 ½ slices) on 4 of the ground beef patties.
- Place the second beef patty on top of the cheese and press the edges together as tightly as you can with your fingers, forming a seal. You should have 4 burgers.
- Add ¼ tsp. each of kosher salt and pepper to one side of each burgers along with ½ tsp. each of garlic powder and onion powder (try to make sure all of the patties are evenly seasoned).
- Flip the burgers and repeat the process, adding another ¼ tsp. each of kosher salt and pepper and ½ tsp. each of garlic powder and onion powder to the second side.
- Heat a charcoal grill or gas grill to 400 degrees Fahrenheit.
- Place the burger patties over direct heat.Cover and cook the burgers for 3 minutes on the first side. Flip the burgers, cover, and grill for 3 minutes on the second side.
- Move the burgers to indirect heat, cover, and cook until the interior of the burger reaches your desired level of doneness. Cooking times may vary depending on the thickness of the burgers, the type of grill used, and how you prefer your burgers.
- Use a food thermometer to check the interior temperature of the burger. Make sure to place the thermometer into the beef patty and not into the cheesy center for an accurate temperature.Here is a general cooking guide for internal temperatures (degrees in Fahrenheit):125-130 degrees for Rare130-140 degrees for Medium-Rare145 degrees for Medium150-155 degrees for Medium-Well160 degrees for Well Done
- Once the burgers have reached your desired temperature, remove them from the grill.
- To Serve: Serve the burgers on buns with lettuce, tomato, onions, pickles, and sauce of choice (optional).
Ben Myhre
Anybody who has spent some time in Minnesota and is a meat eater, is a close friend to the Juicy Lucy. This looks great!
Christine
It's a must-try when in Minnesota!
Helen at the Lazy Gastronome
Woah!! What a burger! We're celebrating National Cheeseburger day at the Lazy Gastronome by inviting other bloggers to share their amazing recipes. I would be honored if you shared this one!
http://www.lazygastronome.com/national-cheeseburger-day-and-youre-invited/ - BTW, I love the name of your blog!
Sheryl
mmm. . . my mouth is watering.
Christine
Thanks, Sheryl! 🙂